2025 Home Projects Roundup: DIY Projects We Completed Last Year

Today I am sharing all of the DIY home projects we were able to complete in 2025!

Hello friends and happy Friday! 2025 was a big year in our house, full of DIY projects that were budget-friendly, functional and improved the overall look of our home. Some projects were fun and easy, others not so much haha, but I’m sharing it all with you today in this full home projects roundup!

This post may contain affiliate links. For my full disclosure, click here.
Home Projects Roundup: Table of Contents
- Painted Exterior
- DIY Plate Rack
- Bathroom Makeover
- New Hutch (and Cut-Down Shelves)
- Painted Corner Hutch
- Front Porch Stone Makeover
Painted Exterior
Painting our home was probably the biggest project we tackled in 2025! We have been updating our patio area, landscaping, gardens and even outdoor lighting for the past several years to boost our home’s curb appeal, but I knew the day would come when we would finally need to update the exterior of our little cottage style home with a fresh coat of paint.

For those homeowners who have painted the exterior of your home, you know what a major renovation it is. However difficult, it needed to be done. The paint had majorly faded and was chipping badly in many spots. While I loved the old, dark grey color of our house, it was time for a fresh look!

The search for a new color was anything but easy; we went through tons of samples and painted and repainted whole sections before we found the perfect color. After some trial and error, we settled on Revere Pewter from Benjamin Moore for the siding and Rockport Gray BM darkened by 25% for the shutters and cedar shake. I love the final results! My home feels like an English cottage with the new colors, and I couldn’t be happier!

Even though painting the exterior ourselves was a lot of work (sanding, taping, painting and repainting) I would totally recommend doing it yourself because it saved us so much money! This project was time consuming and sweat inducing, but we got it done in just under a month from start to finish. I would also recommend looking for sales on Benjamin Moore’s website! We got a great deal on paint while they were running a site-wide sale.

Overall, I am so happy we decided to repaint our home this year. You can watch the full transformation here. My one regret would probably be not paying attention in the store when the sample labels were mislabeled, but unfortunately that mixup was out of my control. It made the process a little longer and more stressful than it needed to be haha so make sure you have your samples labeled correctly before you leave the home improvement, paint or hardware store! Even with this little hiccup, the results were totally worth it and it’s really made a big impact on my outdoor space upgrades.
Home Projects Roundup: DIY Plate Rack
My next project was something I’ve always dreamed of having: an antique plate rack to display some of my Pfaltzgraff collection and plates I inherited from my grandpa and grandma. Whenever I would shop at thrifts stores or antique shops, I was always on the hunt for one. However, I either couldn’t find one that I absolutely loved, or found beautiful plate racks that were way above what I was willing to pay.

As I was looking at different designs, I asked Mike if he thought it might be something he could build. To my delight, he was pretty confident he could make a DIY plate rack to turn this little wall in my kitchen into a storage space for my Pflatzgraff purchases!

The plate rack consists of two pieces of reclaimed barn wood that are Kreg jigged together.
A Kreg Jig is essentially a pocket hole tool that joins the boards together. Once he joined two boards together to create the width at the base of the plate rack for the larger plates, we then penciled out a design like a scalloped edge that he cut out using his jig saw.

The full process can get pretty in depth and so to shorten this home projects roundup, you can watch the full tutorial on how to build your own plate rack here! It’s added so much charm to the heart of the home, my kitchen, and I love the additional storage to display my Heritage collection on.
Bathroom Makeover
Here is a project that I am so in love with! Our little guest bathroom has been on my to-do list for ages, but it’s never been a top priority. Don’t get me wrong, it’s gotten a few updates over the years but it’s never been a space that I was completely happy with.

When I originally updated the bathroom, I used a lot of elements that were not in line my current English cottage style. This was going to be a total bathroom renovation; from the floor tiles to the bath tile to the ceiling. This was far from an easy DIY project and it really stretched us in so many ways!

We began by demoing and reglazing the shower and tub, and then my husband moved on to the flooring. We worked with Edward Martin and chose a beautiful checkerboard pattern for the floor. I absolutely love the way it came together.

We added an arch above the sink area, and I then repainted all of the beadboard in a custom sage green with a hint of blue to match the wallpaper. A close match would be Wandering Willow by Sherwin Williams! For the wallpaper, I ended up choosing Anton Sage Green from Samberg, a Swedish company known for timeless, nature-inspired designs.

After the installation of the new shower tile, I didn’t want the window to feel like a distraction. So, we spray painted it a dark brown to match the tones from the floor and added extra trim detail and window mullions. We made our own grids, spray painted them, and added stick-on privacy paper for a clean finish.

For the sink, we used an antique that I had in my bedroom and added a vessel sink and brass faucet to it. The mirror above the vanity was my mom’s as a little girl. I added a dark wax finish, and it looks beautiful. We added a new fixture for the light and I’ll link all the lighting fixtures we used too. Everything was chosen with a timeless look in mind.

The ceiling is probably my favorite part of the bathroom. There are even initials carved in one board; 100-year-old wood with so much history and charm. I had a vision for a plank ceiling with wood beams. We had one beam left from a friend’s old barn, and my dad had unused tongue and groove boards. They fit the space perfectly.

There were of course many other little details we changed or added, and you can watch the full transformation here. It seemed as if everything that could go wrong did go wrong in this tiny bathroom space. But I’m thankful that it is finished and of course that we saved money doing it ourselves rather than hiring a contractor. I’m so thankful that it all came together, and I love our new bathroom, especially when guests come over!
Home Projects Roundup: New Hutch (and Cut-Down Shelves)
The next project on my home projects roundup is adding the antique pine hutch and cutting down the shelves in our dining room. While out antiquing with my husband Mike up in Traverse City, I came across this pine hutch and instantly fell in love. I knew it was the perfect piece that I had been searching for all these years!

I knew the natural wood finish would flow seamlessly with my farmhouse dining table and dining chairs and bench, as well as my dining room decor and neutral color palette. Rugs are always a tricky item for me to settle on, so it was also essential that the hutch didn’t clash with it or even the hardwood floor.

My dining room is o the smaller side, so I was a little nervous about how it would fit, especially with the floating shelving we installed years ago. I didn’t want it to overwhelm the space, but to be a focal point in my dining area. That’s when we decided we would need to cut down the shelves to make the hutch fit without feeling cramped.

My husband got to work cutting down the shelves and I worked on filling the holes and painting the space where the shelves had been. Because our walls are plaster and not drywall, it was a little tricky filling in the holes. I also had to paint the spaces where the shelves were installed because I painted around the shelves when we redid our dining room paint colors years ago.

The white walls and ceilings are just a plain white paint from our local True Value hardware store and made our dining room feel much more open and airy! All of our trim and board and batten accent walls are Stingray by Benjamin Moore lightened by 50%.

Cutting down the shelves was definitely the right call! The new length of the shelves helped to frame the hutch instead of cramping it. You can watch the whole process here!
Painted Corner Hutch
A bonus to our dining room update was painting the corner hutch that I’ve owned for several years now. After bringing in the pine hutch, it felt like there was a little too much brown going on in my dining room, and it needed a makeover.

I kept thinking about the color blue in this space and I happened to have some Miss Mustard Seed’s Milk Paint in the color Aviary, which is really awesome paint that I’ve used once before. You take the powder in the bag and you mix it with water to create your own consistency. You can make it as thin or as thick as you like, and add as much pigment as you’d like.

I took some dark wax by Annie Sloan (one of my favorites) and just slightly touched up some of the cracks and crevices. I recommend using paint brushes specifically made for wax paint to apply your wax, but old rags will work too. If you get a little heavy handed with it, a magic eraser works great to touch it up.

I switched from an oil rubbed bronze knob to wood knobs, and distressed the wood with 120 grit sandpaper. The piece was really starting to come together, but I knew it needed just a little more of an antique finish. I took some very dark brown acrylic paint (make sure you seal your furniture after using acrylic) and mixed it with water to give the entire piece a thin coat of watered down dark brown paint. It gave the entire corner hutch an authentic antique finish that I really love.
Home Projects Roundup: Front Porch Stone Makeover
The final stop on my home projects roundup is my front porch stone makeover! After painting our house, we knew our wood porch needed to be updated as well. We wanted to choose a durable material that would stand the test of time against our harsh Michigan winters. That’s when we decided to use stone for our makeover!

For converting a wood porch to stone, we found an amazing grid system called StoneDeks. The SilcaGrate system is so ideal and made things so simple for us. It creates a stable, reinforced surface that allows for the installation of pavers, porcelain tile, or stone directly on top of your wood framing, all while maintaining drainage and airflow beneath the surface.

Materials we used for this project:
- Pavers or Stone Slabs: I always suggest choosing warm toned natural stone or durable concrete pavers for a timeless look. We decided on Dells Weatheredge from Menards for the base of our porch, and a simple pretty grey paver for the top.
- Grout and Finishing: A light or neutral grout highlights the texture and shape of the stone. The grout we used was white, but we added a concrete dye to make it slightly off white.
- Railings and Trim: Vinyl or composite railings pair beautifully with stone and minimize future maintenance. (To shop all of the trim and railing pieces we used, click here.)

You can watch the full, in-depth process here! I absolutely love the final result and that the stone will hold up for years to come. The English cottage look that the stone porch has is also an added bonus!

Well friends, that’s my 2025 home projects roundup! It’s always fun to look back at the year and see all that we were able to accomplish. However, if you’re reading this and feeling discouraged because it’s hard for you to even get one project done a year, please don’t feel bad!

Remember, I have an entire blog and YouTube channel dedicated to our home, so tackling house projects has kind of become part of the job haha. God has truly blessed us with the ability to take on so many projects, because before I started sharing our home online, we definitely weren’t doing nearly as much. If there’s one thing I want you to take away from this, it’s that it’s completely okay to move slowly and complete projects as your time and budget allow.

Mike and I are also very go-getter personalities when it comes to getting things done around the house. Once we decide on a project, we tend to go all in and don’t stop until it’s finished, which can be both a blessing and a curse, haha. We definitely stress ourselves out at times and could probably stand to rest a little more during DIY renovations.

What projects are you looking to complete this year? Let me know in the comments below! And be sure to sign up for my free mini homemaking course for more DIY inspiration!

PIN IT FOR LATER!


Hey Andrea!!
Absolutely love your home!
A question I have for you … it is probably not from this year though …
When you whitewashed the beam over the fireplace, what color did you end up staining the wood on the built-ins? I guess I must not have caught onto that update!
Hello! Do you mean the built-ins the TV is housed in? Those are painted, but let me know what you are referencing!
Thank you for the reply!! I’m sorry! I meant the top board of the bench (to the right) and the top board of the bookself(case) (to the left) of the built-in that houses the TV! I hope I make sense.
Hello Andrea
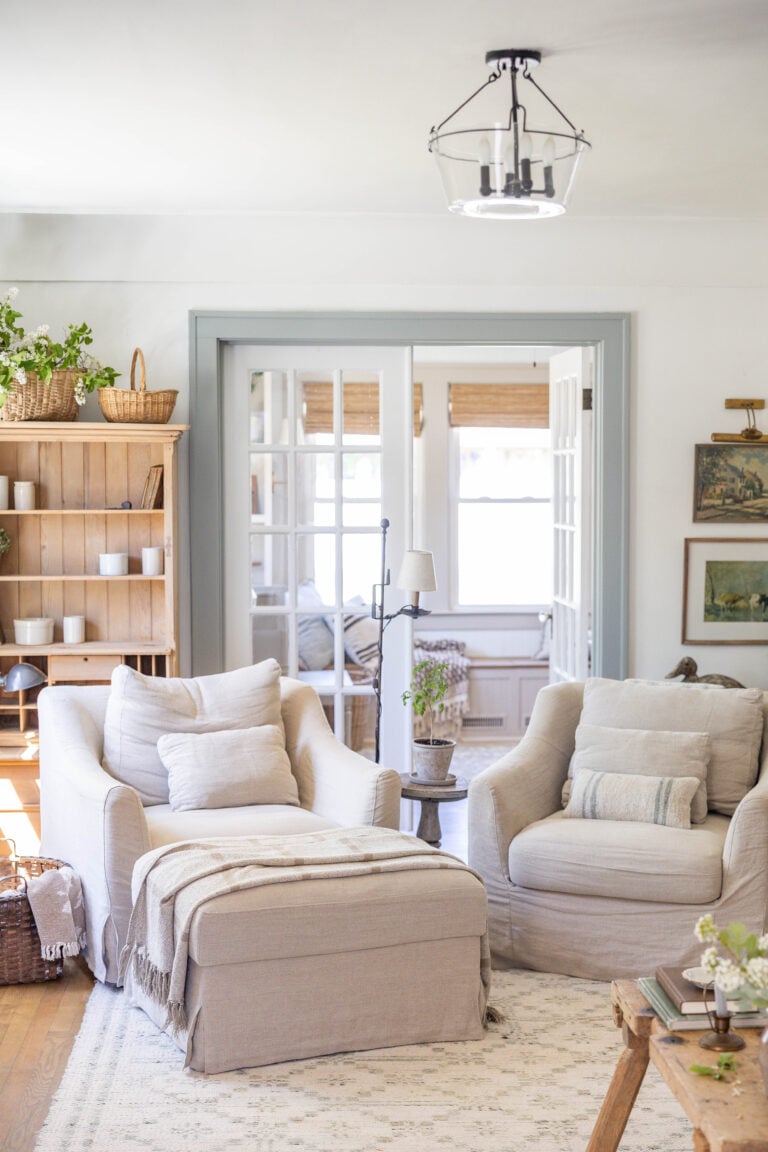
I noticed the bamboo like roller shades in your living room. Would you care to share where you got them?
thanks, Sheila
Hello Sheila! They are from Select Blinds, here is a link: https://www.selectblinds.com/window-shades.html?cjdata=MXxOfDB8WXww&cjevent=e9d01ace13e011f1819a01810a82b821&utm_source=Pine+and+Prospect+Home%2C+LLC&utm_medium=affiliate&utm_content=15326646&adkey=SBUS1110740&utm_campaign=commission-junction and I also wrote a few blog posts on it too: https://www.pineandprospecthome.com/woven-roller-shades-window-covering/