
How to Create a Beautiful Thanksgiving Tablescape on a Budget (Using What You Already Have)

Today I am sharing how to decorate a beautiful Thanksgiving table with thrifted finds and cozy neutral decor!

Thanksgiving is right around the corner, and it’s the perfect time to reflect on gratitude, family, and good food. But what about your table? You don’t need to spend a fortune on new decor or read a bunch of blog posts to create a cozy, elegant Thanksgiving tablescape.

This post contains affiliate links. For my full disclosure, click here.
In this guide, I’ll show you how to decorate your Thanksgiving table on a budget using thrifted pieces and items you already have at home. Let’s turn simplicity into something beautiful and meaningful. You can watch how I created my Thanksgiving tablescape for this year below!
Step 1: Start with Gratitude and What You Already Own
When planning your Thanksgiving decor, resist the urge to buy new items. Instead, look around your home. More than likely, you already have everything you need to create a warm and welcoming atmosphere.
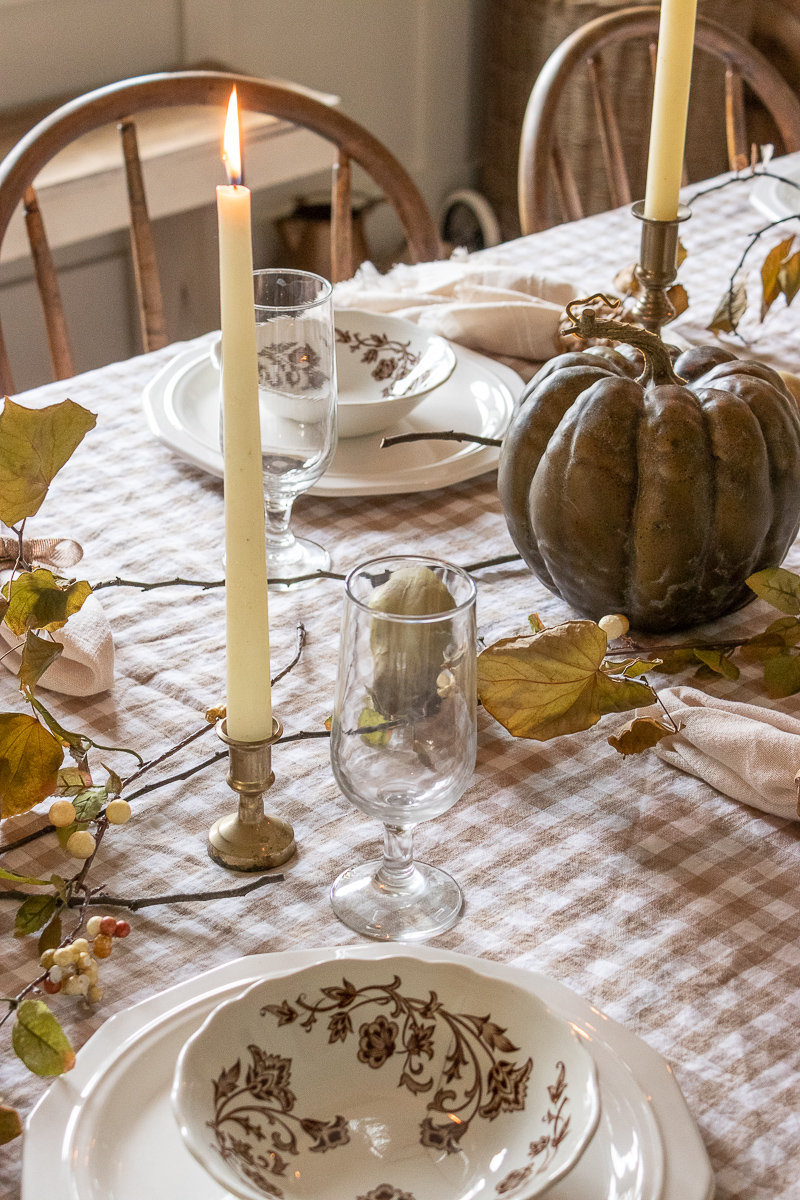
Thanksgiving is all about being thankful for what we already have, so let that mindset guide your decorating choices. I like to call this shopping your own home, and I think you’ll be surprised at how easy it is to use decor you already own to create a beautiful Thanksgiving tablescape.
Step 2: Choose a Creative Base for Your Table
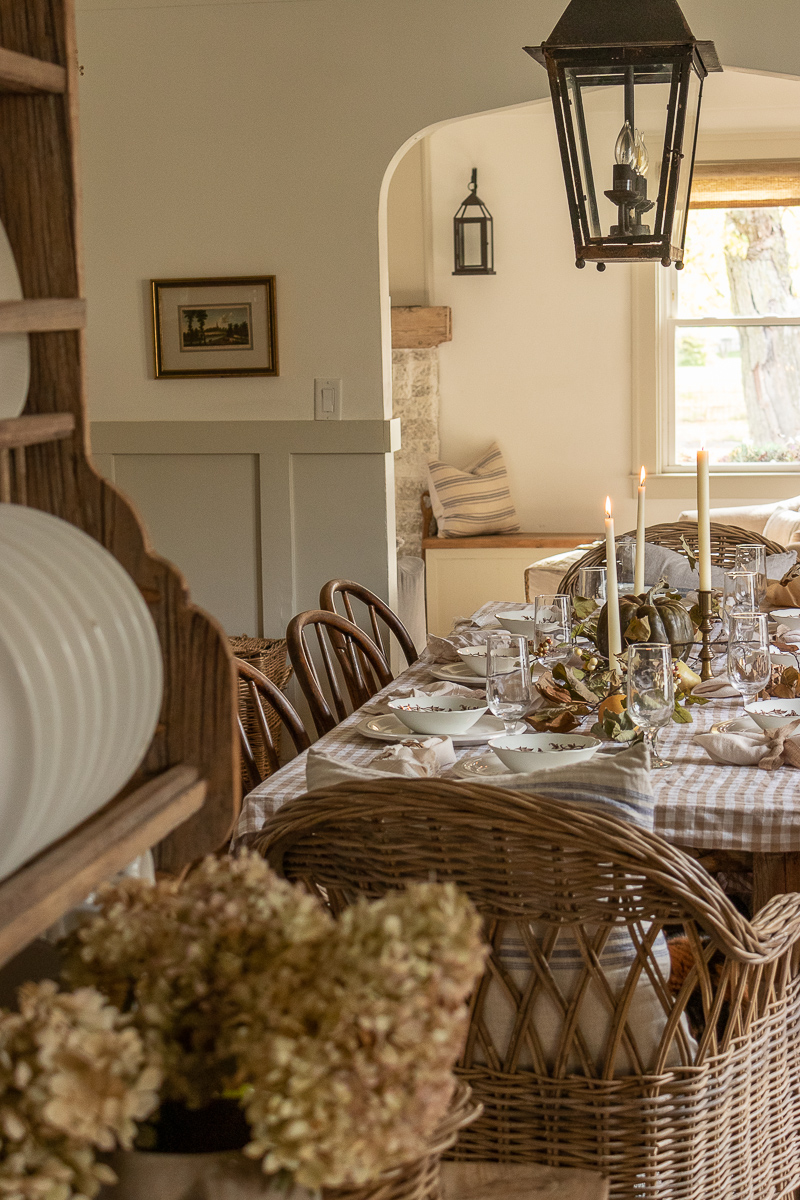
Don’t have a tablecloth? No problem! Get creative. I used a neutral duvet cover as my tablecloth, and it turned out beautifully. I have also used brown kraft paper as a really affordable table runner! Plus, it’s an easy dinners clean up once the meal is finished. Don’t stress over finding the perfect Thanksgiving themed tablecloth when a simple sheet or paper will work perfectly well.
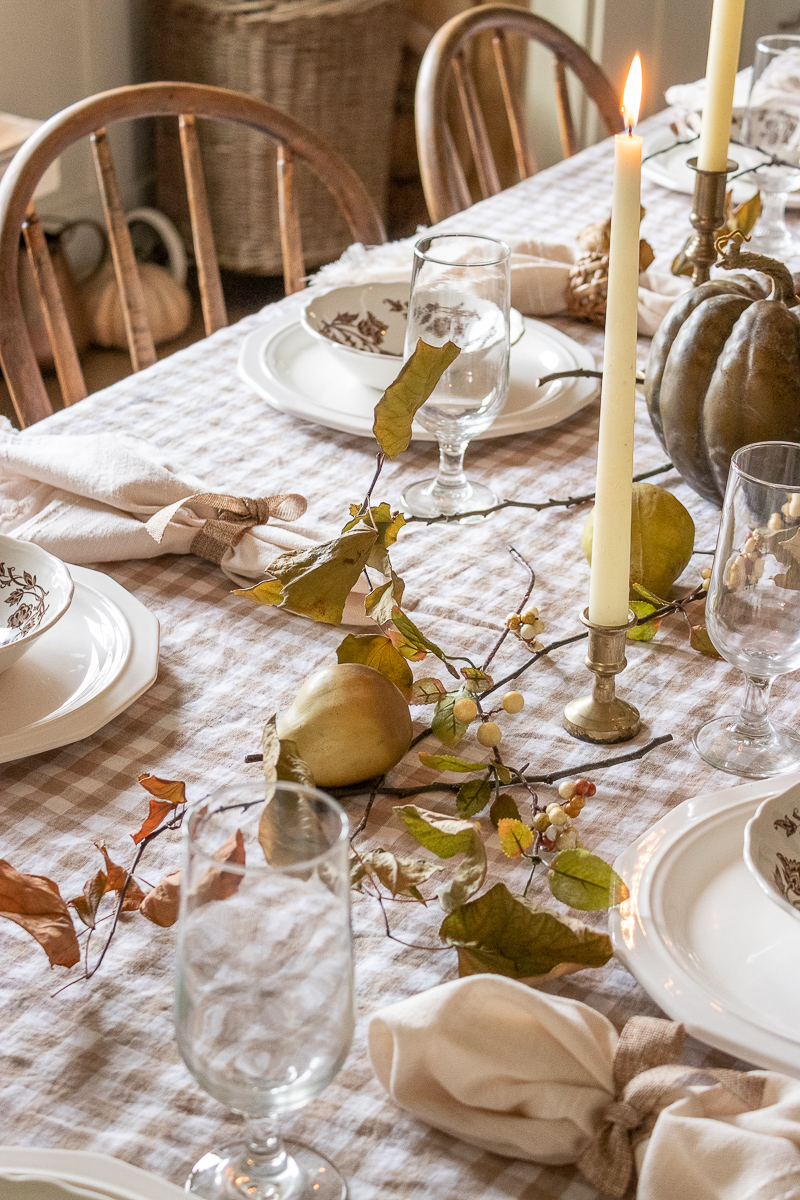
Tip: A sheet, curtain, or linen blanket can easily double as a tablecloth. The texture adds warmth and charm, and you’ll save money in the process.
Step 3: Layer Your Place Settings On Your Thanksgiving Tablescape
Next, set out your plates and utensils before adding centerpieces or vases. This helps you plan the space and ensures your Thanksgiving table decor feels balanced. You can choose to use actual place settings, but I prefer simply setting out dishes and utensils.

I used my basic white dishes paired with thrifted brown floral bowls. I love the simple and neutral design, as it feels perfect for fall. Mixing styles adds personality and depth to your table.
Step 4: Add Napkins and Small Details
You don’t need matching napkins or fancy napkin rings. Now, if you love using those elements, please go for it. But if you don’t already own them, don’t feel pressure to go out and buy a new set. I used a few cloth napkins I already owned and mixed in some soft ribbon ties for variety.
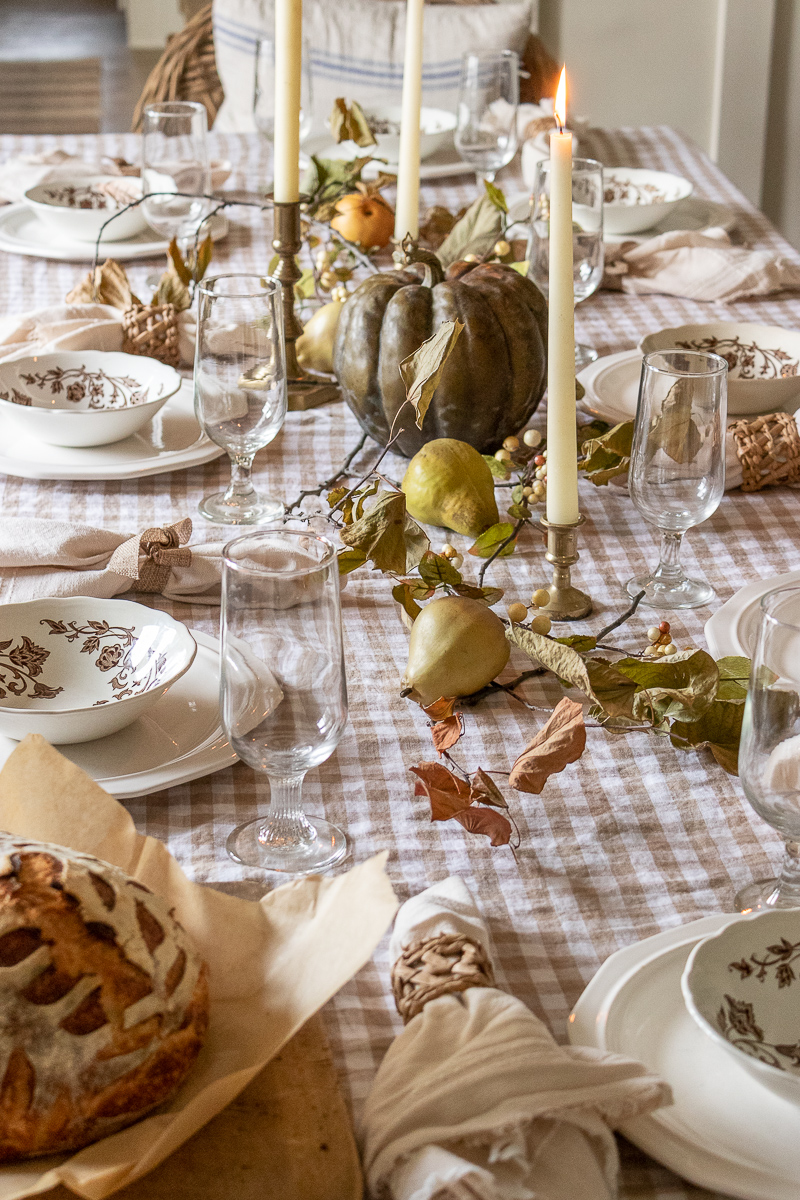
This easy DIY Thanksgiving table setting idea adds texture and charm, and no one will notice if everything doesn’t match perfectly.
Step 5: Build a Low, Natural Centerpiece For Your Thanksgiving Tablescape
A beautiful Thanksgiving centerpiece doesn’t have to be tall or complicated. In fact, lower arrangements encourage conversation across the table. It’s a lot easier for conversation to flow when you can see the person talking to you haha
As you probably know by now, I love using natural elements in my fall decor. For this Thanksgiving tablescape, I used dried stems from around my home and laid them down the center of the table. Then, I added a few faux pears for a touch of color and texture.

You could easily substitute pumpkins, pinecones, or greenery from your backyard. I’ve seen some home decor bloggers use sunflowers or pomegranates as part of their centerpiece! Use what you have available and what you love to customize your own Thanksgiving tablescape.
Step 6: Add Candlelight for Warmth
Nothing sets the mood quite like candlelight. I used thrifted brass candlesticks to bring a warm golden glow to my neutral table decor. You can even consider using some yummy fall scented candles from my favorite non-toxic candle company, Antique Candle Co. to set a cozy and delicious smelling mood.
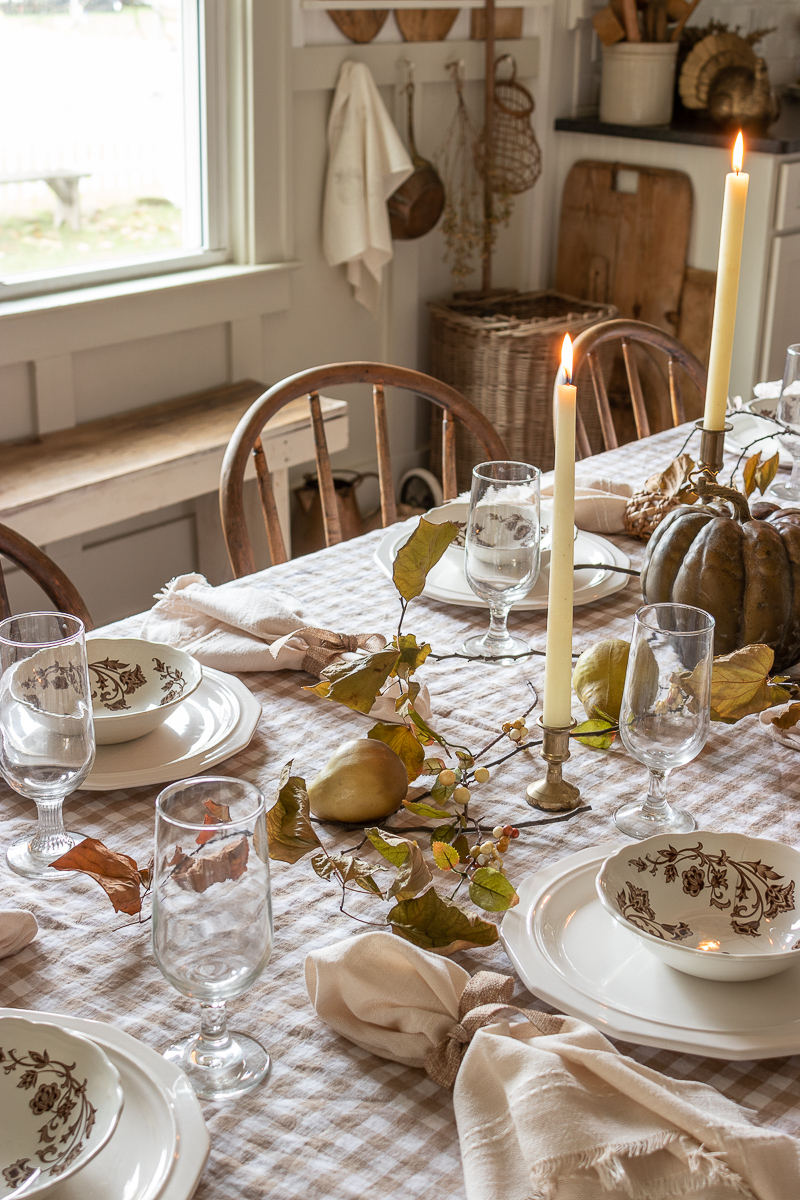
Safety tip: Keep candles away from dried florals or fabrics. Flameless candles are a great option, too.
Step 7: Include Homemade Touches In Your Thanksgiving Tablescape
Adding homemade elements, like a loaf of fresh sourdough bread or a bowl of fruit, gives your table authenticity and warmth. It’s those small, personal touches that make guests feel welcome and loved. I’ll add my favorite sourdough bread in a dutch oven recipe below!
Step 8: Reflect on What Really Matters
As I decorated, I was reminded of how much we have to be thankful for. Whether it’s health, family, or the simple joy of gathering together, gratitude is truly what makes this season so special.

So while your table may look beautiful, it’s the hearts gathered around it that truly make it shine.
Final Thoughts: You Can Create a Gorgeous Thanksgiving Tablescape for Less
Almost everything on my Thanksgiving table was thrifted or repurposed: the plates, bowls, candlesticks, and even the centerpiece materials. You don’t need to spend a lot to create something beautiful.

Look around your home, get creative, and embrace the art of decorating for Thanksgiving on a budget. You’ll be surprised how meaningful it feels to make beauty from what you already have.
Happy Thanksgiving, friends! May your table be filled with warmth, joy, and gratitude.


Simple Sourdough Bread in a Dutch Oven
Super simple sourdough bread recipe that anyone can make!
Ingredients
- 1/4 Cup Active Sourdough Starter
- 1 1/2 Cup Warm Filtered Water
- 4 1/2 Cup All Purpose Flour
- 1 1/2 Tsp Sea Salt
Instructions
-
In a mixing bowl, add your flour and salt. Dissolve your sourdough starter in the warm water until it is dissolved completely and add it to your flour and salt mixture
-
Mix all of the ingredients thoroughly until your dough is formed, cover with a damp towel and let rest for 30 minutes
-
Pull sections of your dough away from the main portion to fold and activate the dough on all four sides
-
Cover your dough with a damp towel and set aside to allow it to rise for a minimum of 6 hours
-
Once your dough has risen a minimum of 6 hours, remove your dough from the mixing bowl onto a floured surface
-
Shape the dough by folding four different sides again into the center of your dough and let your dough rest 10-15 minutes
-
Place the dough into a bowl lined with a floured towel or banneton cover and let rise an additional 60 minutes
-
Preheat your oven to 450 degrees
-
Once your dough has risen an additional 60 minutes, cover with parchment paper and flip your bowl upside down, dropping your dough onto the paper
-
Take a sharp knife or bread lame and score your bread
-
Take all four corners of the parchment paper to lift your dough and place it into the dutch oven covered. Bake for 30 minutes.
-
After 30 minutes, uncover and bake an additional 20 minutes.
-
After 20 minutes, remove loaf from dutch oven onto a cooling rack
-
Let finished loaf rest for an hour, serve and enjoy!
PIN IT FOR LATER


Beautiful message! Thank you for reminding us of what is important. I needed that. Also, thanks for the great ideas!