
DIY Pleated Lampshades: An Easy Way to Add Warmth and Style
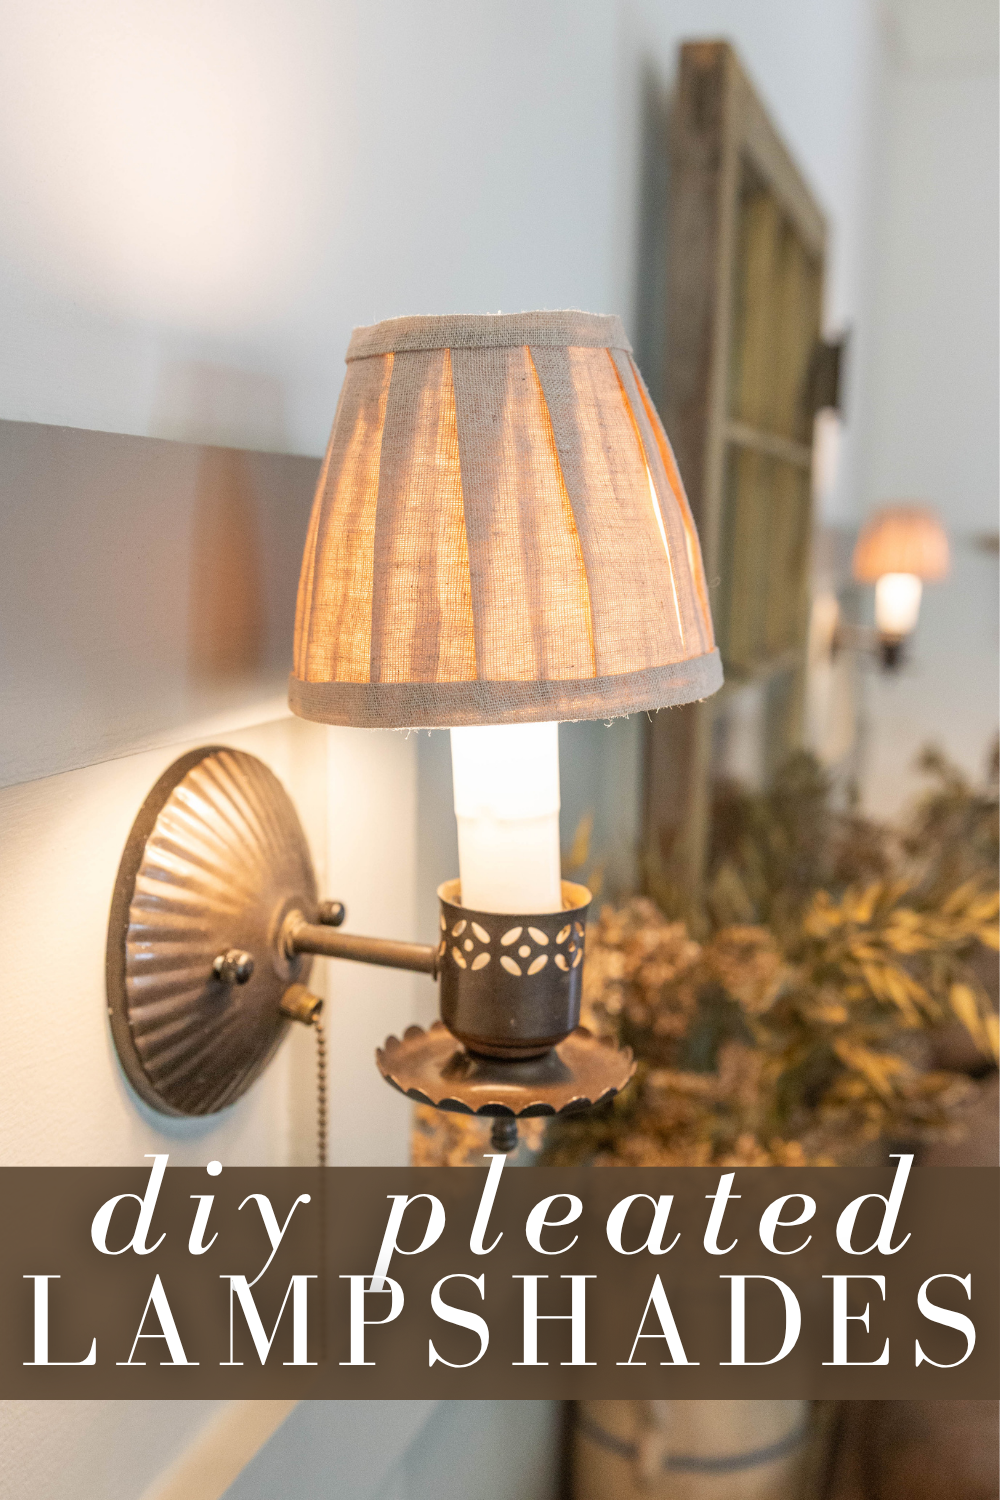
Today, I’m sharing how I made these DIY pleated lampshades to add a little warmth and character to our living room!
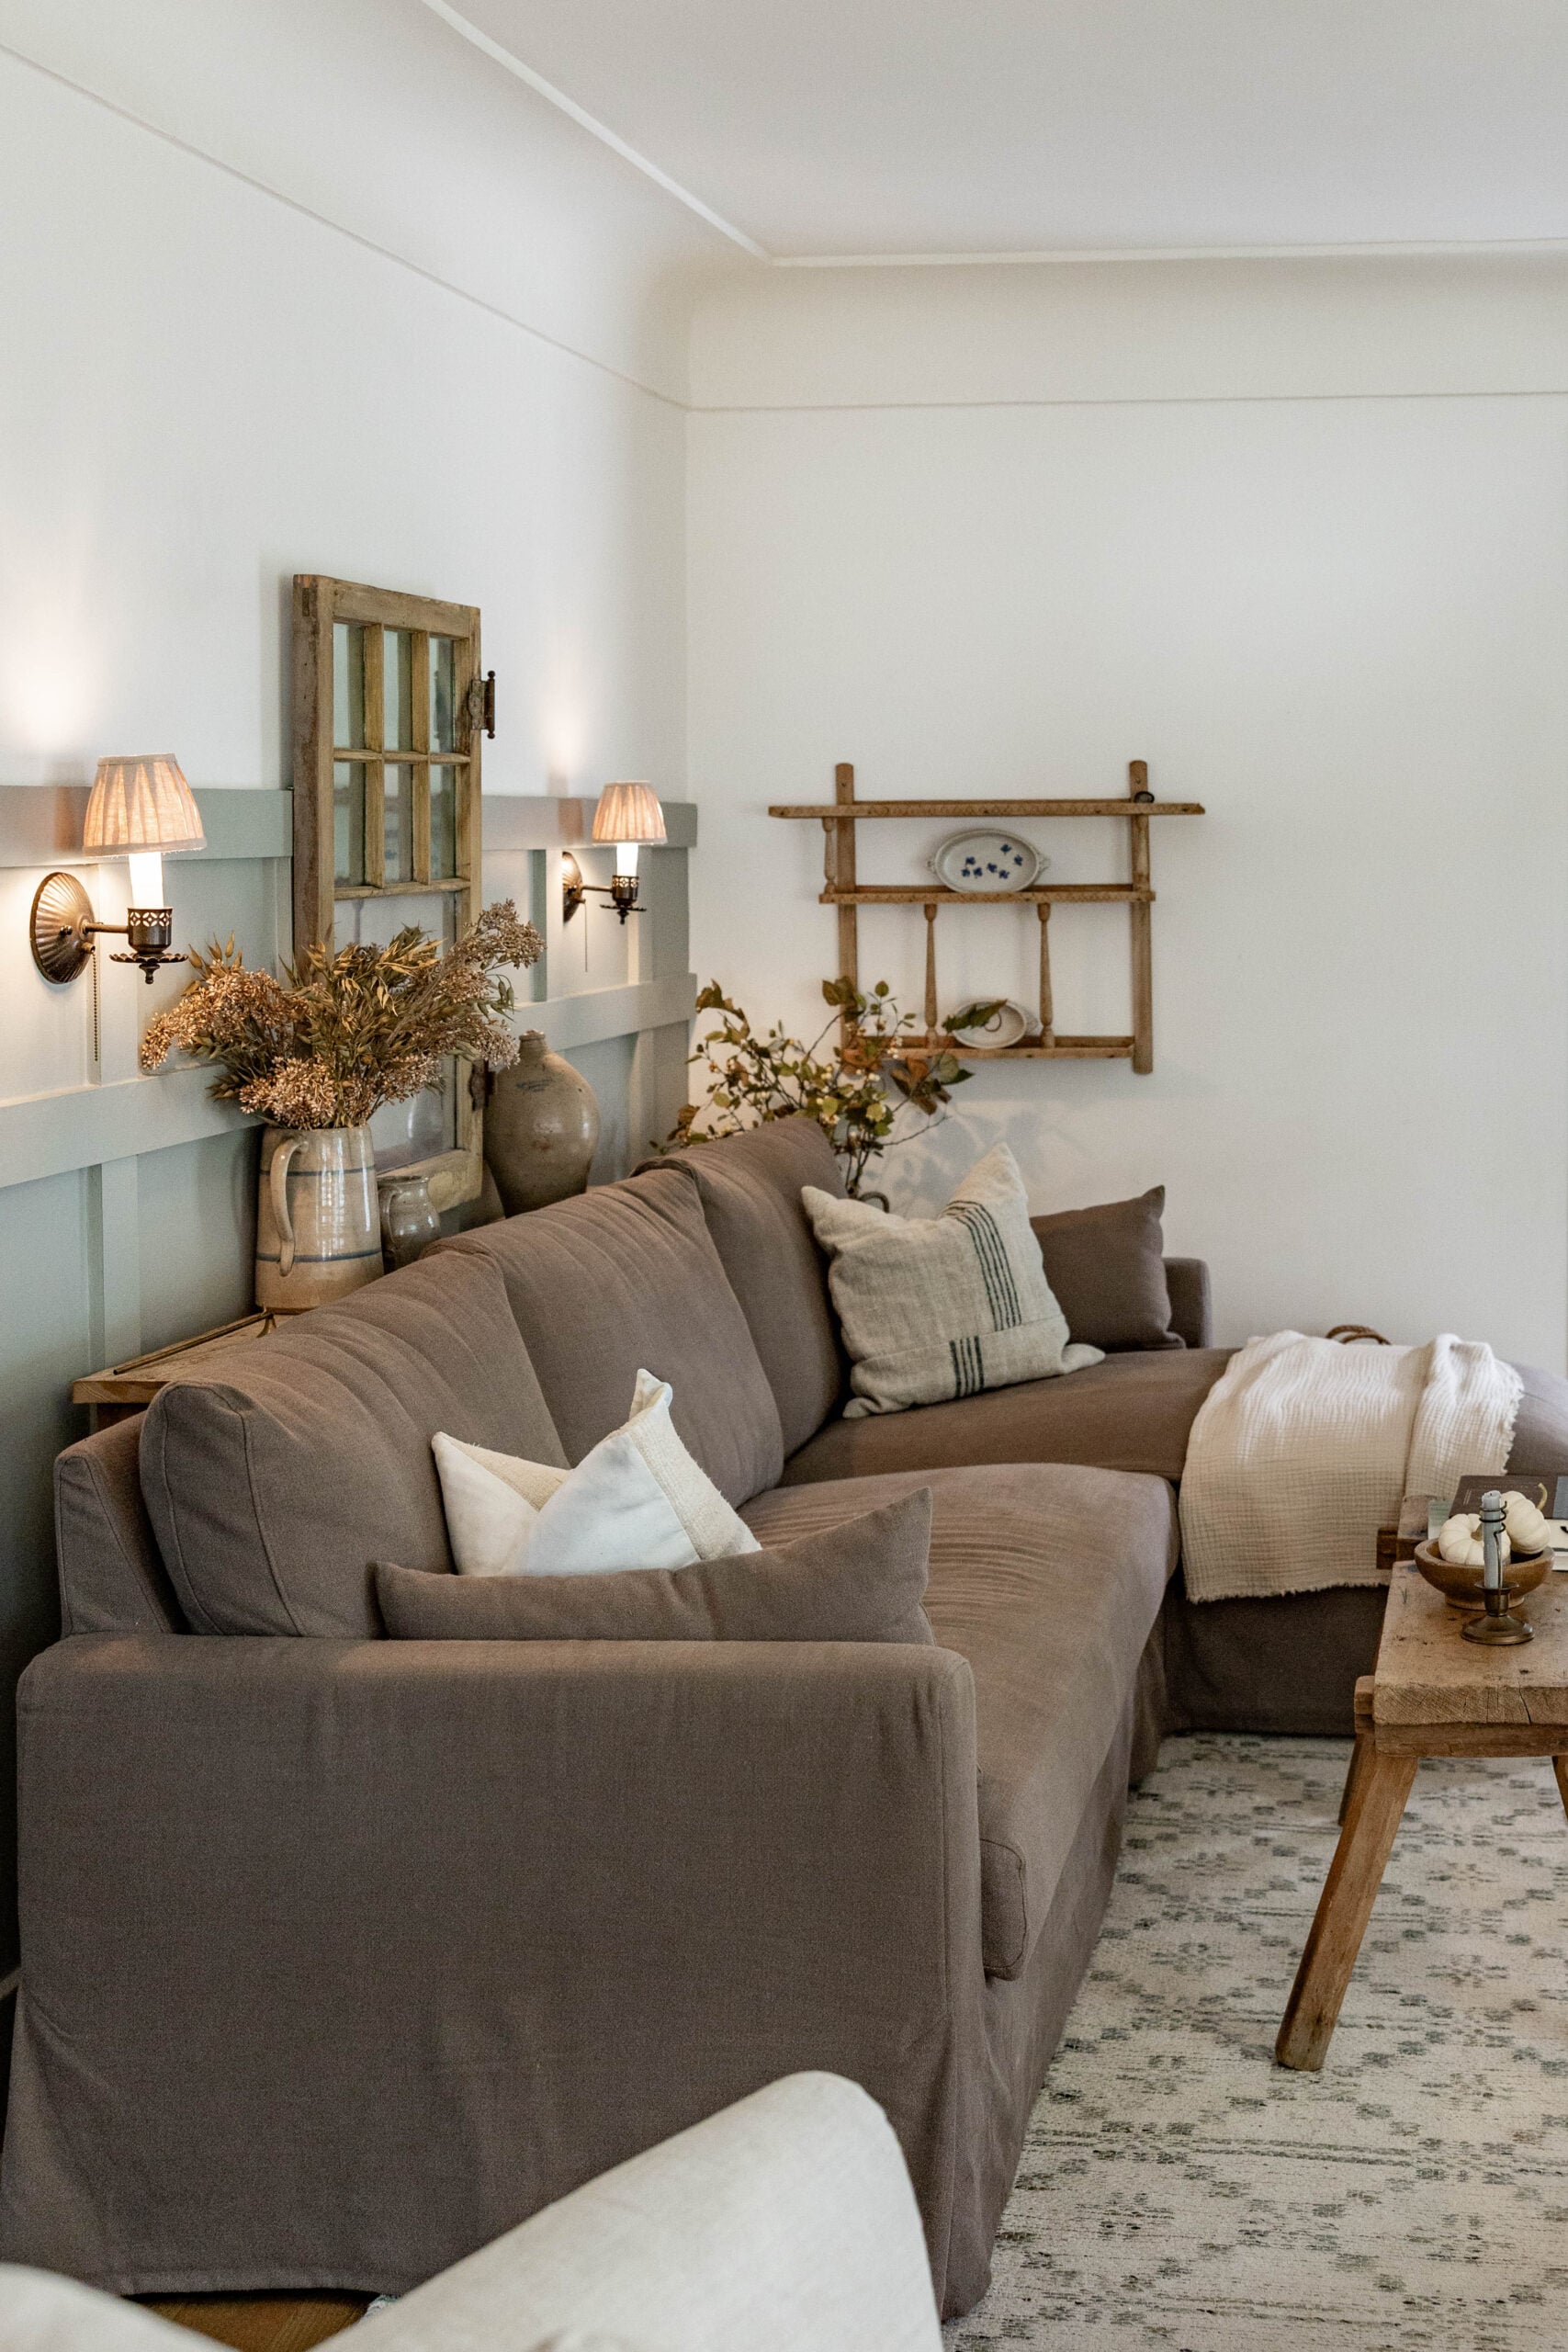
I’ve been wanting to do something with the lights behind our sofa for the longest time. I wanted something that felt a little more custom and unique, but I didn’t want to spend a lot of money on new lamps. So I decided to try making my own DIY pleated lampshades.
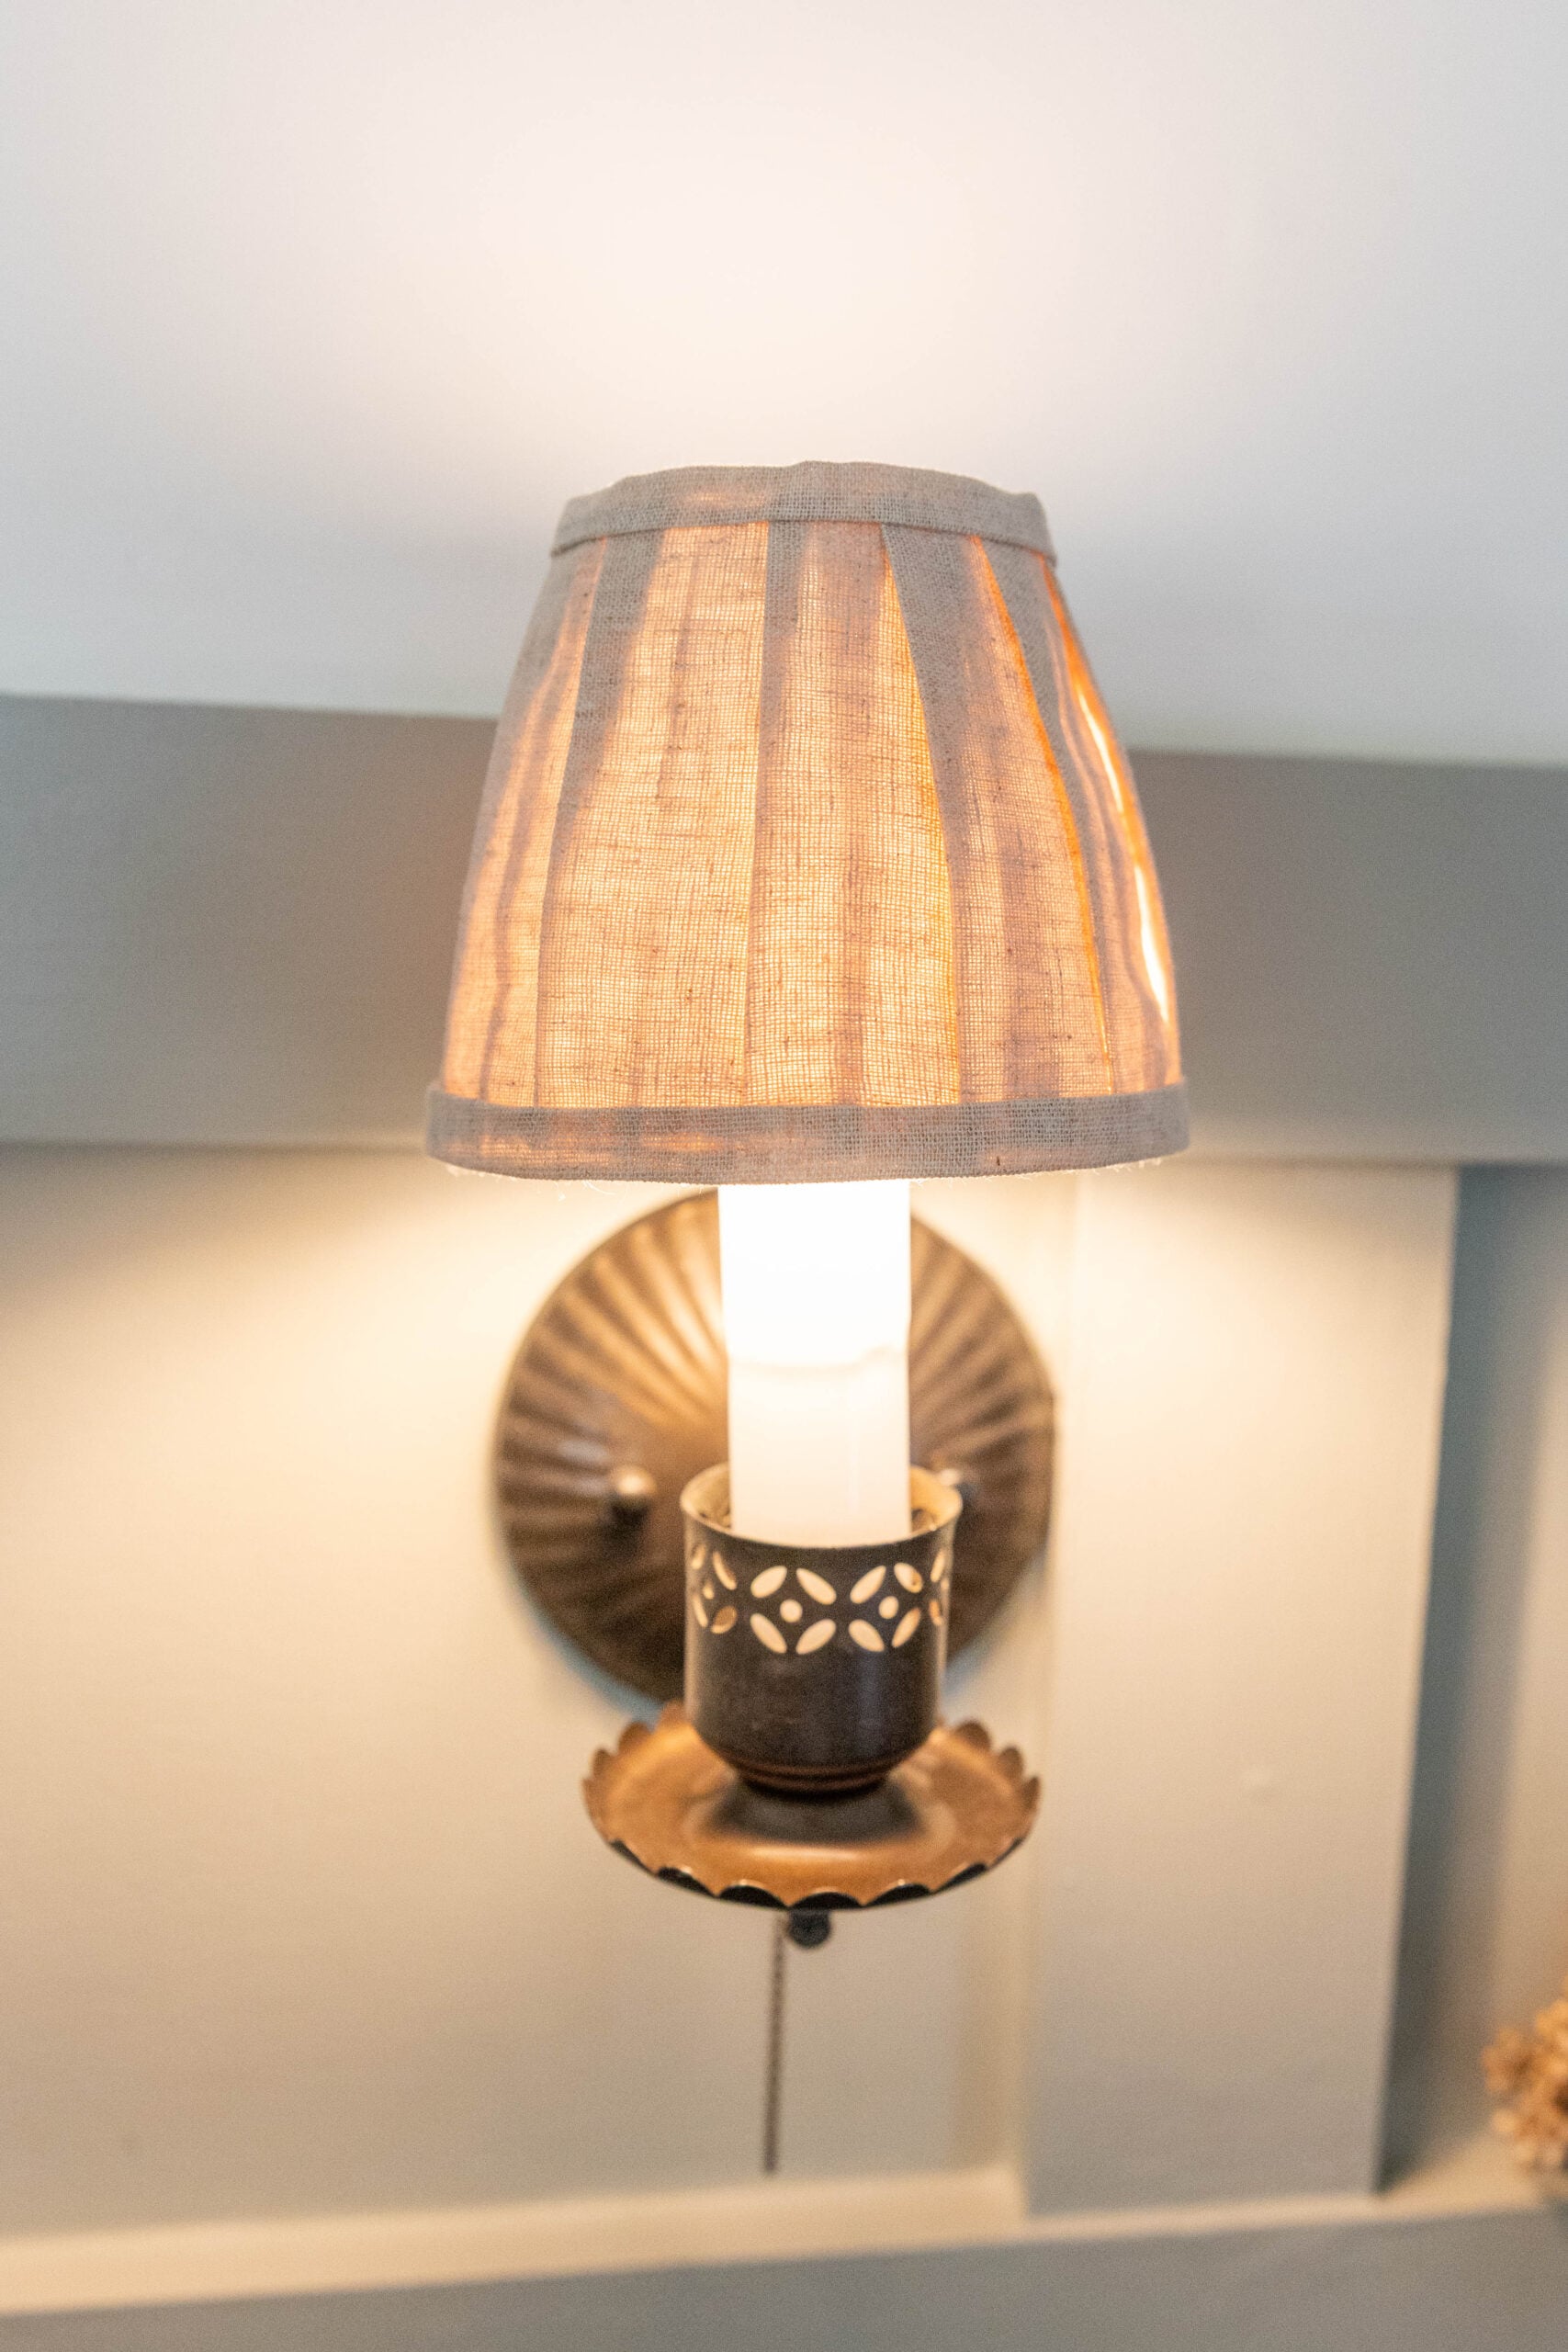
I ended up loving how they turned out, and the best part is that I was able to use fabric I found while thrifting.
This post may contain affiliate links. For my full disclosure, click here.
DIY Pleated Lampshades: What I Used
For this project, I used:
- Plain lampshades
- A linen shower curtain I thrifted from Goodwill
- Scissors
- An iron
- A hot glue gun and glue
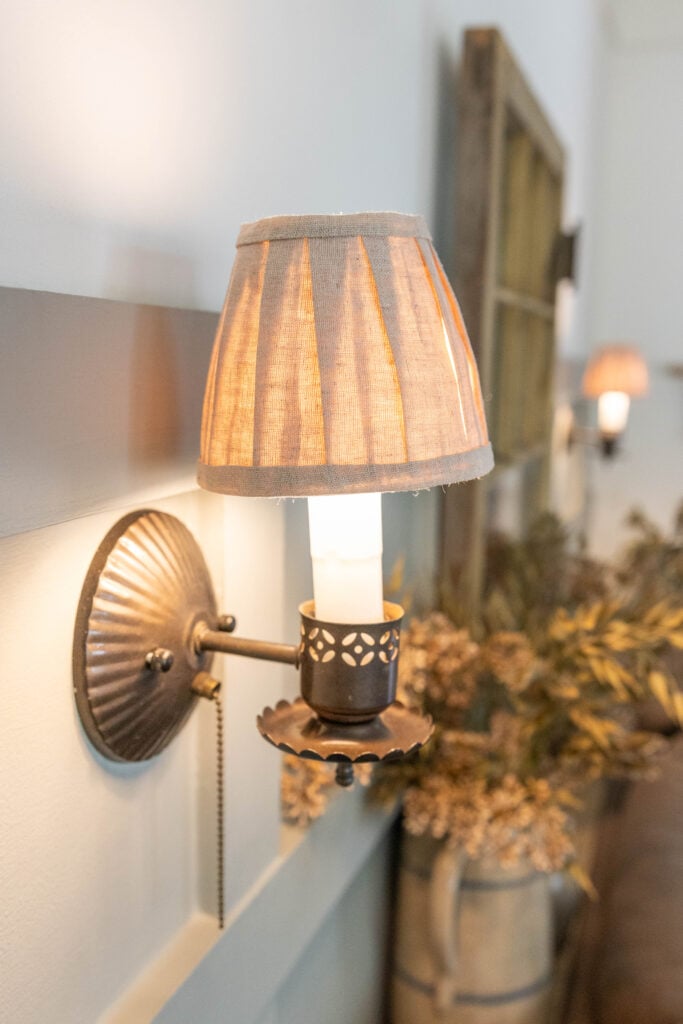
My shower curtain was originally from Target, and I loved the simple linen look. A lot of lampshade DIYs use pretty floral fabrics, but I wanted something more neutral and simple for our living room.
How I Made the Pleated Lampshades
I started by measuring the height of my lampshade and cutting my fabric into strips that were about the same height as the shade. My strips were approximately 2½ inches wide. I then folded and ironed each little strip to create a pleat.
Once I had all of my pieces prepared, I started attaching them to the lampshade with hot glue. I put a small dot of glue at the top and bottom of each strip and worked my way around the shade until it was completely covered.
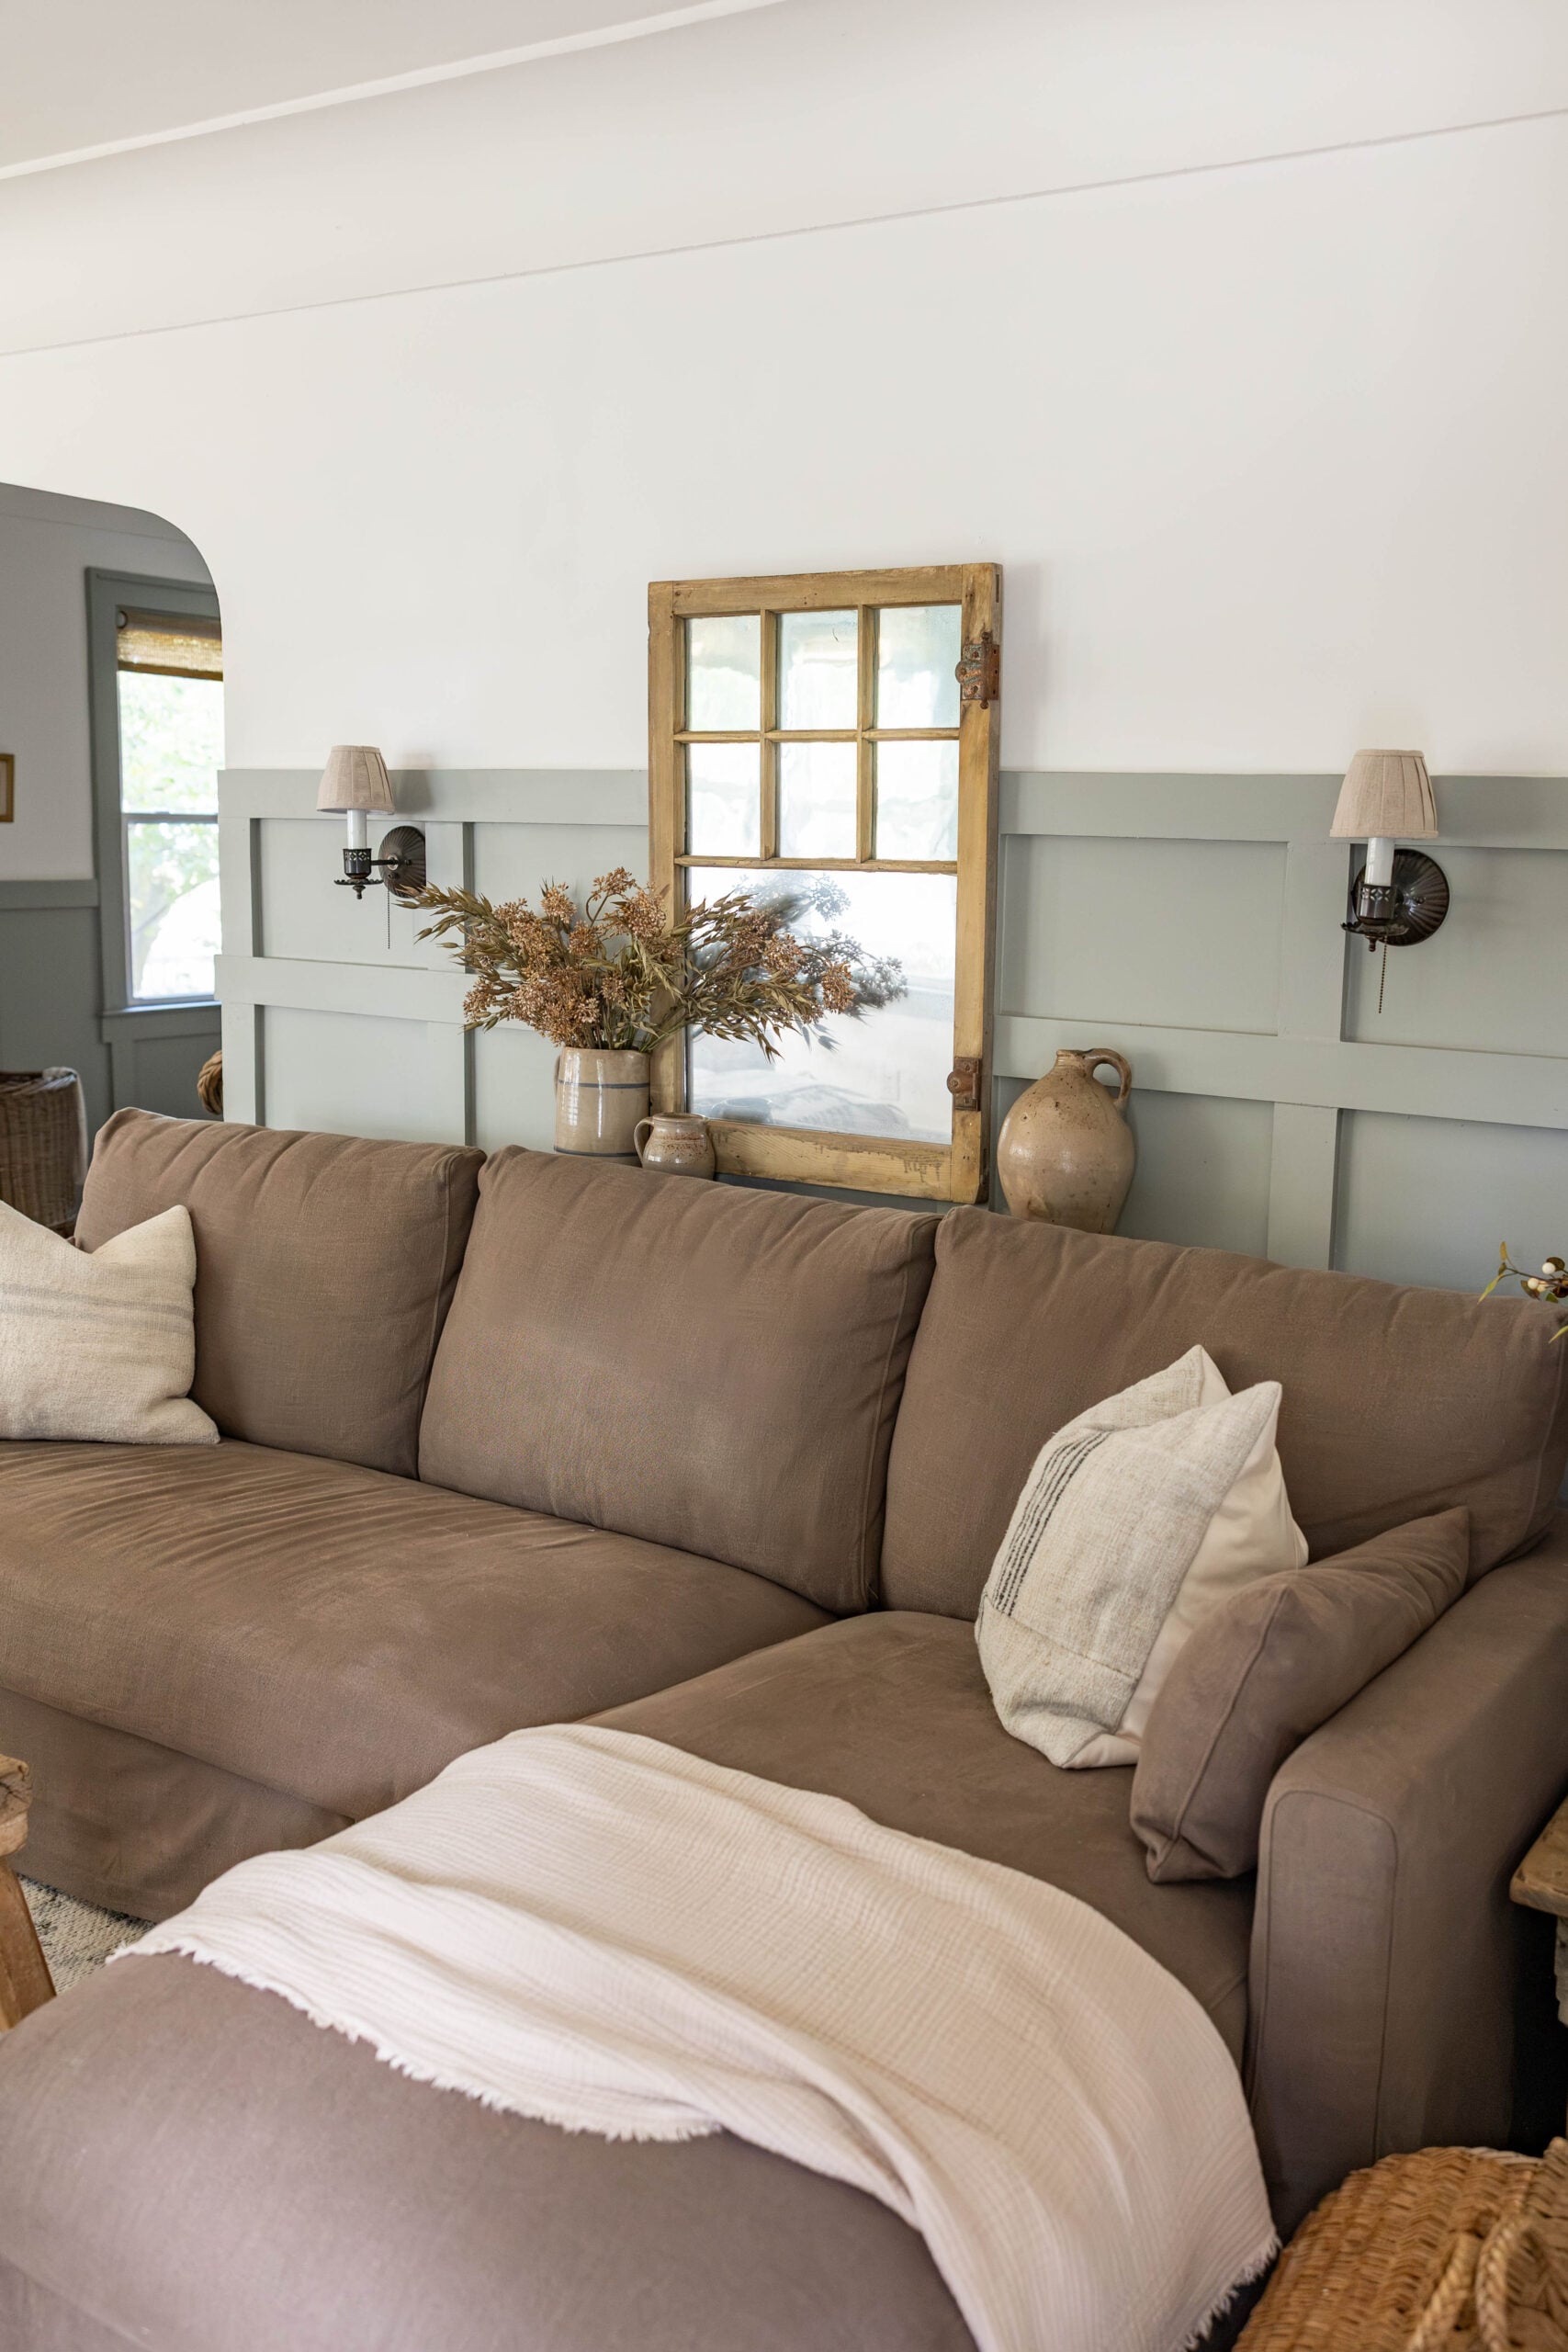
For the finishing touch, I cut additional strips of fabric for the top and bottom of the lampshade. I folded these in half and glued them around the edges to give the shade a more finished look. And honestly, that’s really all there was to it!
What I Would Do Differently
If I were making these again, there is one thing I would change. I wish I had pulled the fabric a little tighter as I was attaching each strip. I just put a dot of glue at the top and bottom and placed the fabric, and some of the strips ended up with a little bit of a ripple.
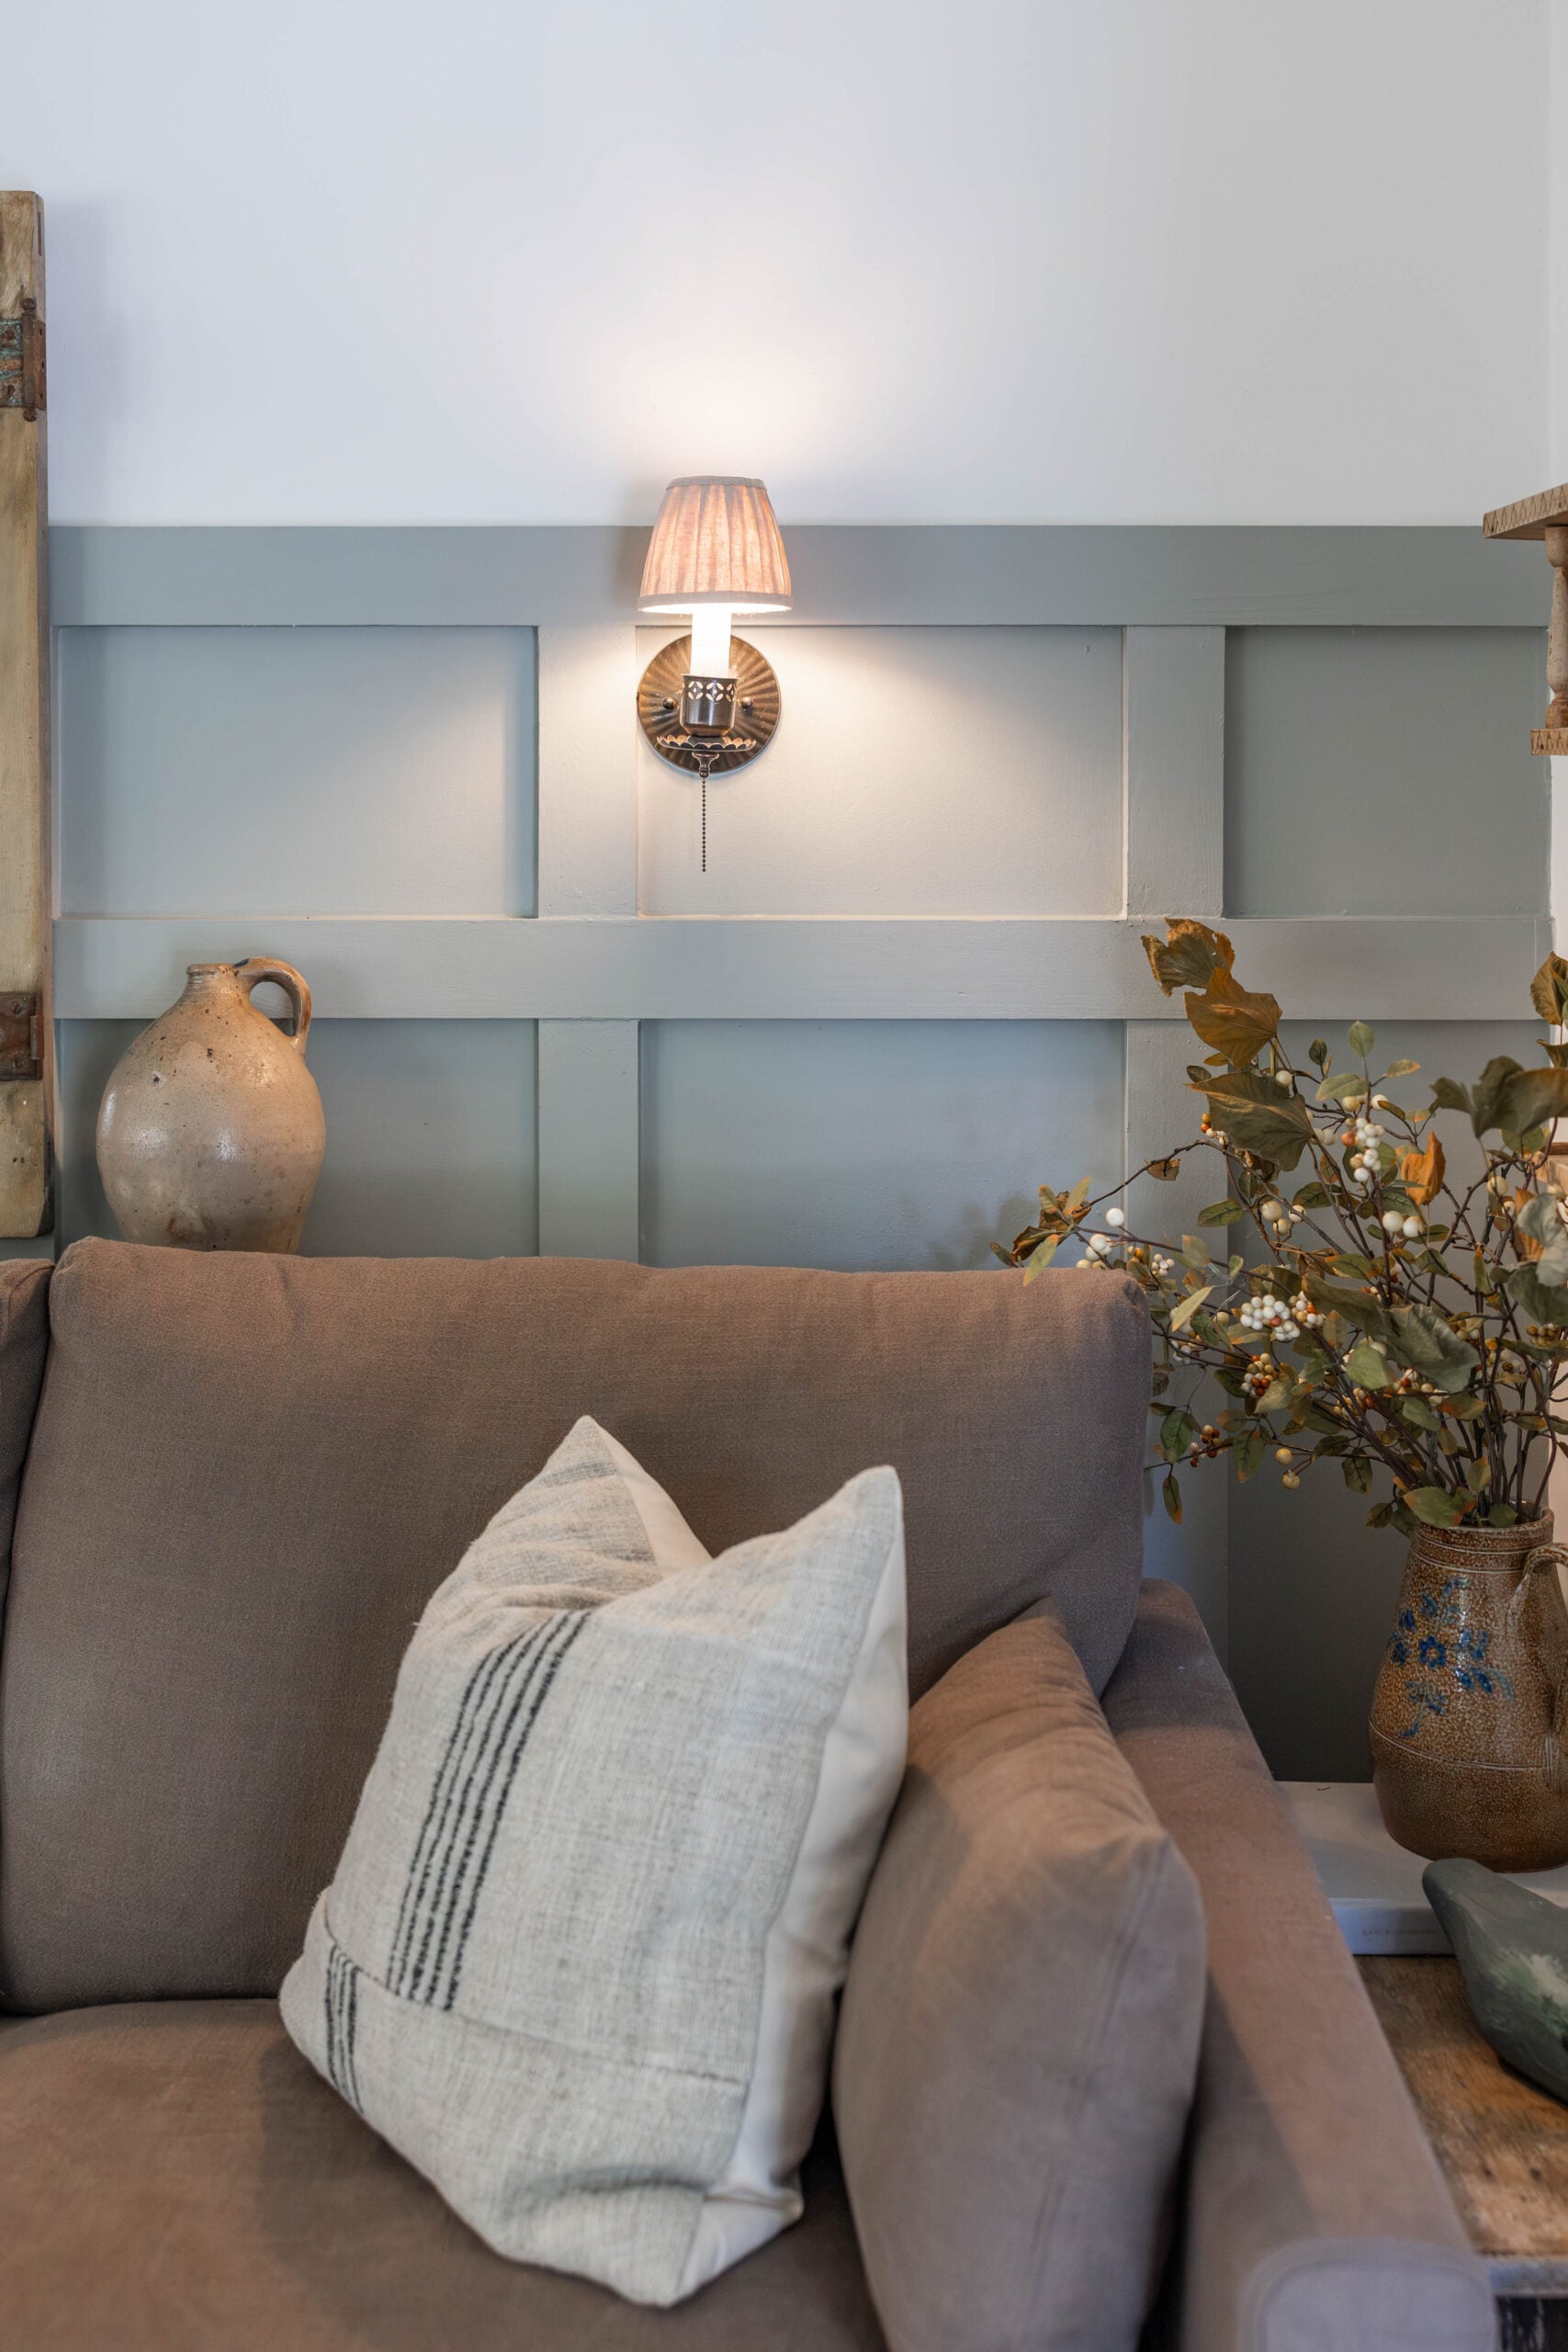
I think I would attach the top first, let the glue set, and then gently pull the fabric toward the bottom before gluing it in place. I also considered putting a little glue in the middle of each strip, but I was worried about being able to see the glue once the lamp was turned on. It’s a small thing, though, and I still really love how they turned out.
I Love the Finished Look
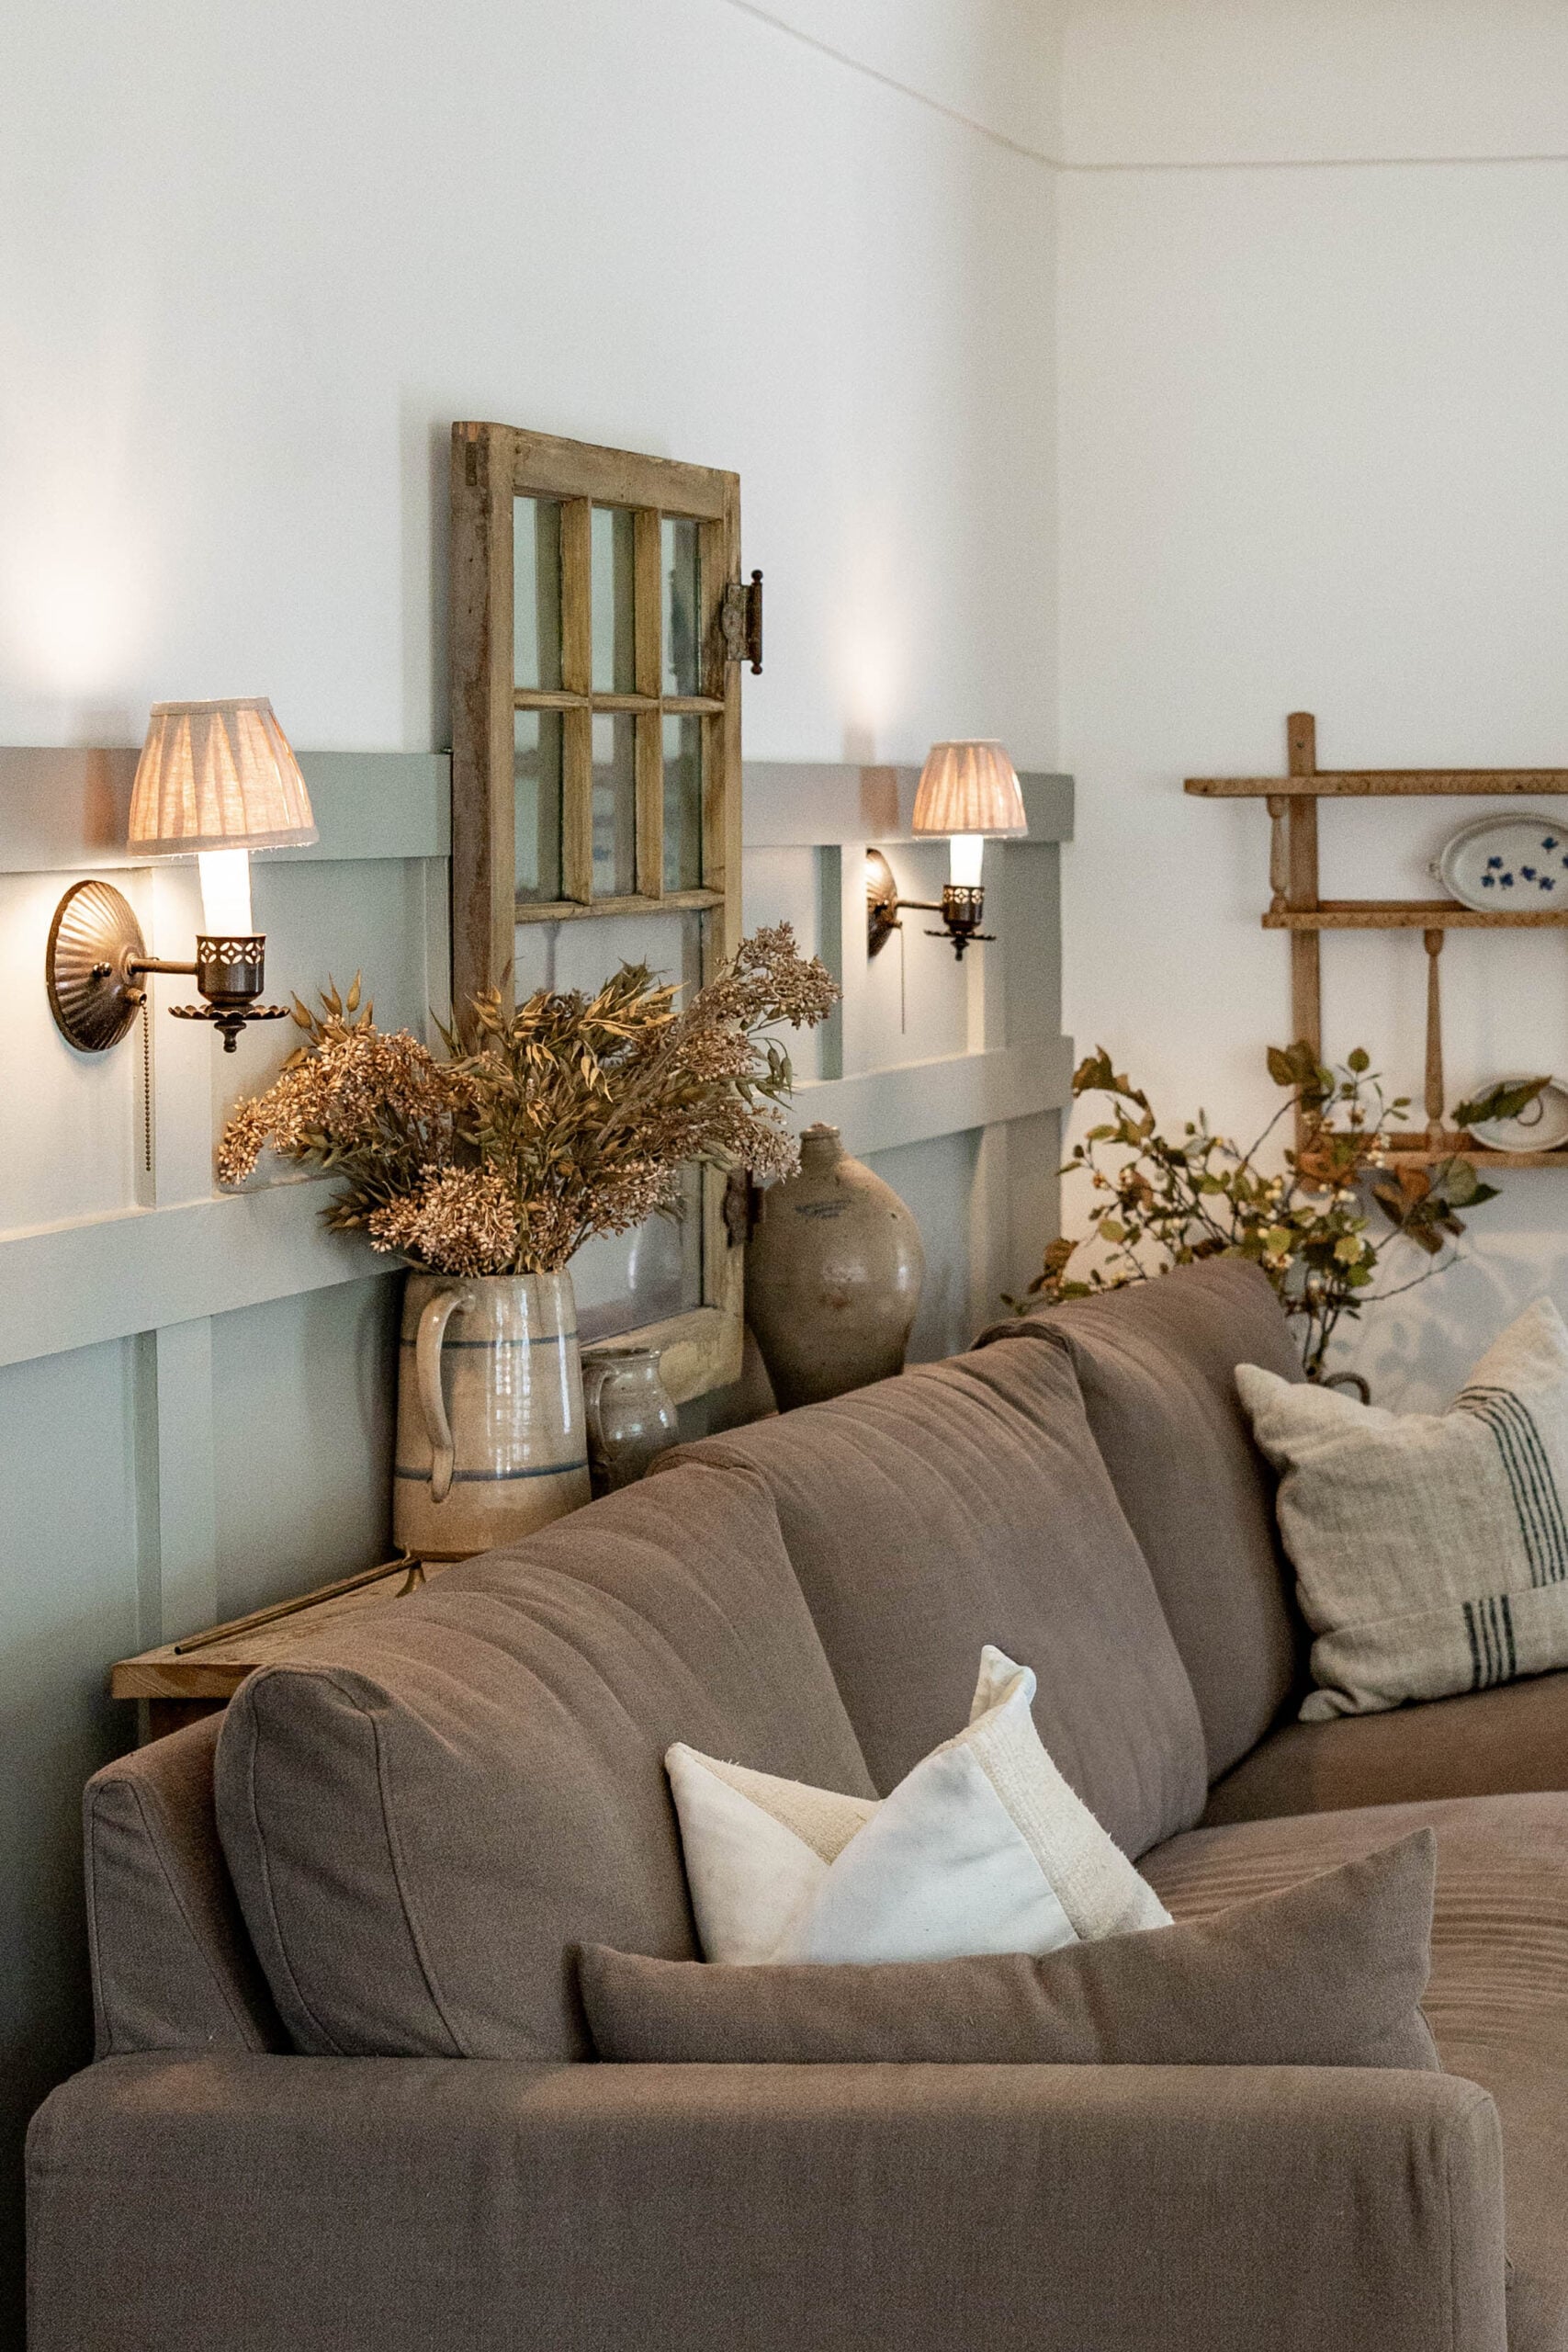
The original lampshades were perfectly fine, but these feel so much more custom and unique. I love the texture of the pleated fabric and the warmth it adds to this corner of our living room. And using a thrifted linen shower curtain made this project especially inexpensive.
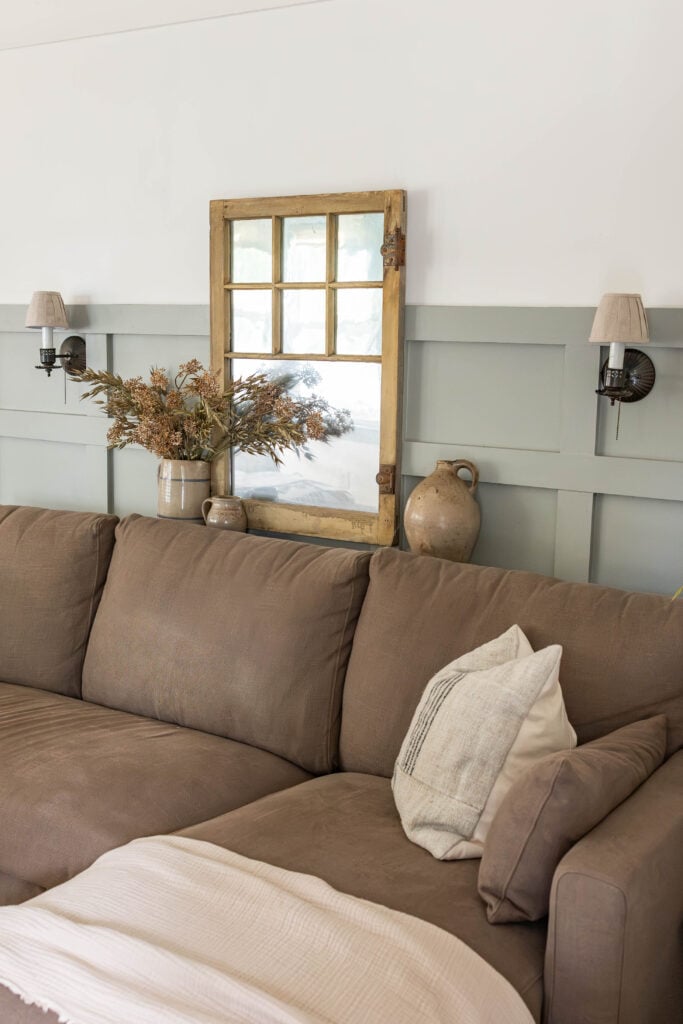
One thing I did notice is that the shades are a little darker when the lamps are turned on. I’m still playing around with that and may try brighter bulbs or add another light source nearby. But overall, I’m really happy with them.
I love projects like this because they don’t have to be complicated or expensive to make a big difference in a room. A little thrifted fabric, some patience, and a hot glue gun can go a surprisingly long way. What do you think about my DIY pleated lampshades? Let me know in the comments below, and be sure to sign up for my free mini homemaking course for more DIY inspiration!

PIN IT FOR LATER


