
DIY Flagstone Patio: From Pea Gravel to a Beautiful Backyard Retreat
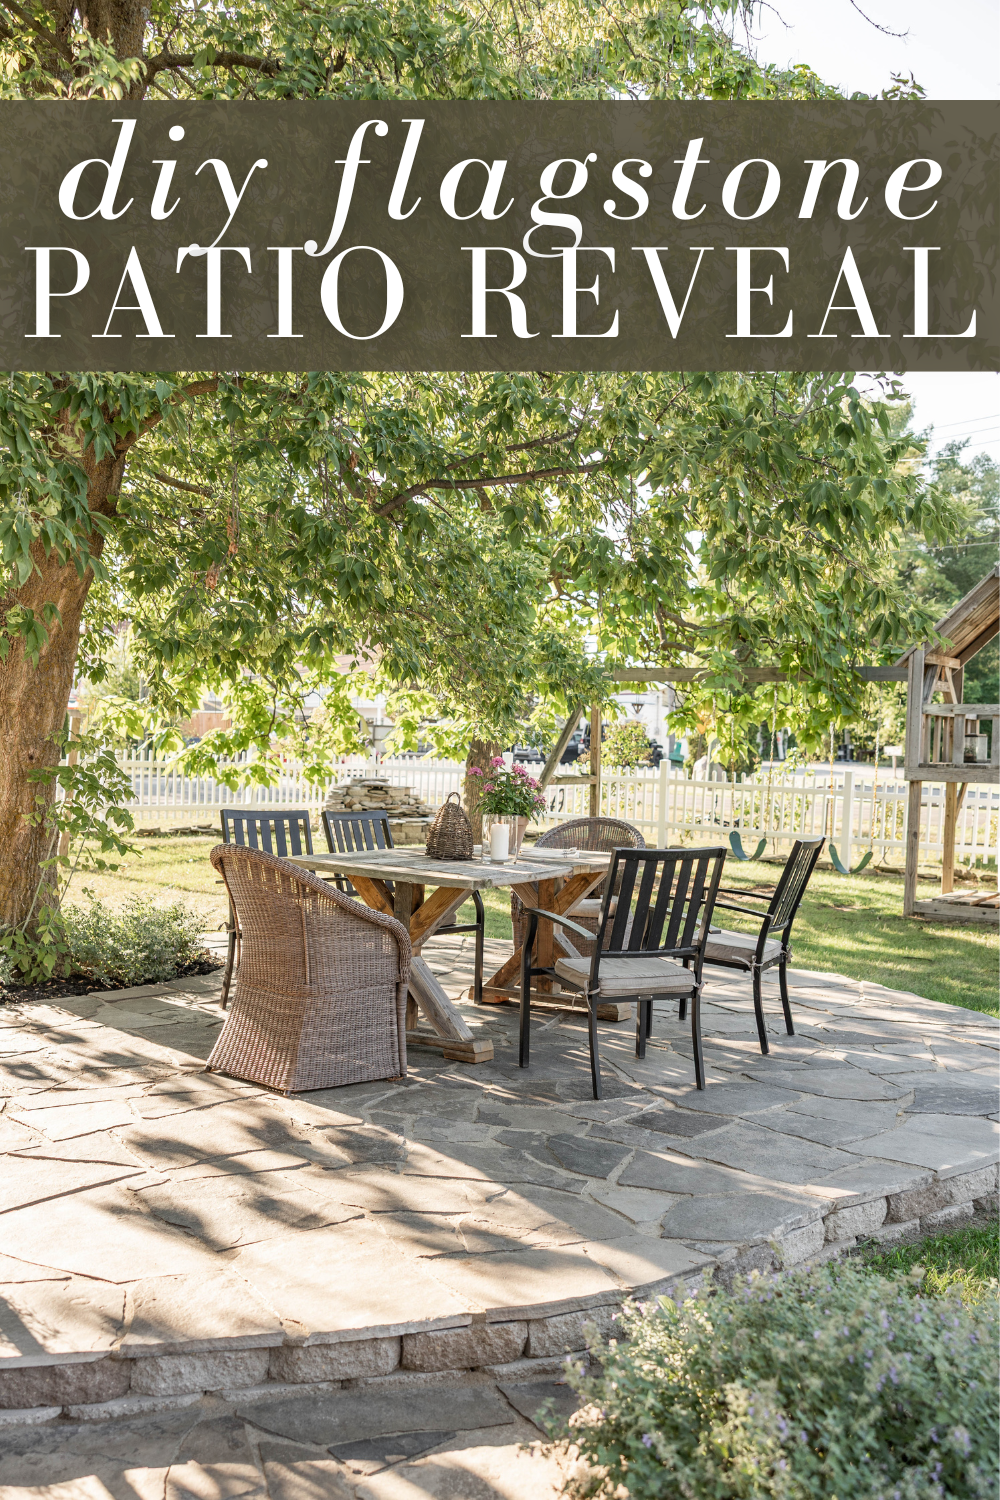
Today I’m so excited to finally share our DIY flagstone patio transformation!
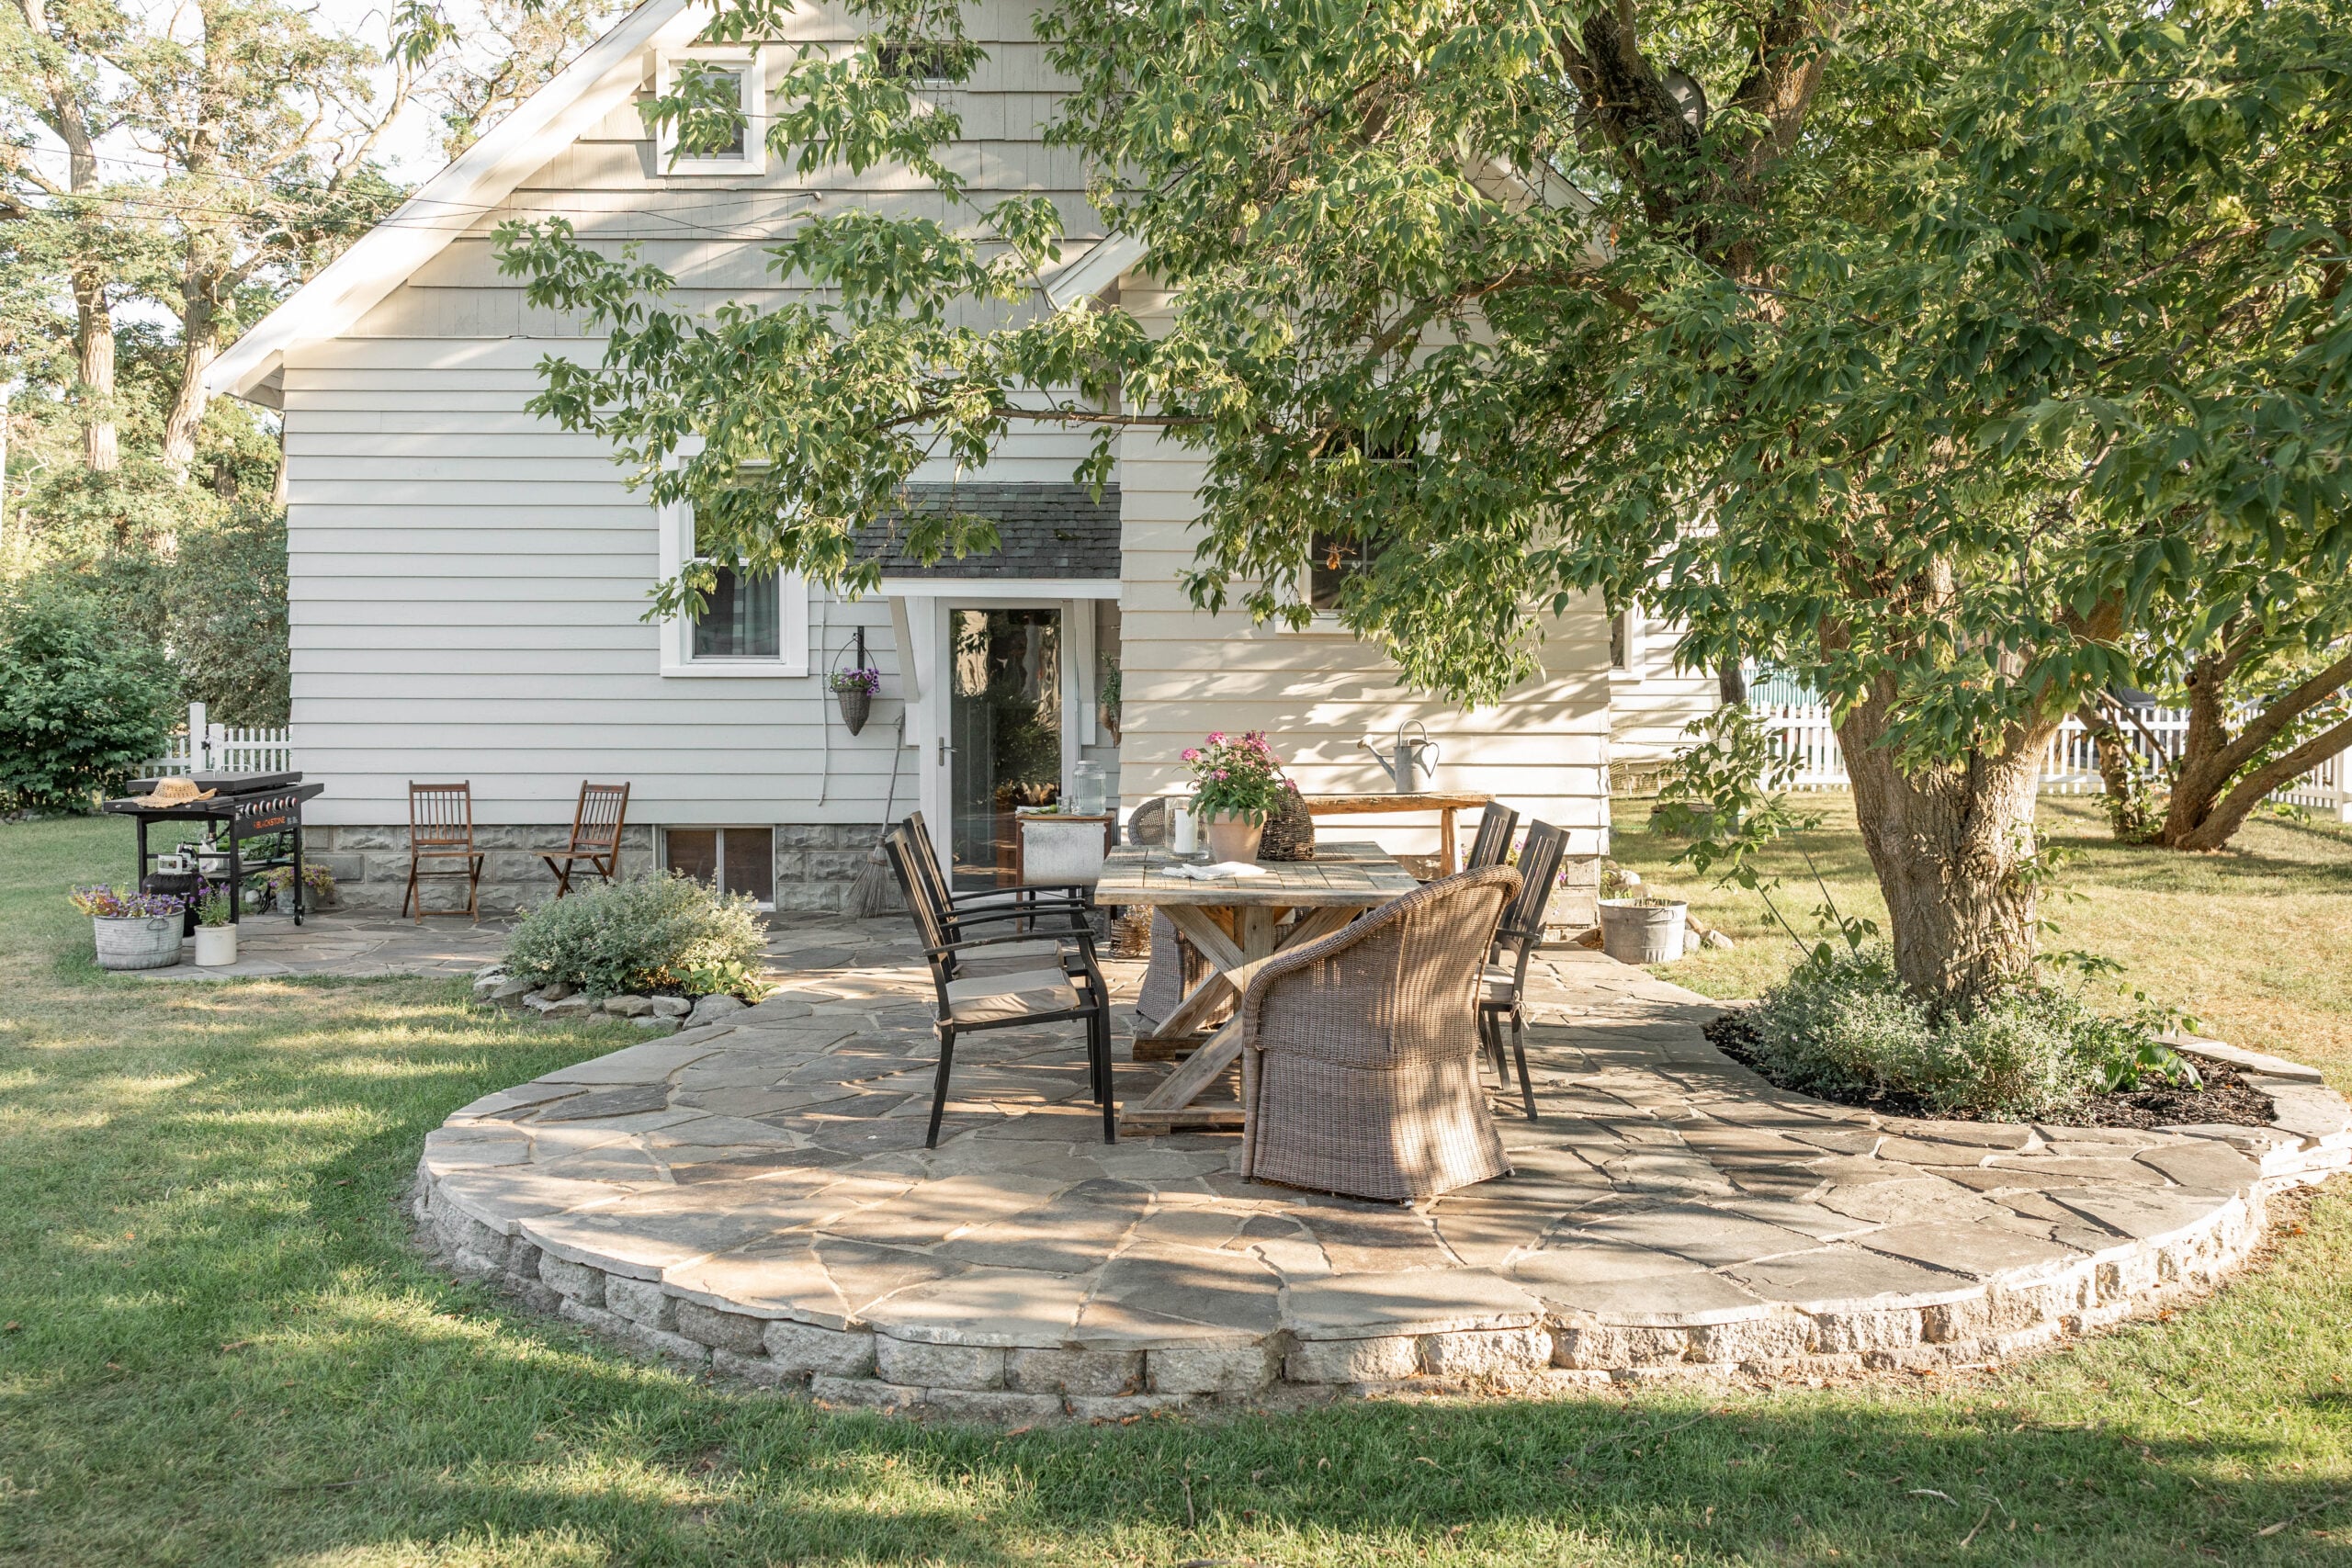
After years of having a pea gravel patio, we finally decided it was time for a change. Our original patio was an affordable DIY project that served our family well for years, but maintaining it, especially underneath a large tree, had become more work than we wanted. We eventually decided to replace it with a DIY flagstone patio!
The project took us from mid-May through early August, and we worked on it little by little whenever we had the time. Our boys also helped throughout the process, particularly with removing and moving the old pea gravel. This was definitely a bigger project than we initially anticipated, but we’re thrilled with how our natural flagstone patio turned out.
In this post, I’ll walk through why we decided to replace our pea gravel patio, how we chose our flagstone, how we prepared the base, how we worked around the tree roots, and how we finished and styled the space.
This post may contain affiliate links. For my full disclosure, click here.
Why We Replaced Our Pea Gravel Patio
There’s nothing inherently wrong with a pea gravel patio. In fact, our original patio was a great budget-friendly DIY project, and we enjoyed it for many years. The biggest problem was where our patio was located.
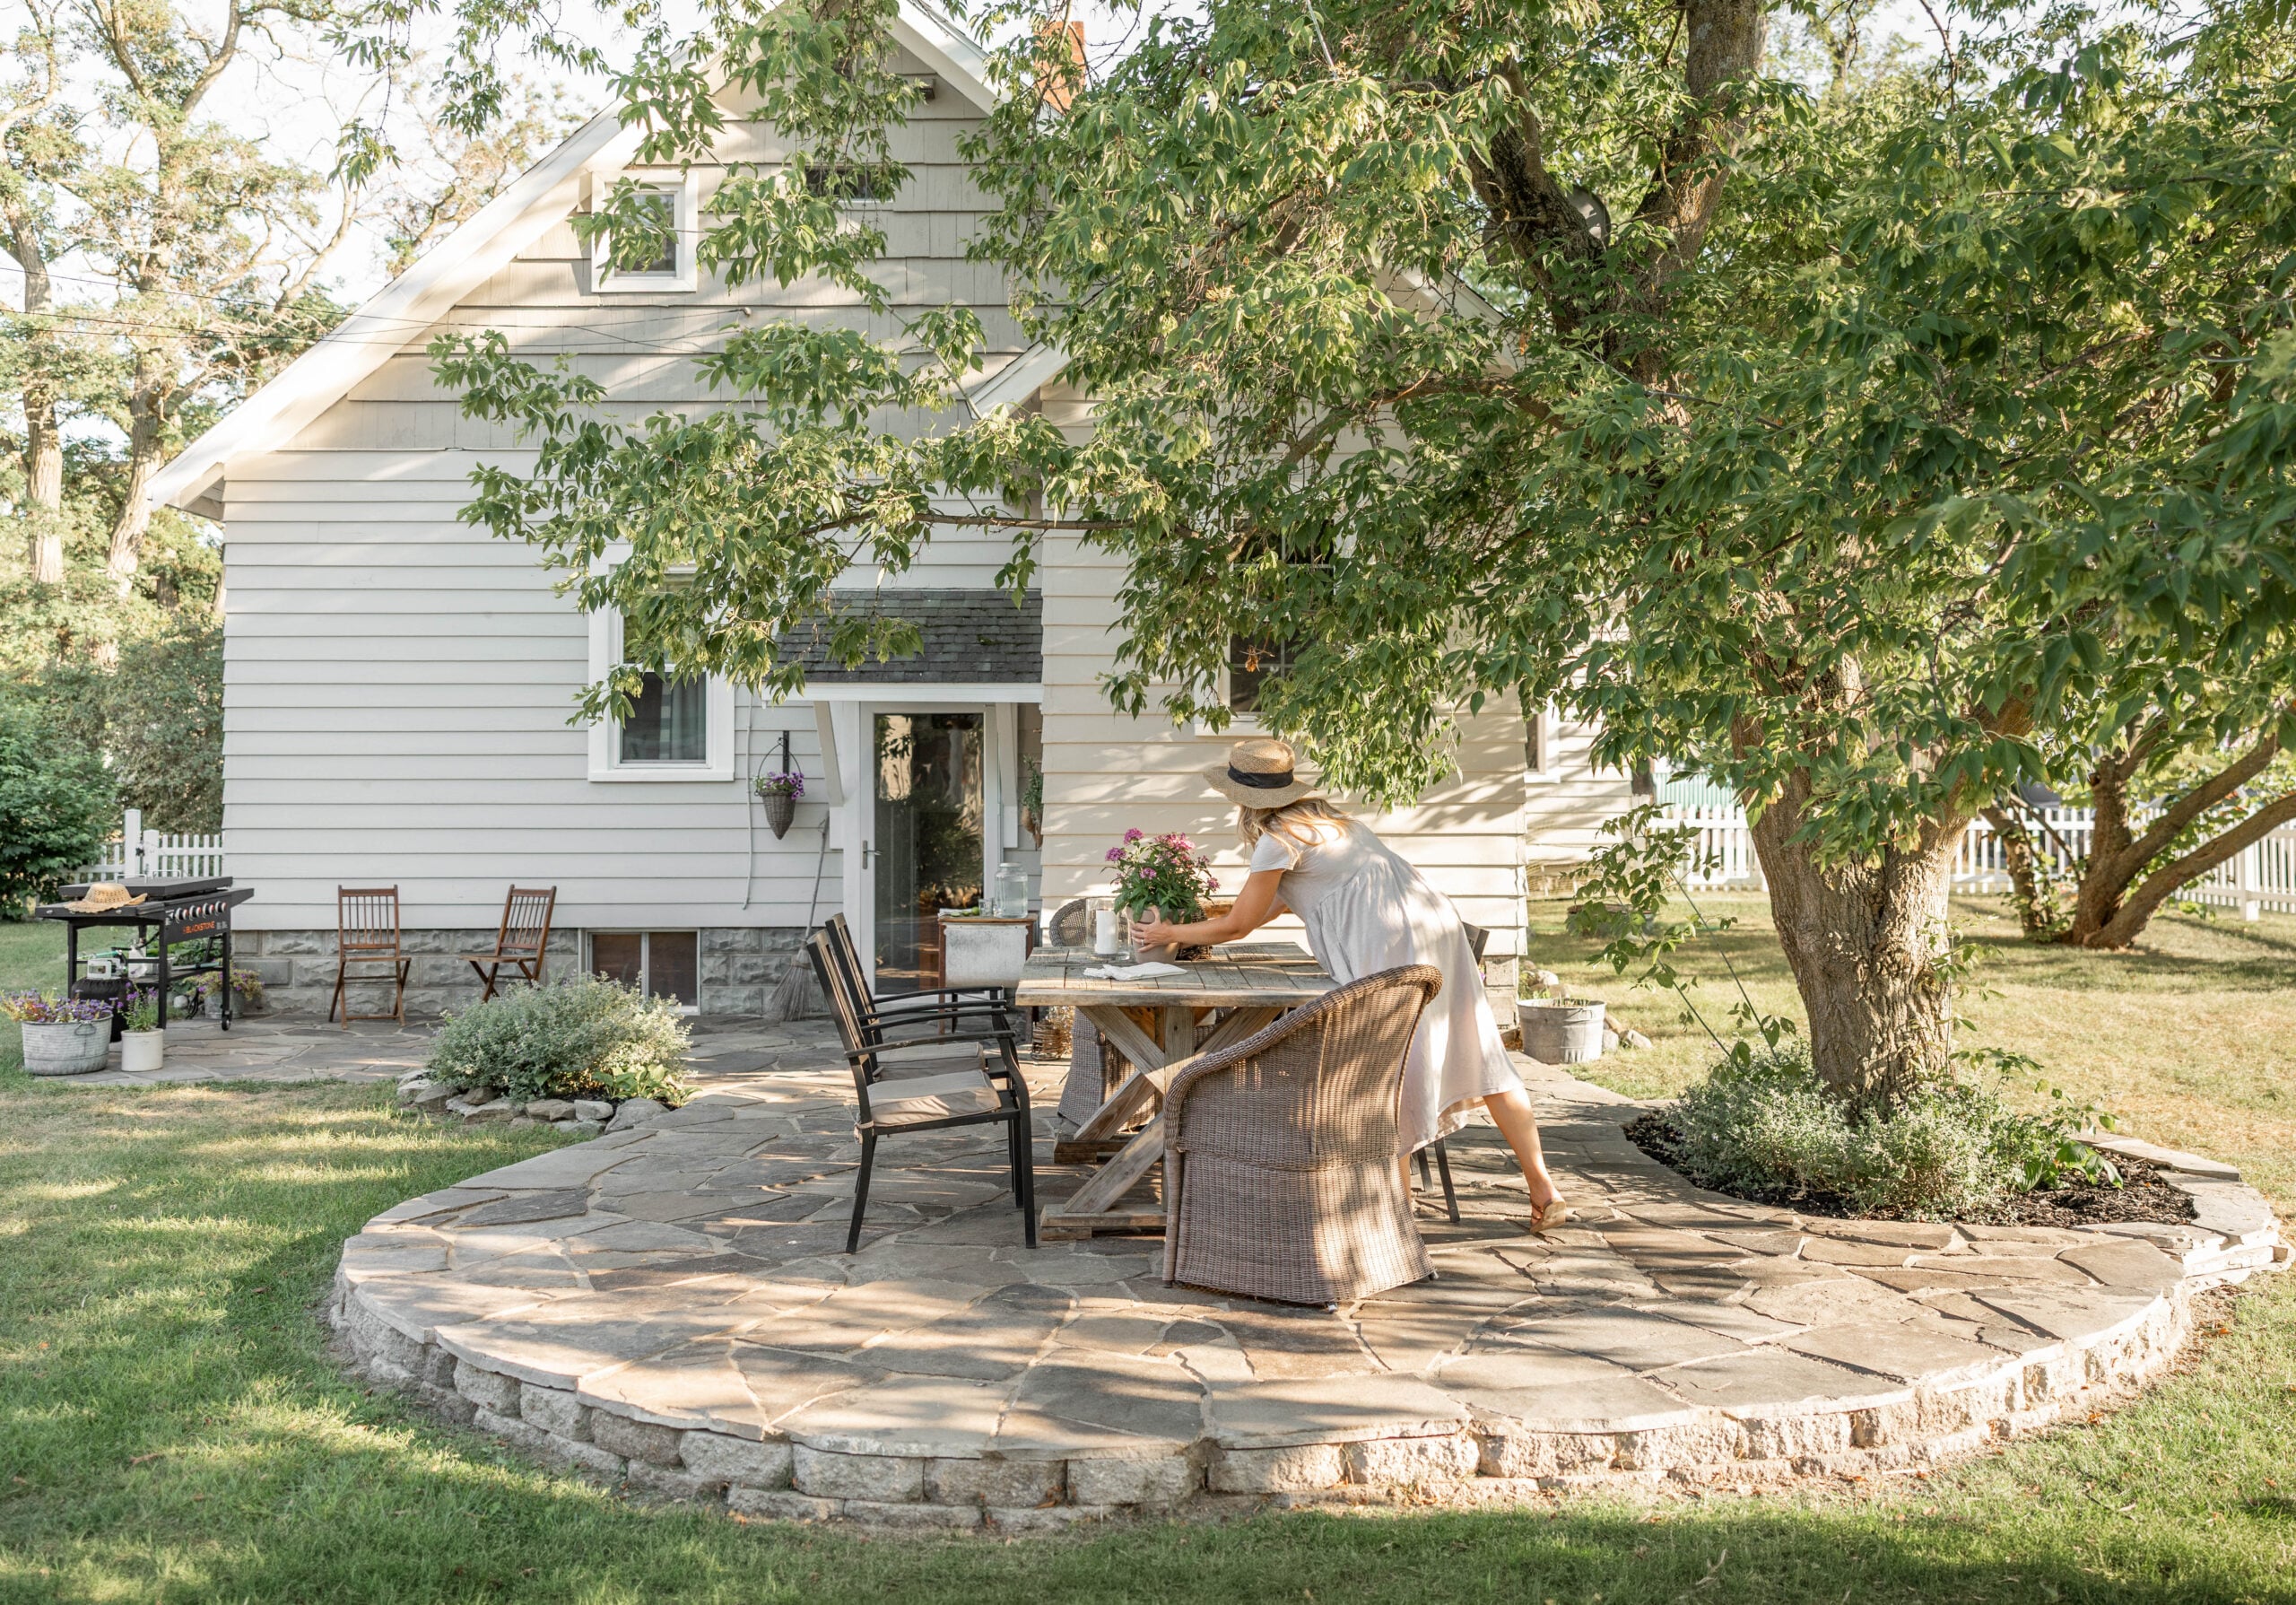
Our patio sits underneath a large tree, and the tree created a constant maintenance problem. Leaves, weeds, small branches, and especially the little “helicopter” seeds would collect throughout the pea gravel.
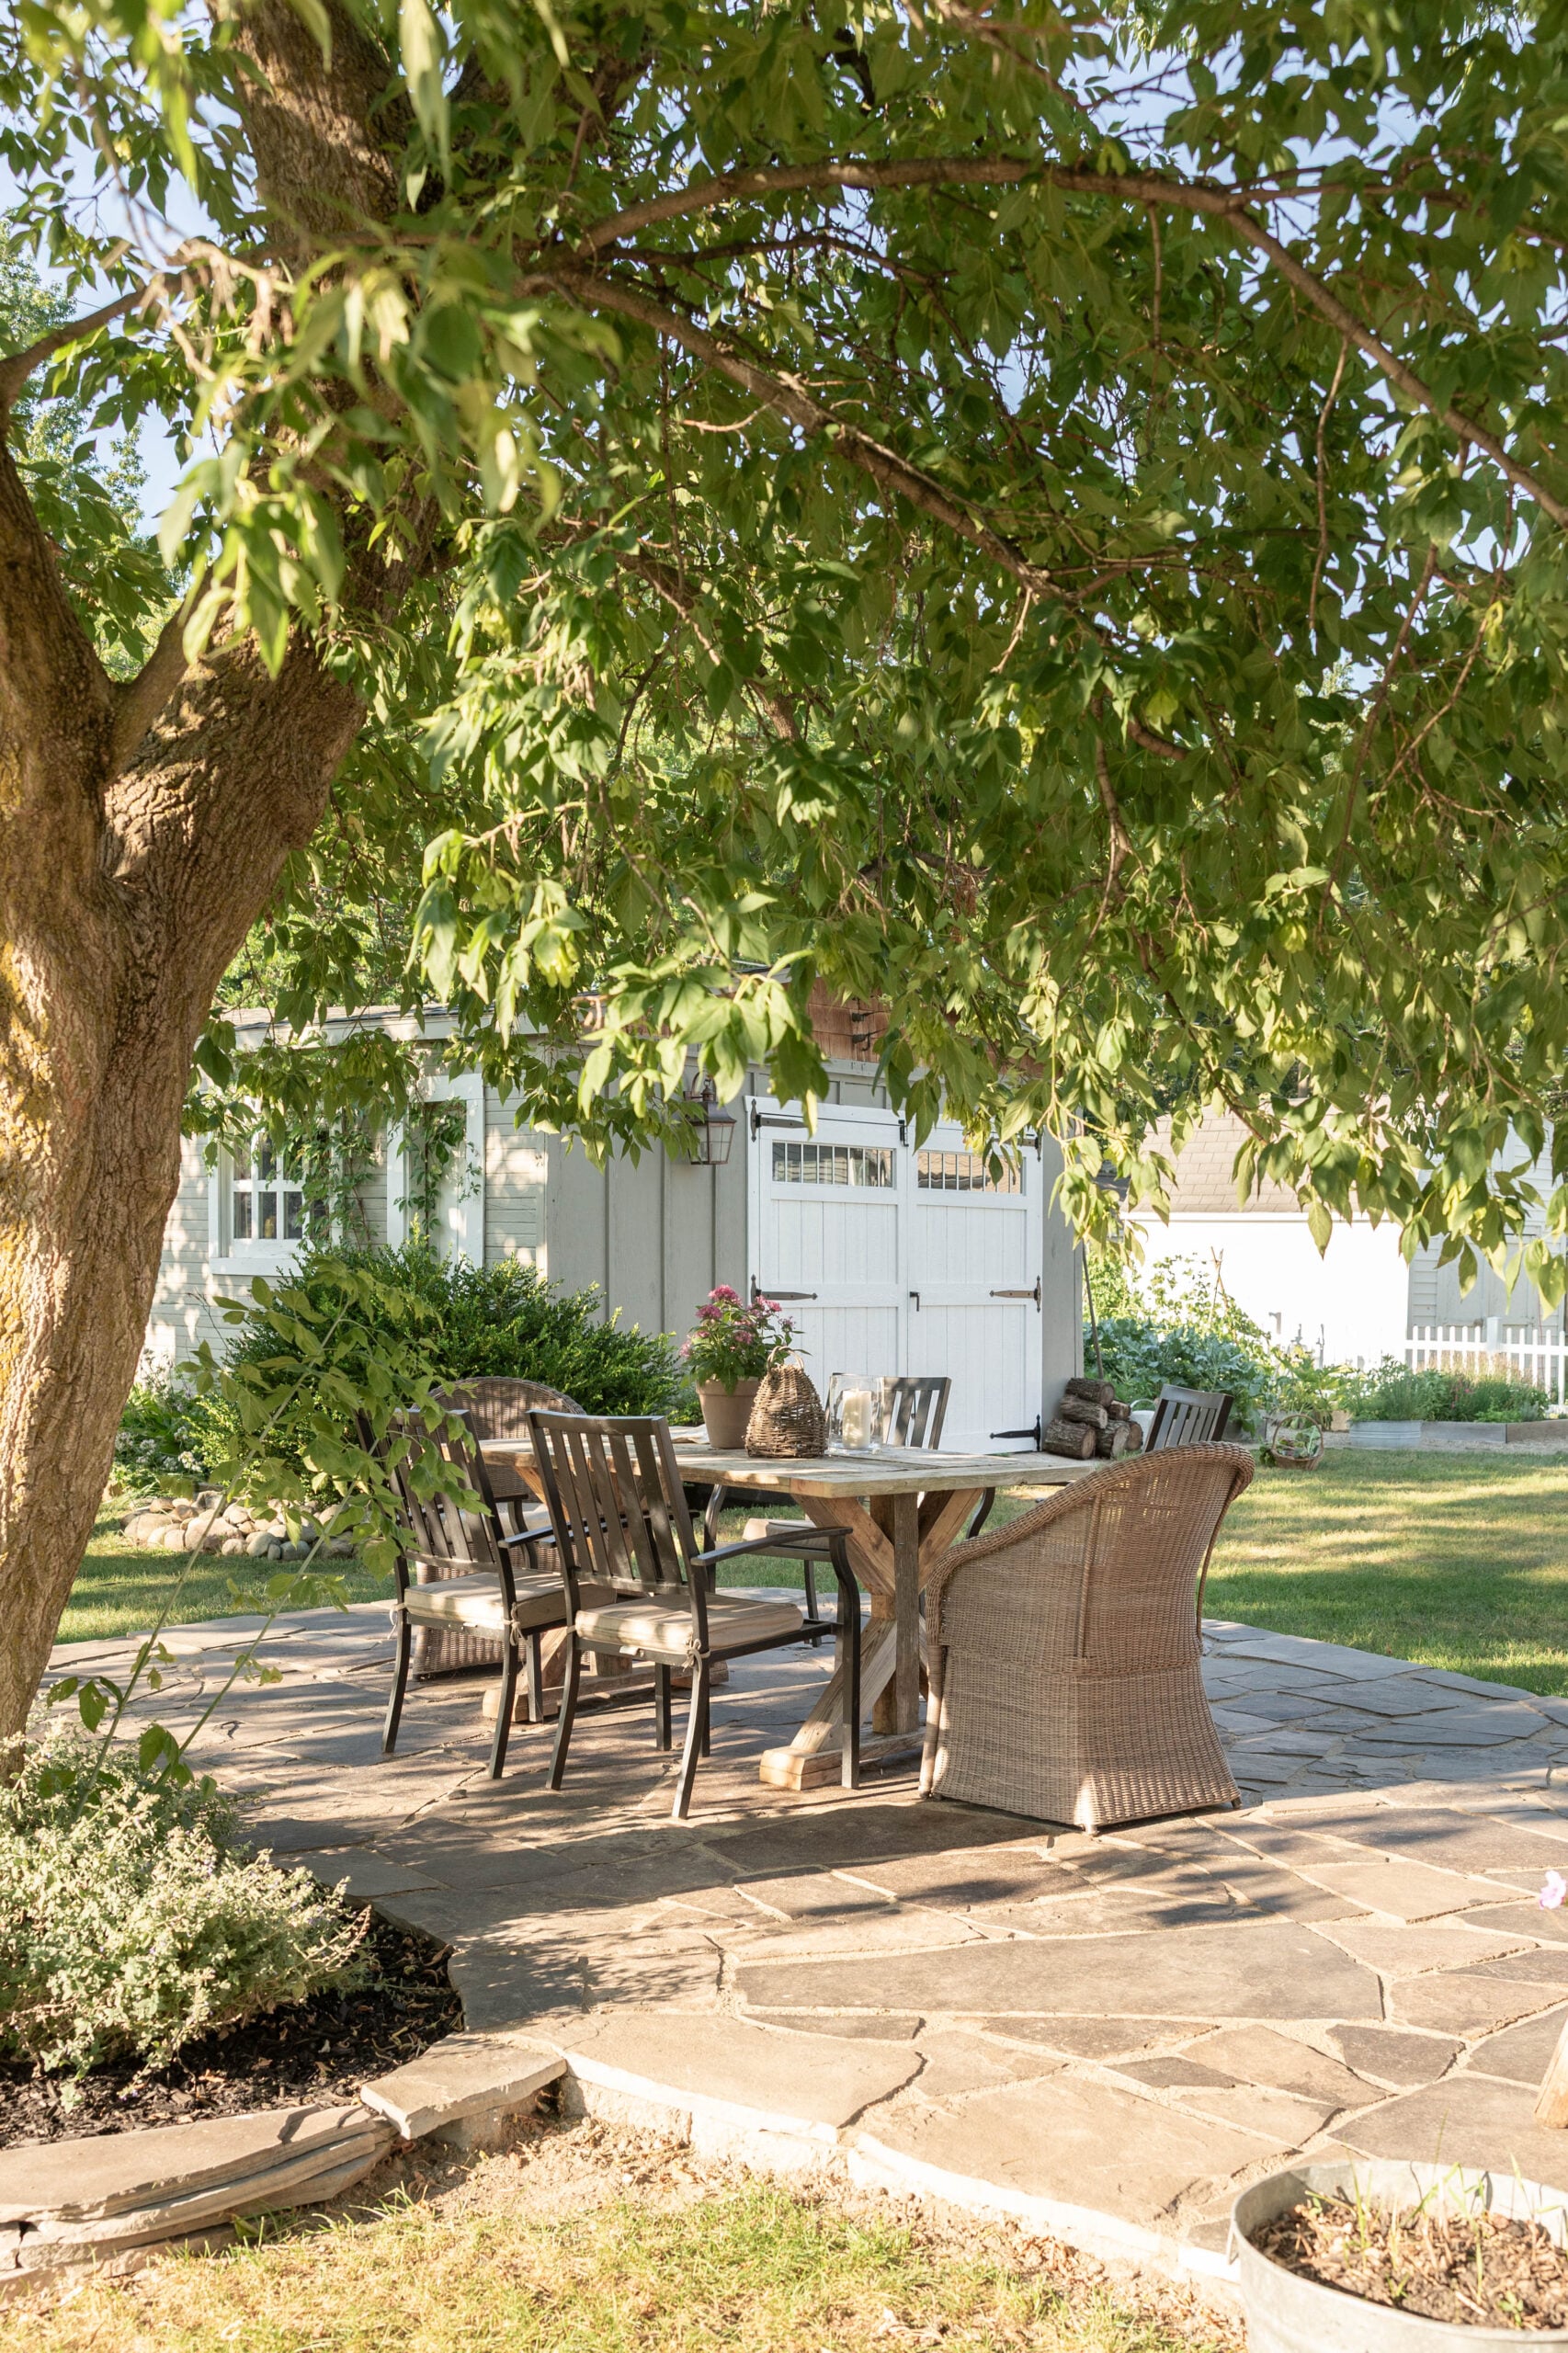
We could use a leaf blower to clean the surface, but that created another problem: the lightweight pea gravel would blow right along with the debris. Instead of simply clearing the patio, we’d end up sending gravel into the surrounding lawn and gardens.
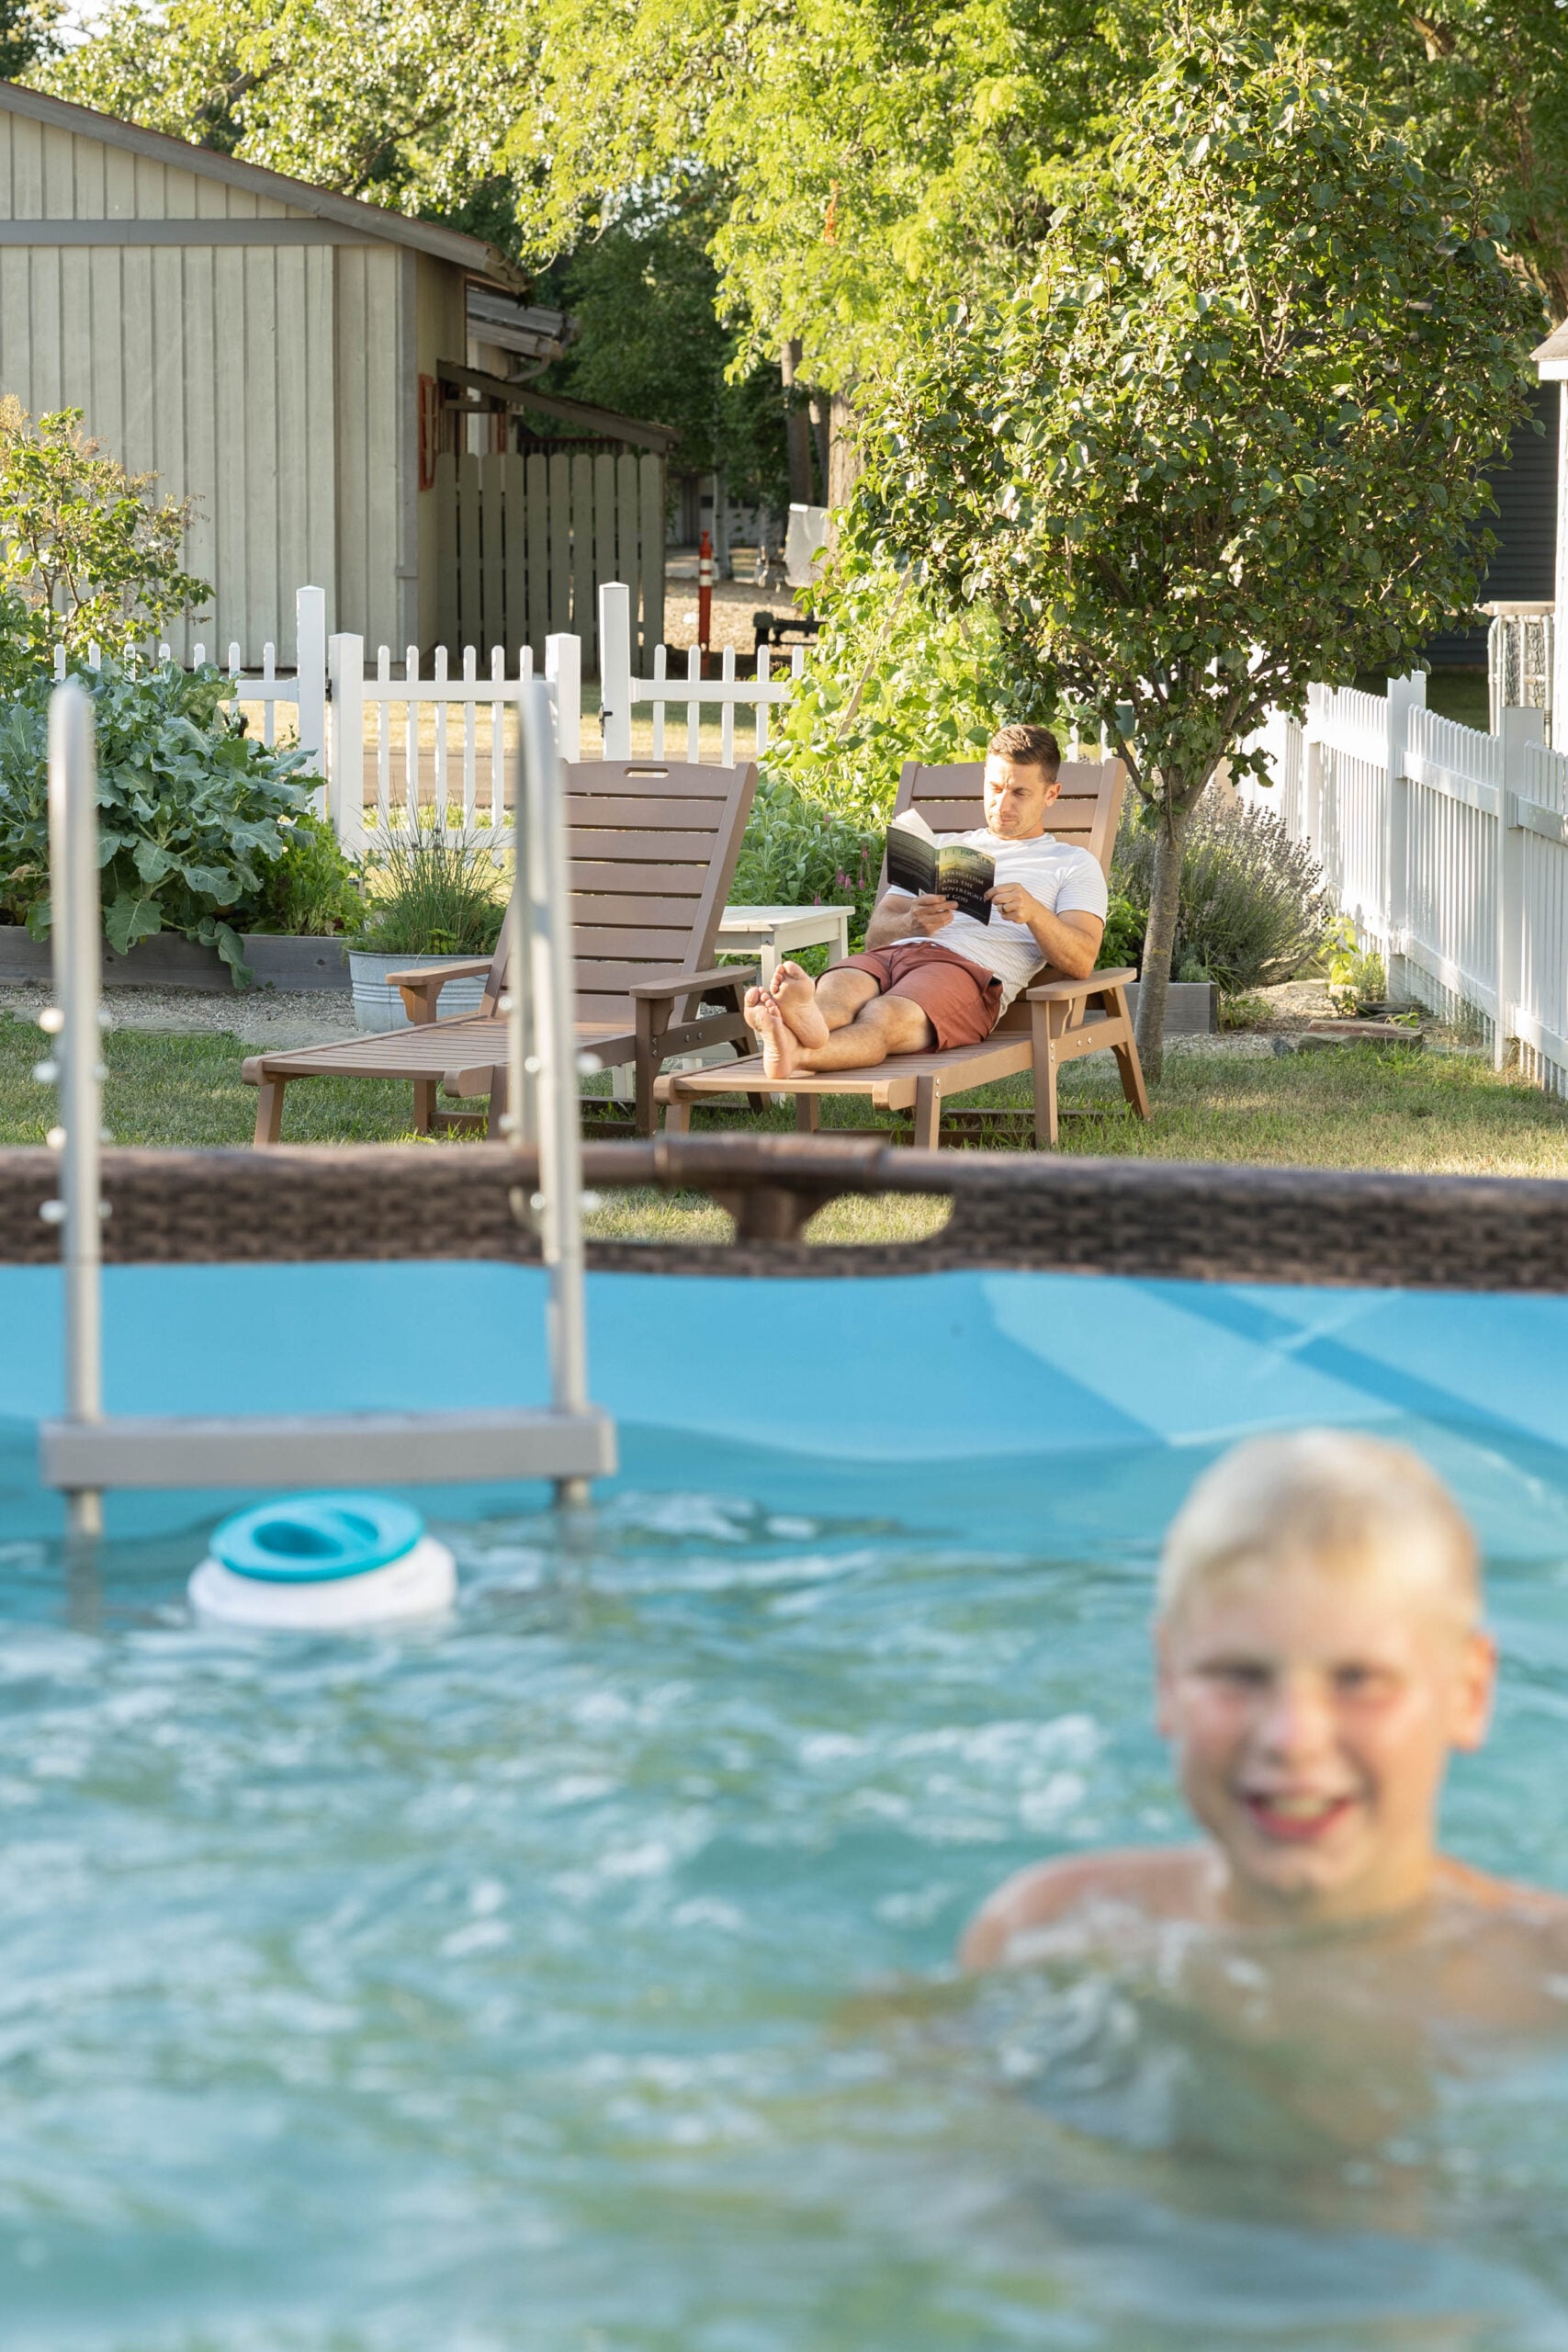
The gravel also became increasingly difficult to live with once our boys started walking back and forth through the gravel to use the pool. We were constantly finding little pieces of pea gravel throughout the house.
Then there was the rock border around the patio. The kids would kick rocks out of place, weeds would grow between them, and we found ourselves repairing and rearranging the border repeatedly. Eventually, we realized we wanted an outdoor space that required less maintenance.
Why We Chose a DIY Flagstone Patio
The idea of a natural flagstone patio had actually been on our minds for quite some time. The previous summer, we visited friends in Wisconsin who had a beautiful flagstone patio. I had always loved the look of natural stone, but seeing their patio gave me the idea to consider it for our own backyard.
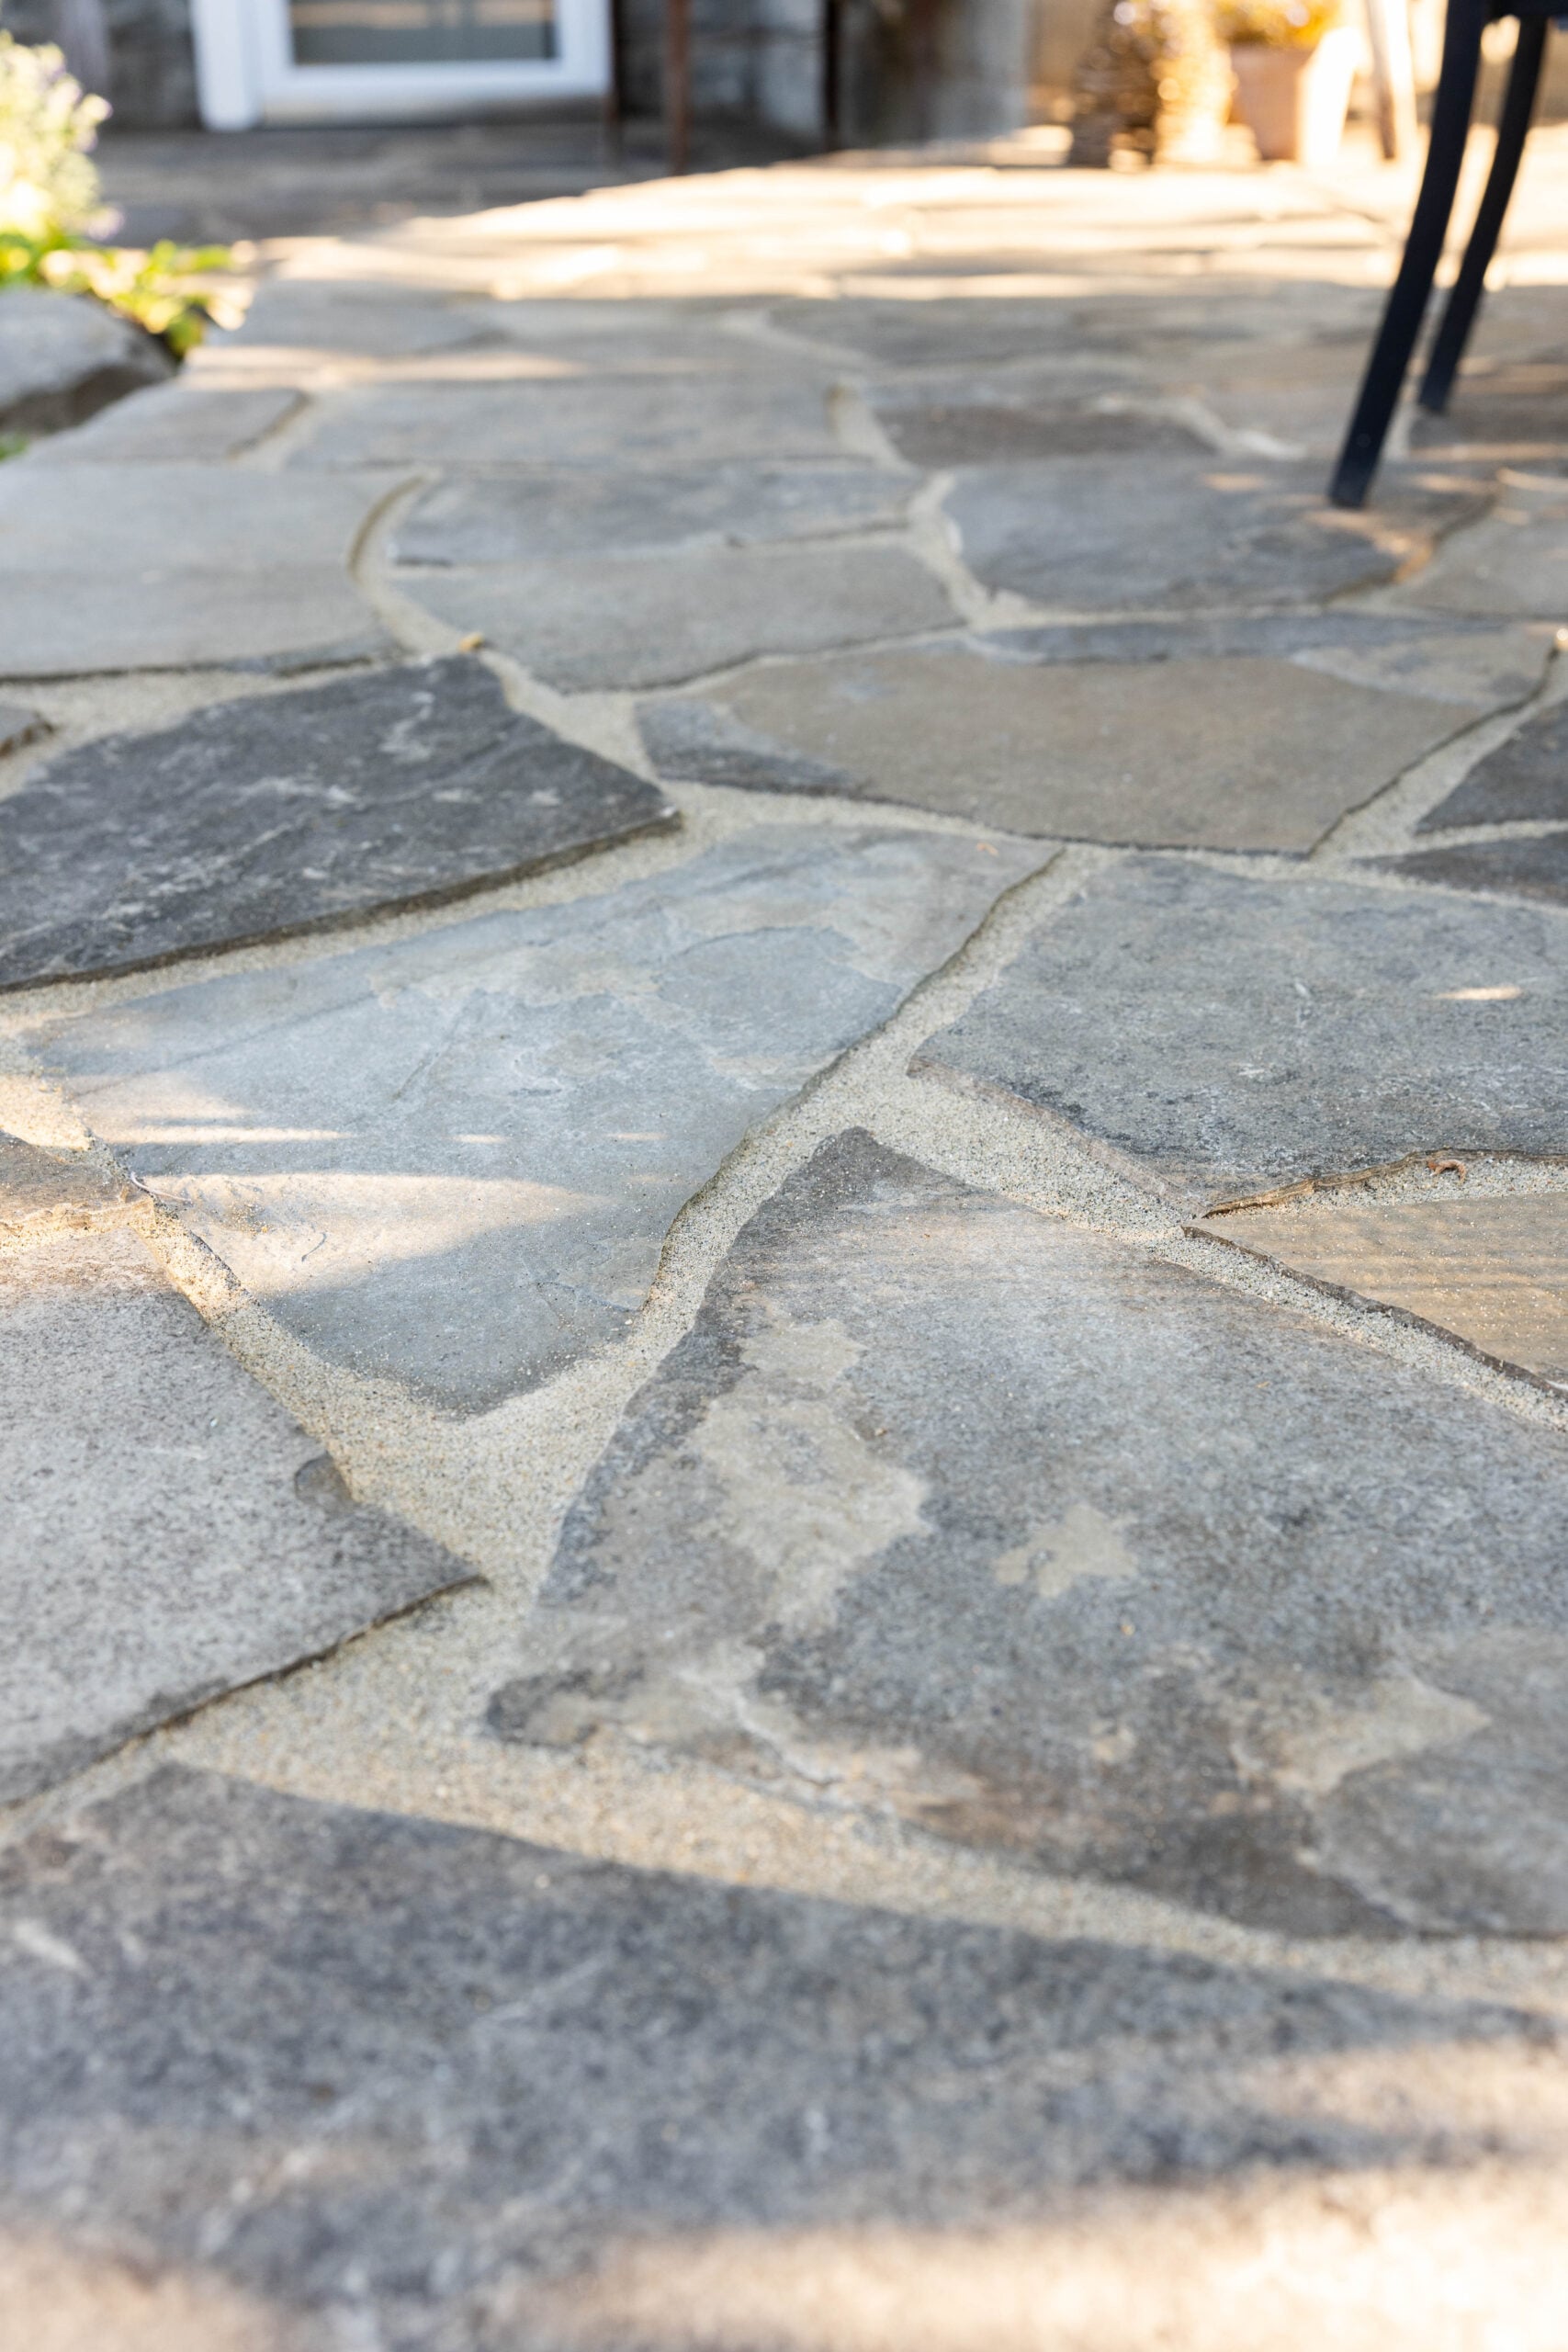
I started looking at flagstone patio ideas online and showing my husband different examples. We both loved the old-world, cottage-style look of irregular natural stone. The next question was whether we could find a type of flagstone that we loved and that would work within our budget, so we started visiting local landscaping and stone suppliers.
Choosing Our Natural Flagstone
We visited three different landscaping and stone suppliers while looking at our options. The first location had a beautiful selection of materials, but we weren’t completely sold on the flagstone. One option was an Ohio bluestone, but some of the pieces had more yellow in them than I wanted. The surface was also rougher and more textured than the look I had envisioned.
We visited another supplier without finding quite what we were looking for. Then we visited a third location, and that’s where we found the stone we ultimately chose.
Canadian Buff Field Stone
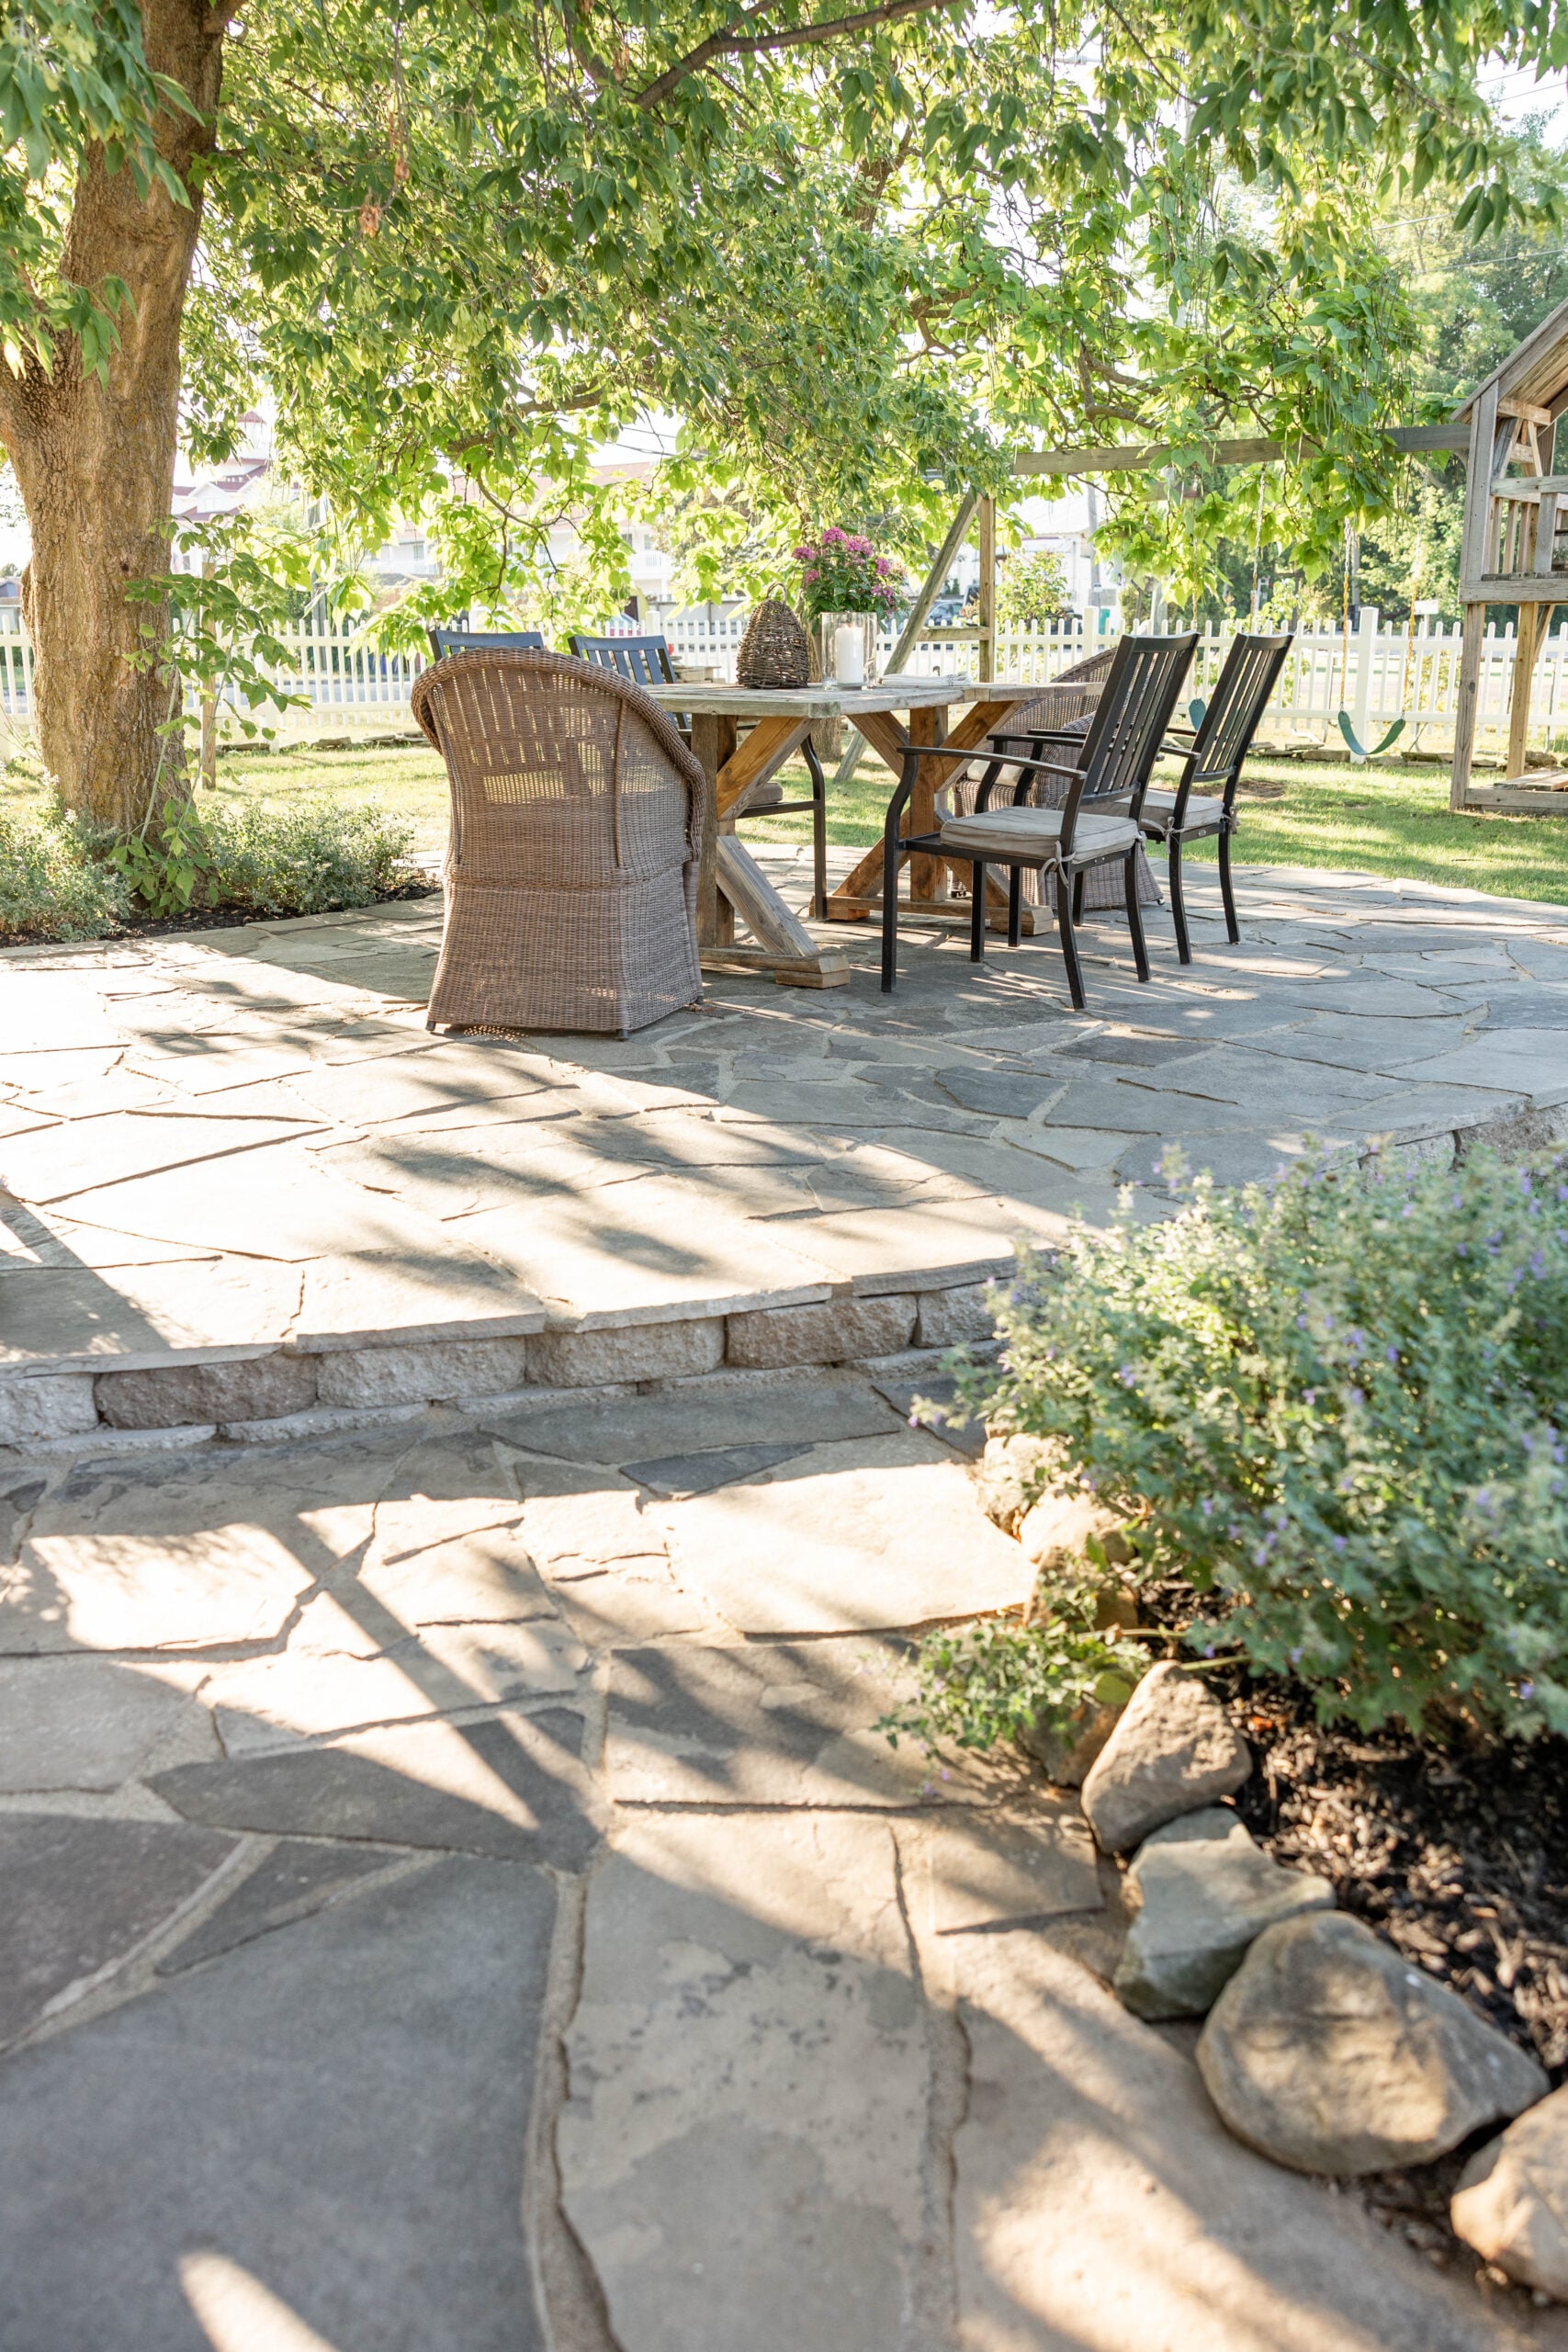
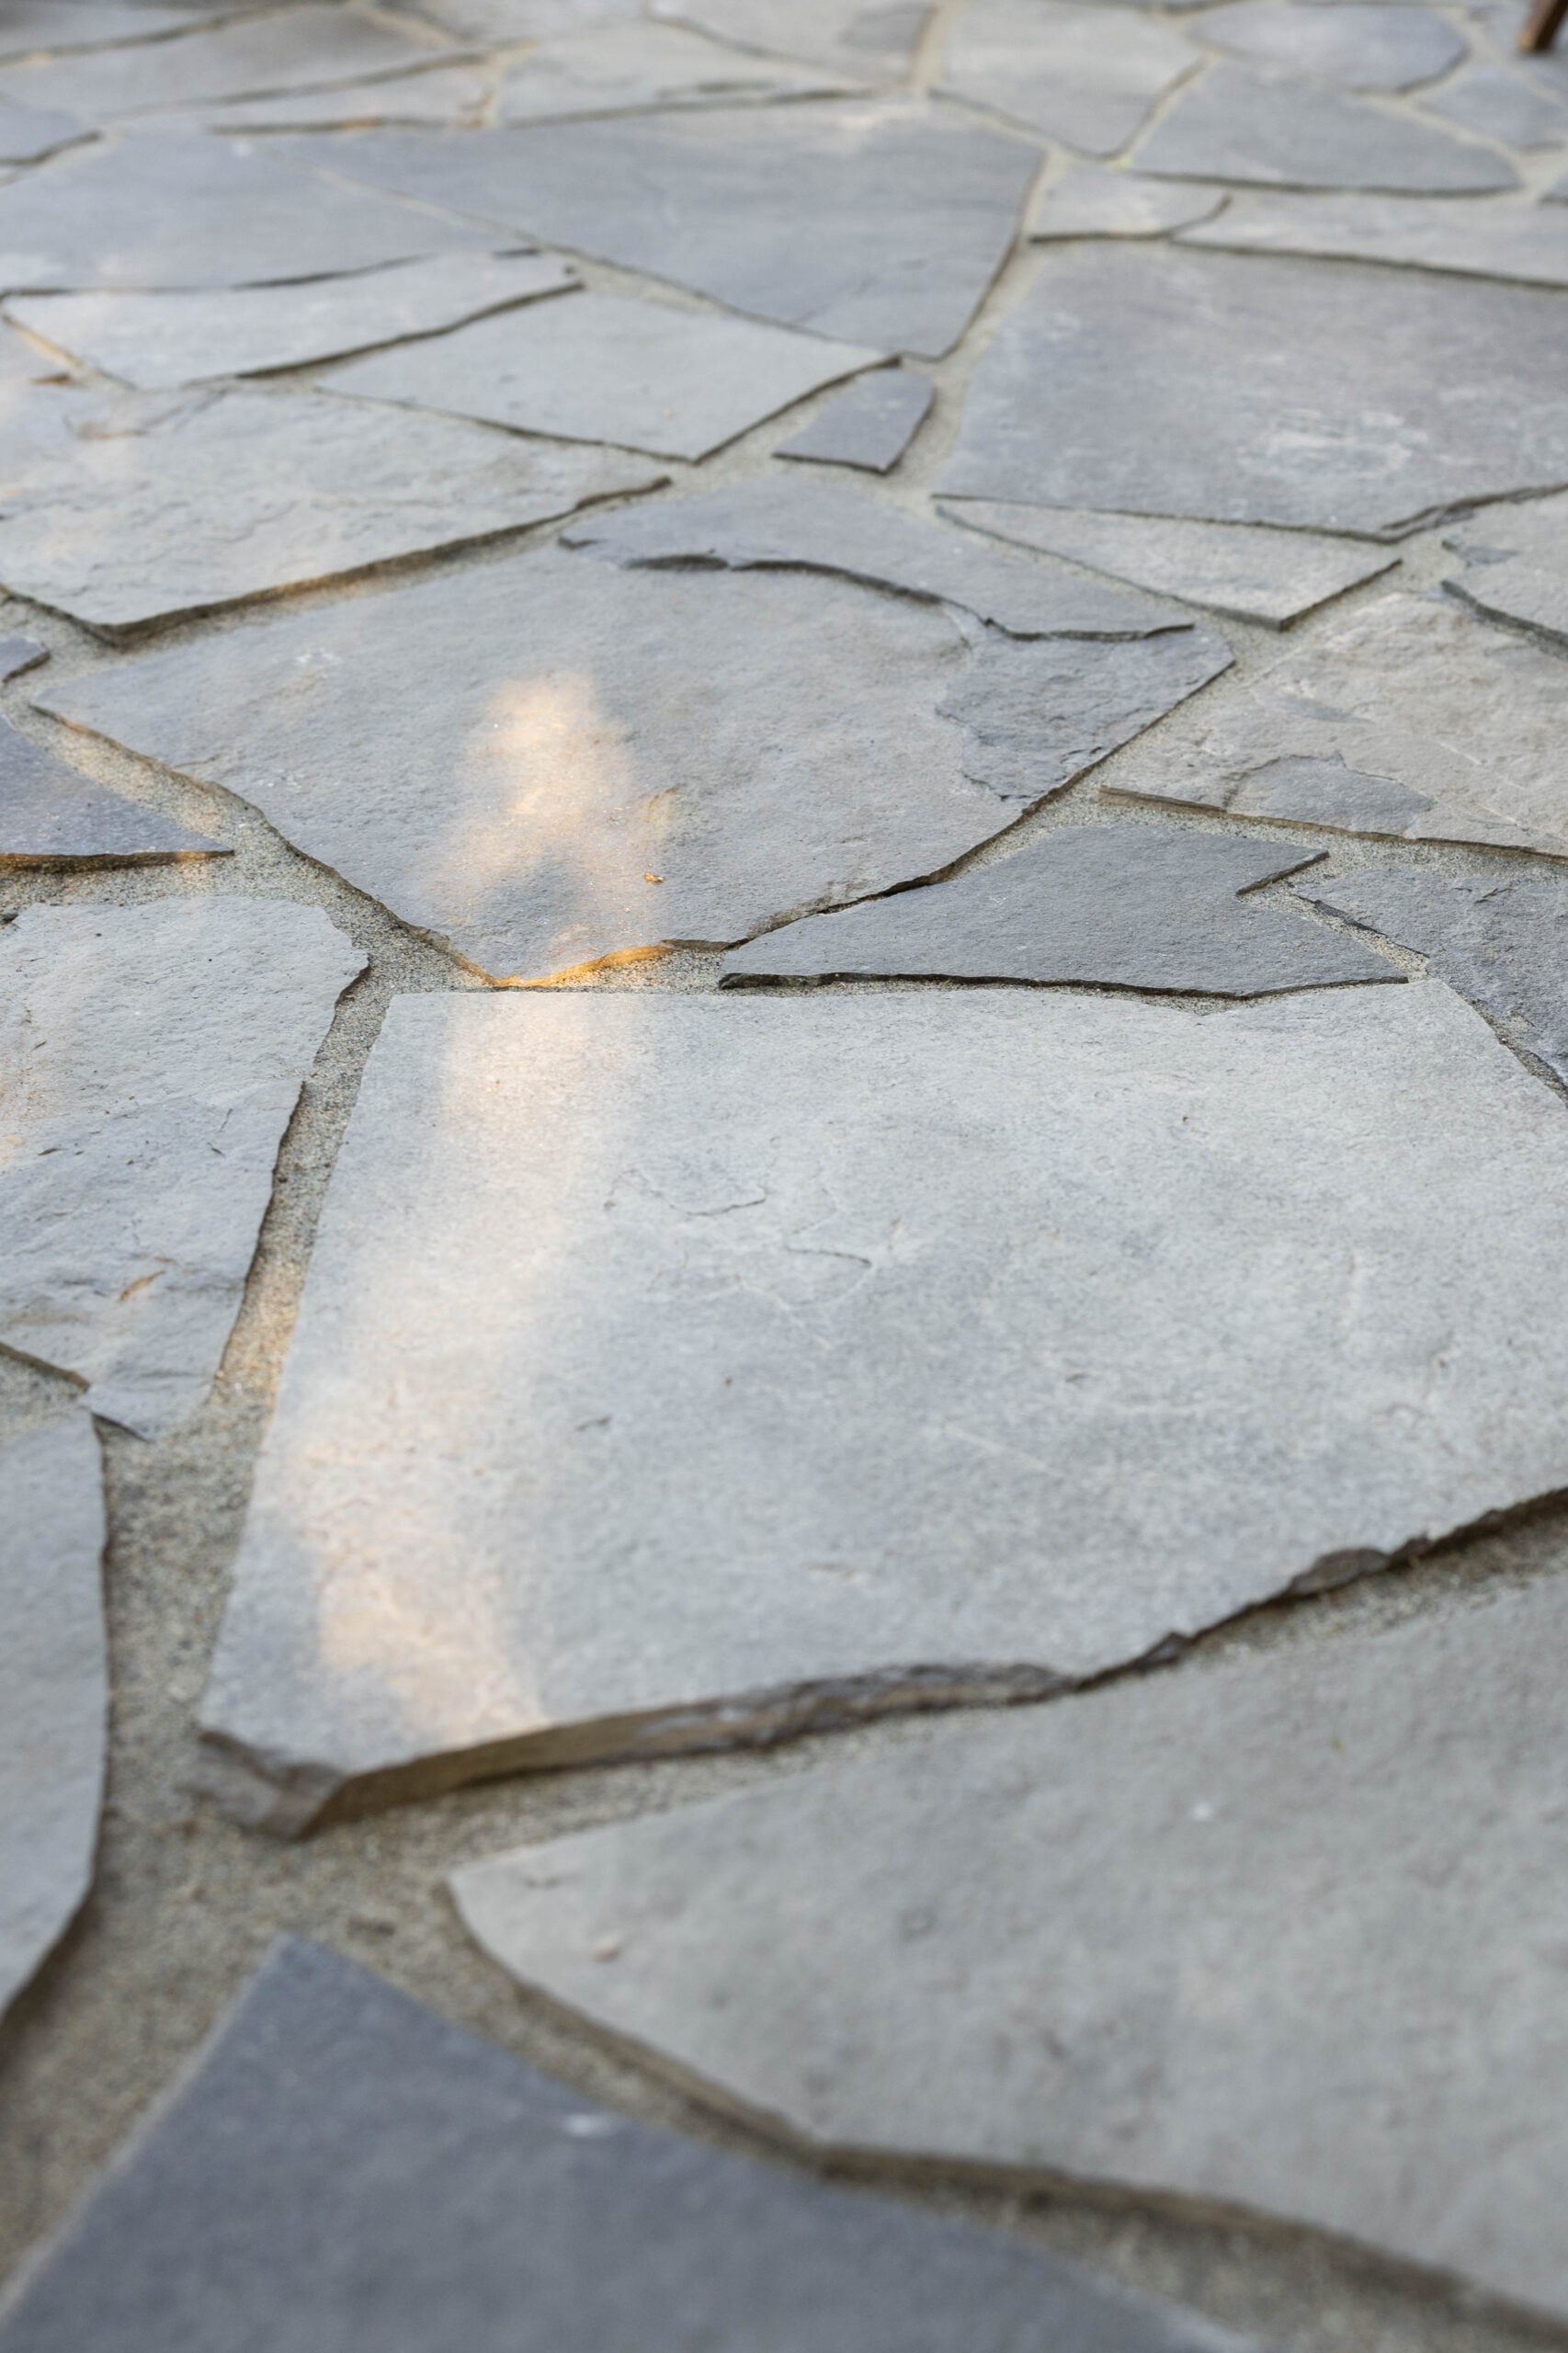
The flagstone we selected was Canadian Buff Field Stone. What immediately caught my attention was the combination of grays and tans. I wanted something with natural color variation rather than a patio that looked too uniform, and these stones had exactly the look I had been hoping for.
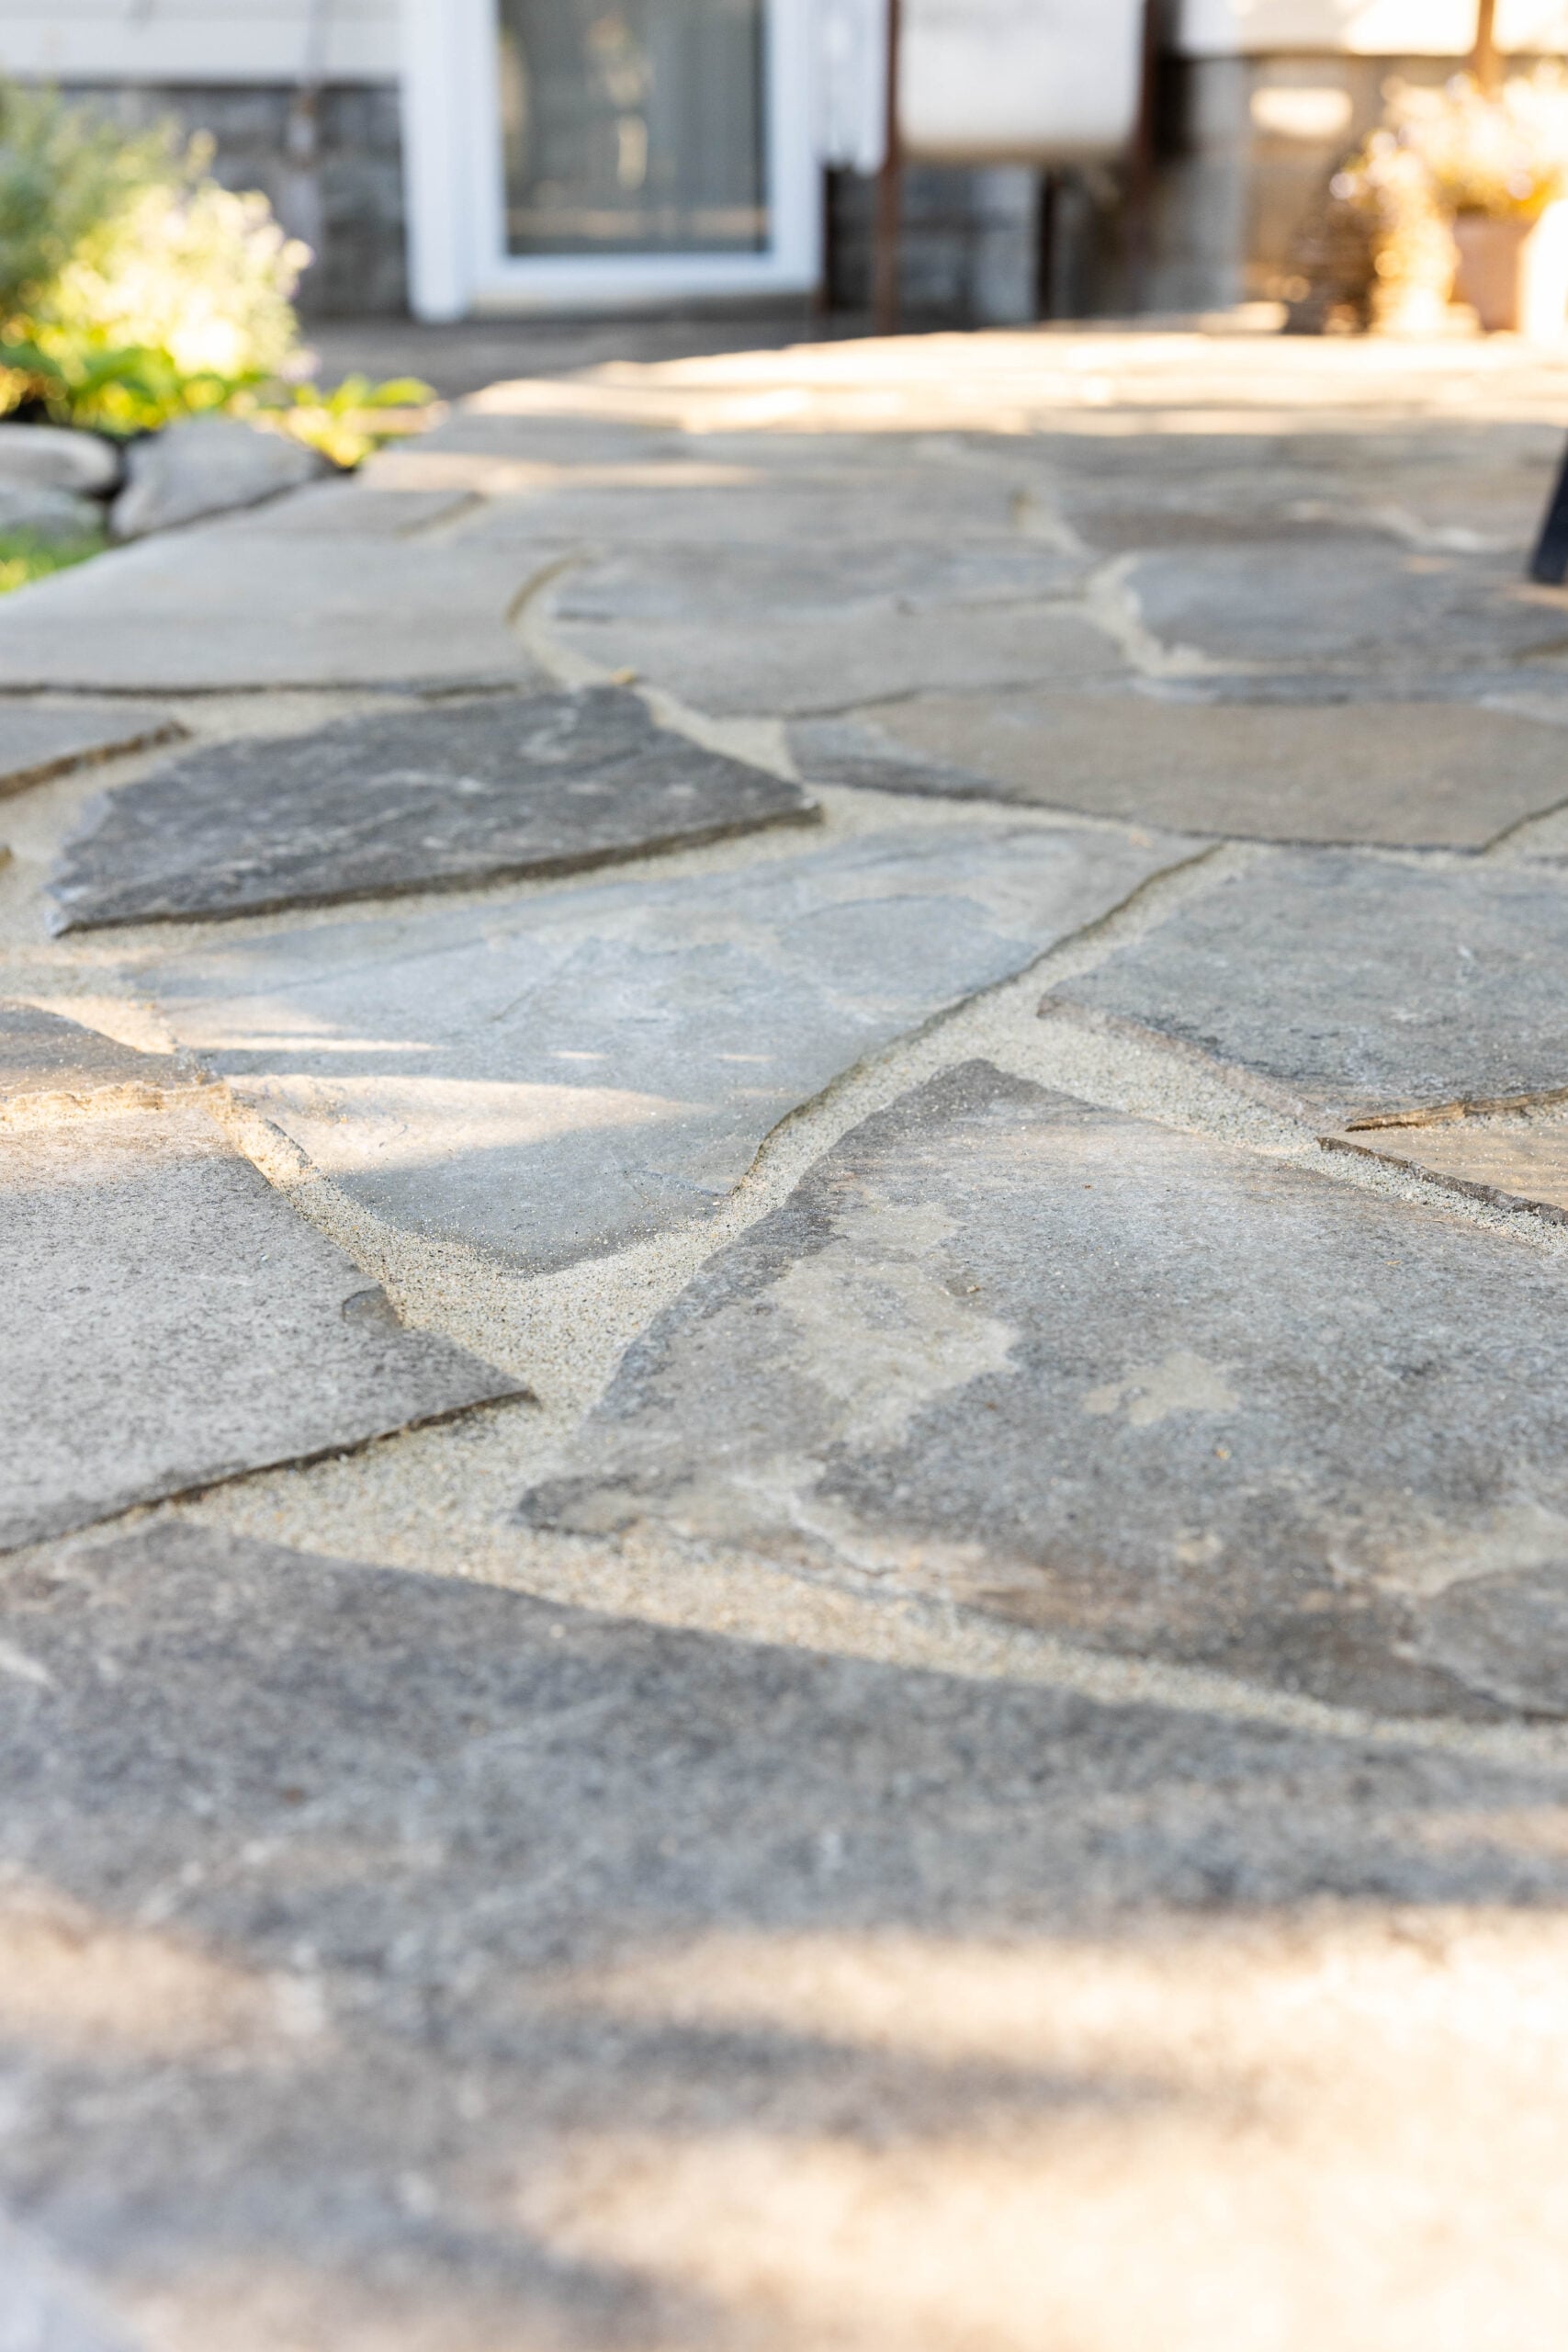
The pieces were also smoother than some of the other flagstone varieties we had seen. The supplier had some stone in stock, but the existing pallets had already been picked through. We decided to order two fresh pallets so we’d have a better selection of pieces to work with.
Because the stone was going to take some time to arrive, we could get started on the demolition and preparation while we waited.
Note: Natural stone availability, names, colors, and pricing can vary considerably by region, so the exact stone we used may not be available everywhere.
Removing the Old Pea Gravel
Before we could install a flagstone patio, we had to completely remove the existing patio. And there was a lot of pea gravel to move. We started by removing the rocks that surrounded the patio and then began hauling away the gravel.
Our boys helped quite a bit, making the demolition a family project. Fortunately, we had friends who needed pea gravel for another project, so we were able to give much of ours to them instead of sending it to the landfill.
We hauled load after load away until most of the gravel was gone. Once the pea gravel was removed, we also pulled up the landscape fabric underneath it so we could begin excavating for the new patio. This ended up being one of the most labor-intensive parts of the project.
Preparing the DIY Flagstone Patio Area
Our plan was to excavate approximately 6–7 inches to make room for the base materials and flagstone. The exact depth required for a patio can depend on the materials you’re using, the existing soil, drainage, and local conditions, so it’s important to plan the finished height before you begin digging. Once we started excavating, however, we discovered something we hadn’t fully anticipated.
Working Around Large Tree Roots
The mature tree over our patio has some very large roots underneath the area. Our original plan was to create one level patio, but the roots made that difficult. Rather than trying to remove or significantly disturb the roots, we decided to change the design.
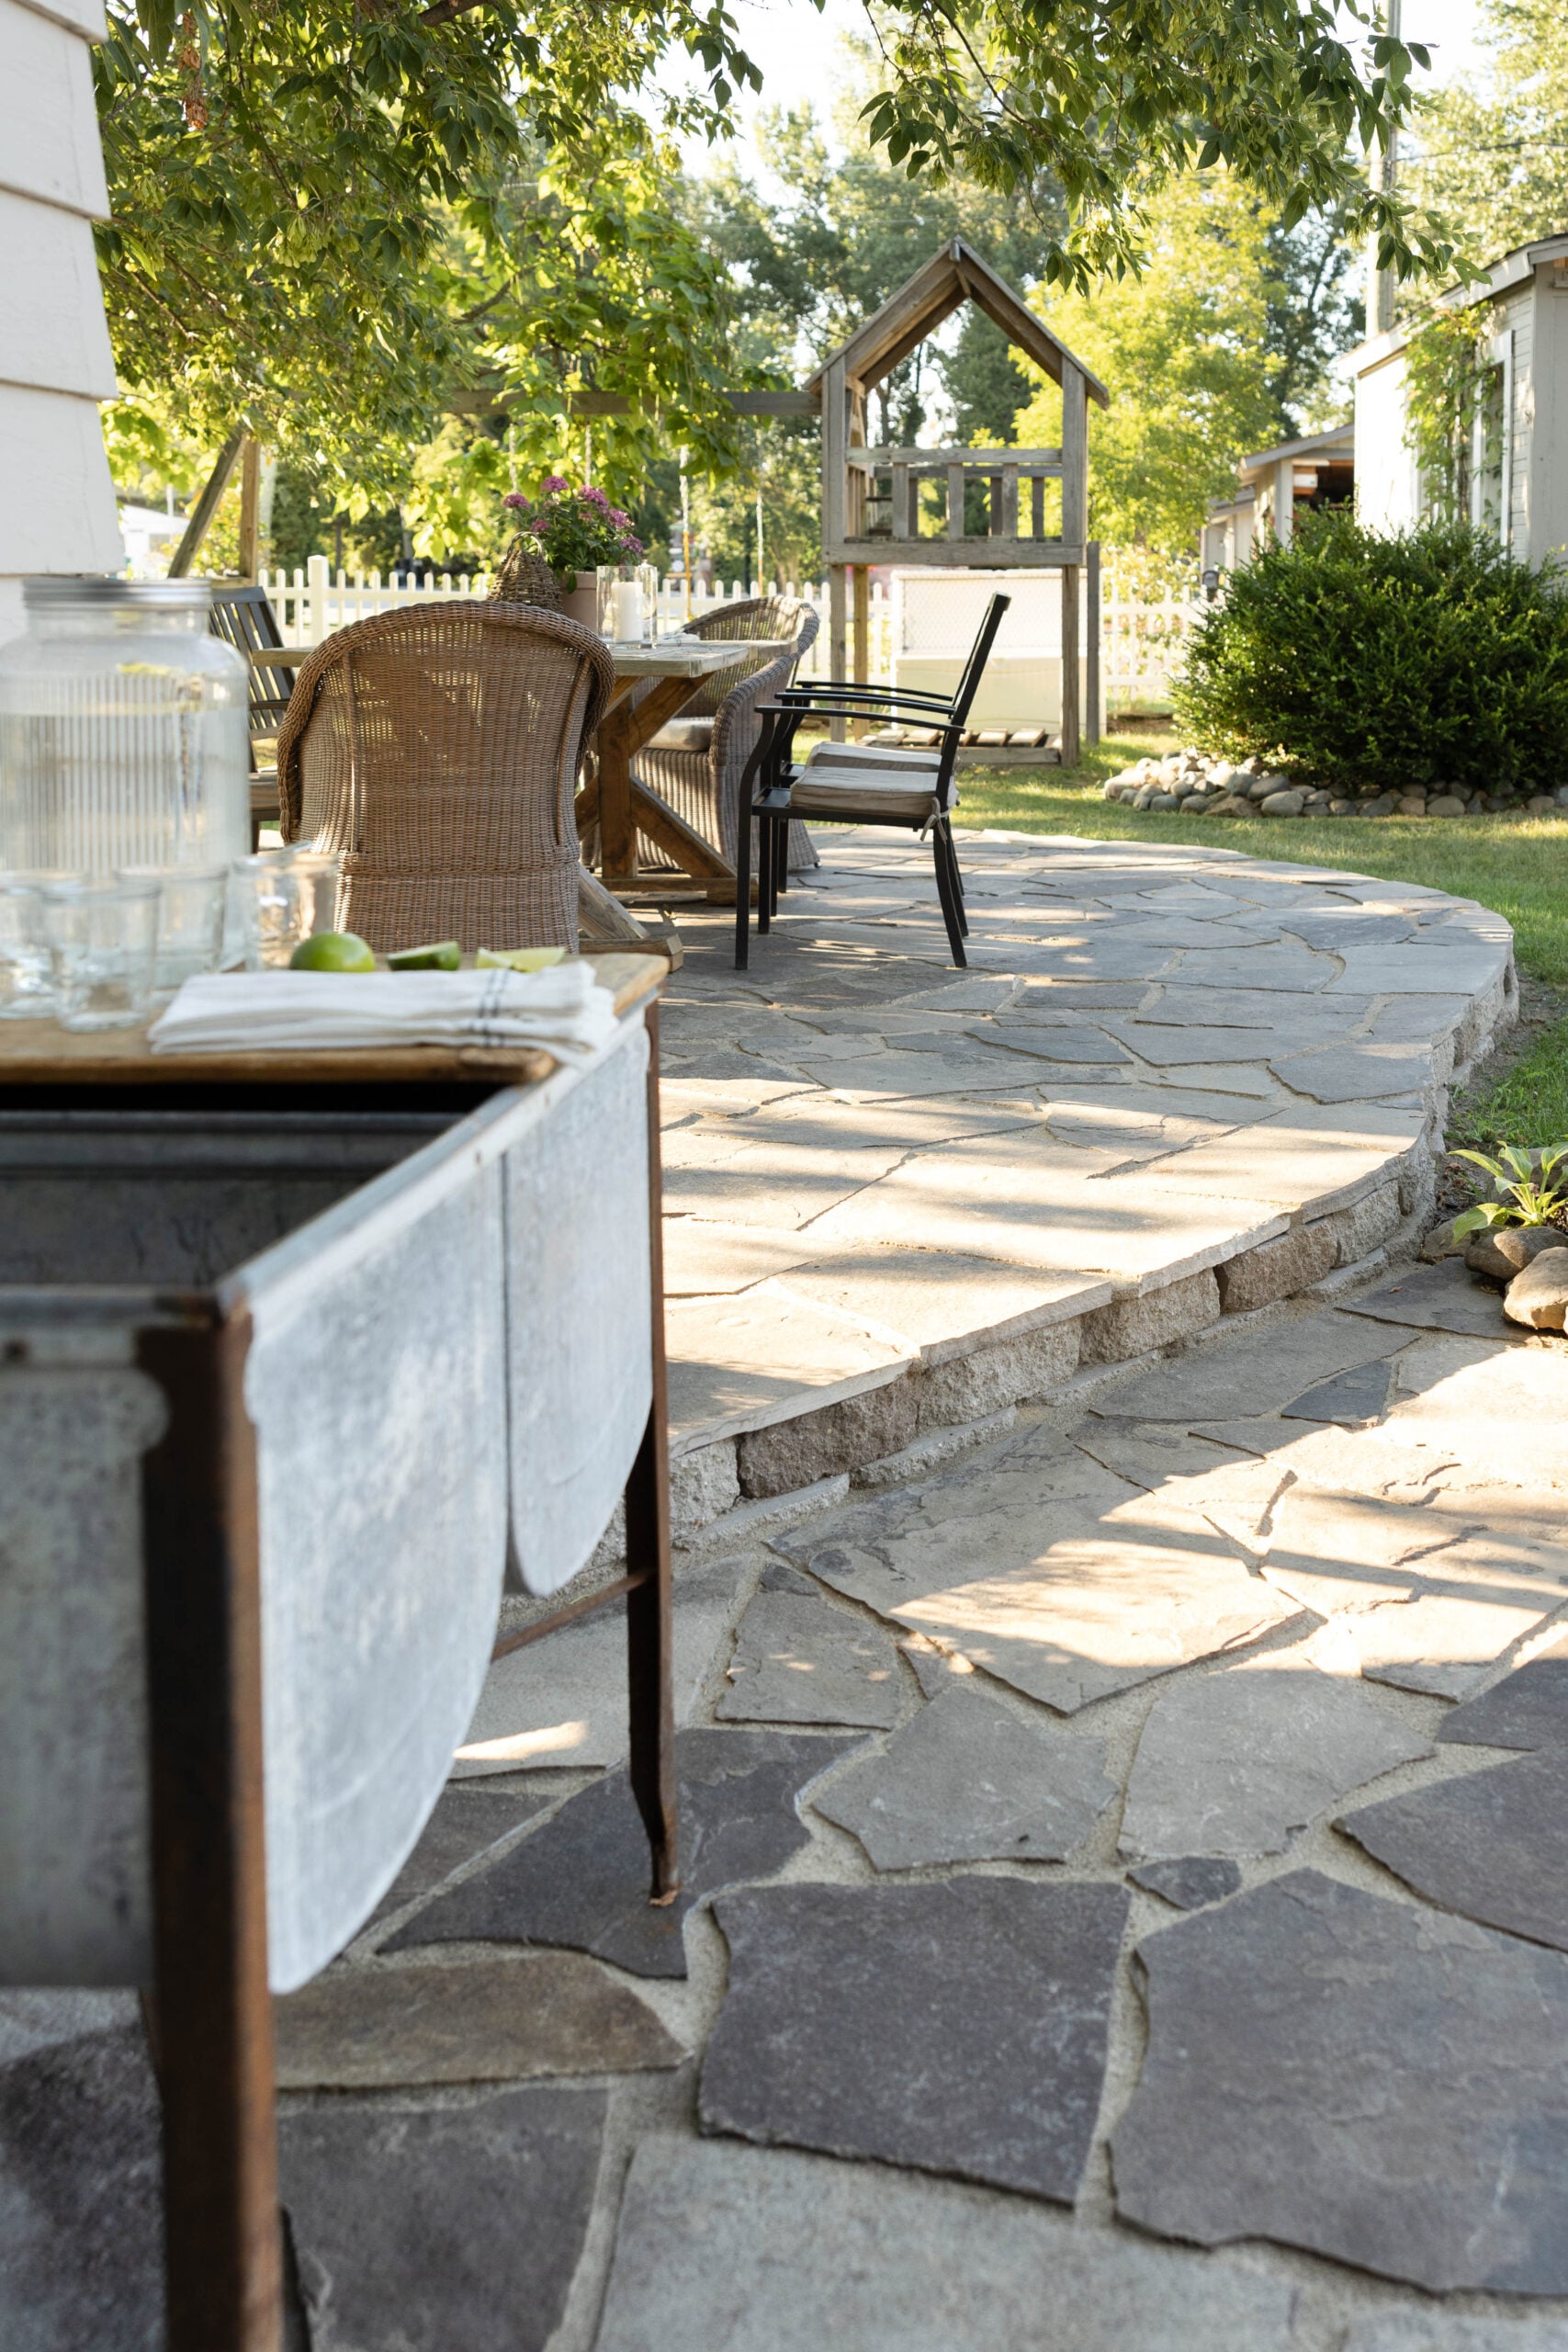
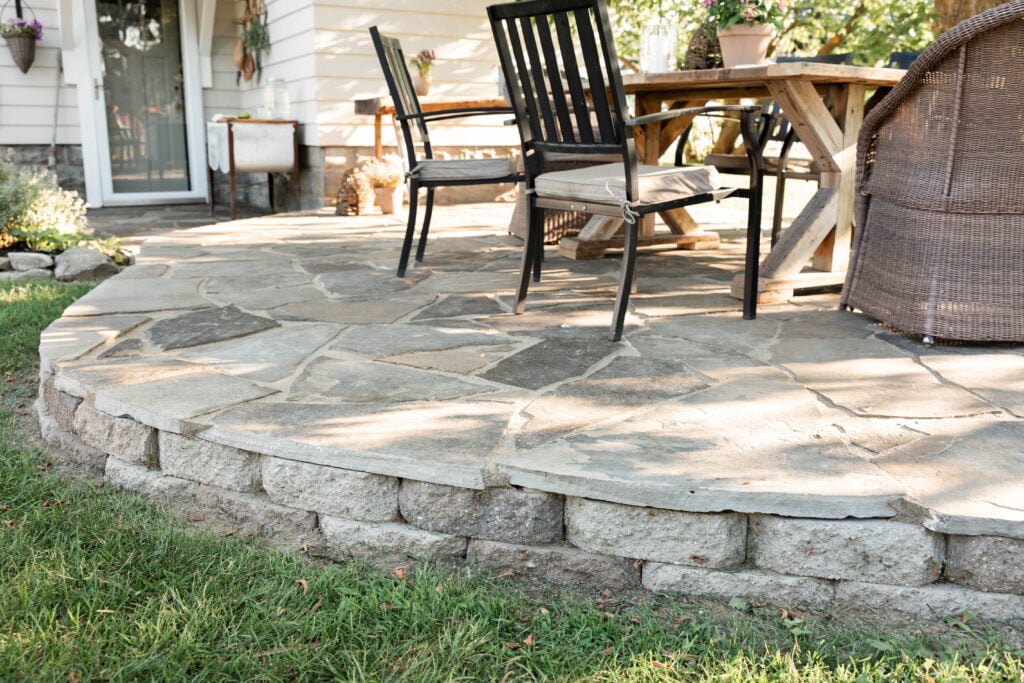
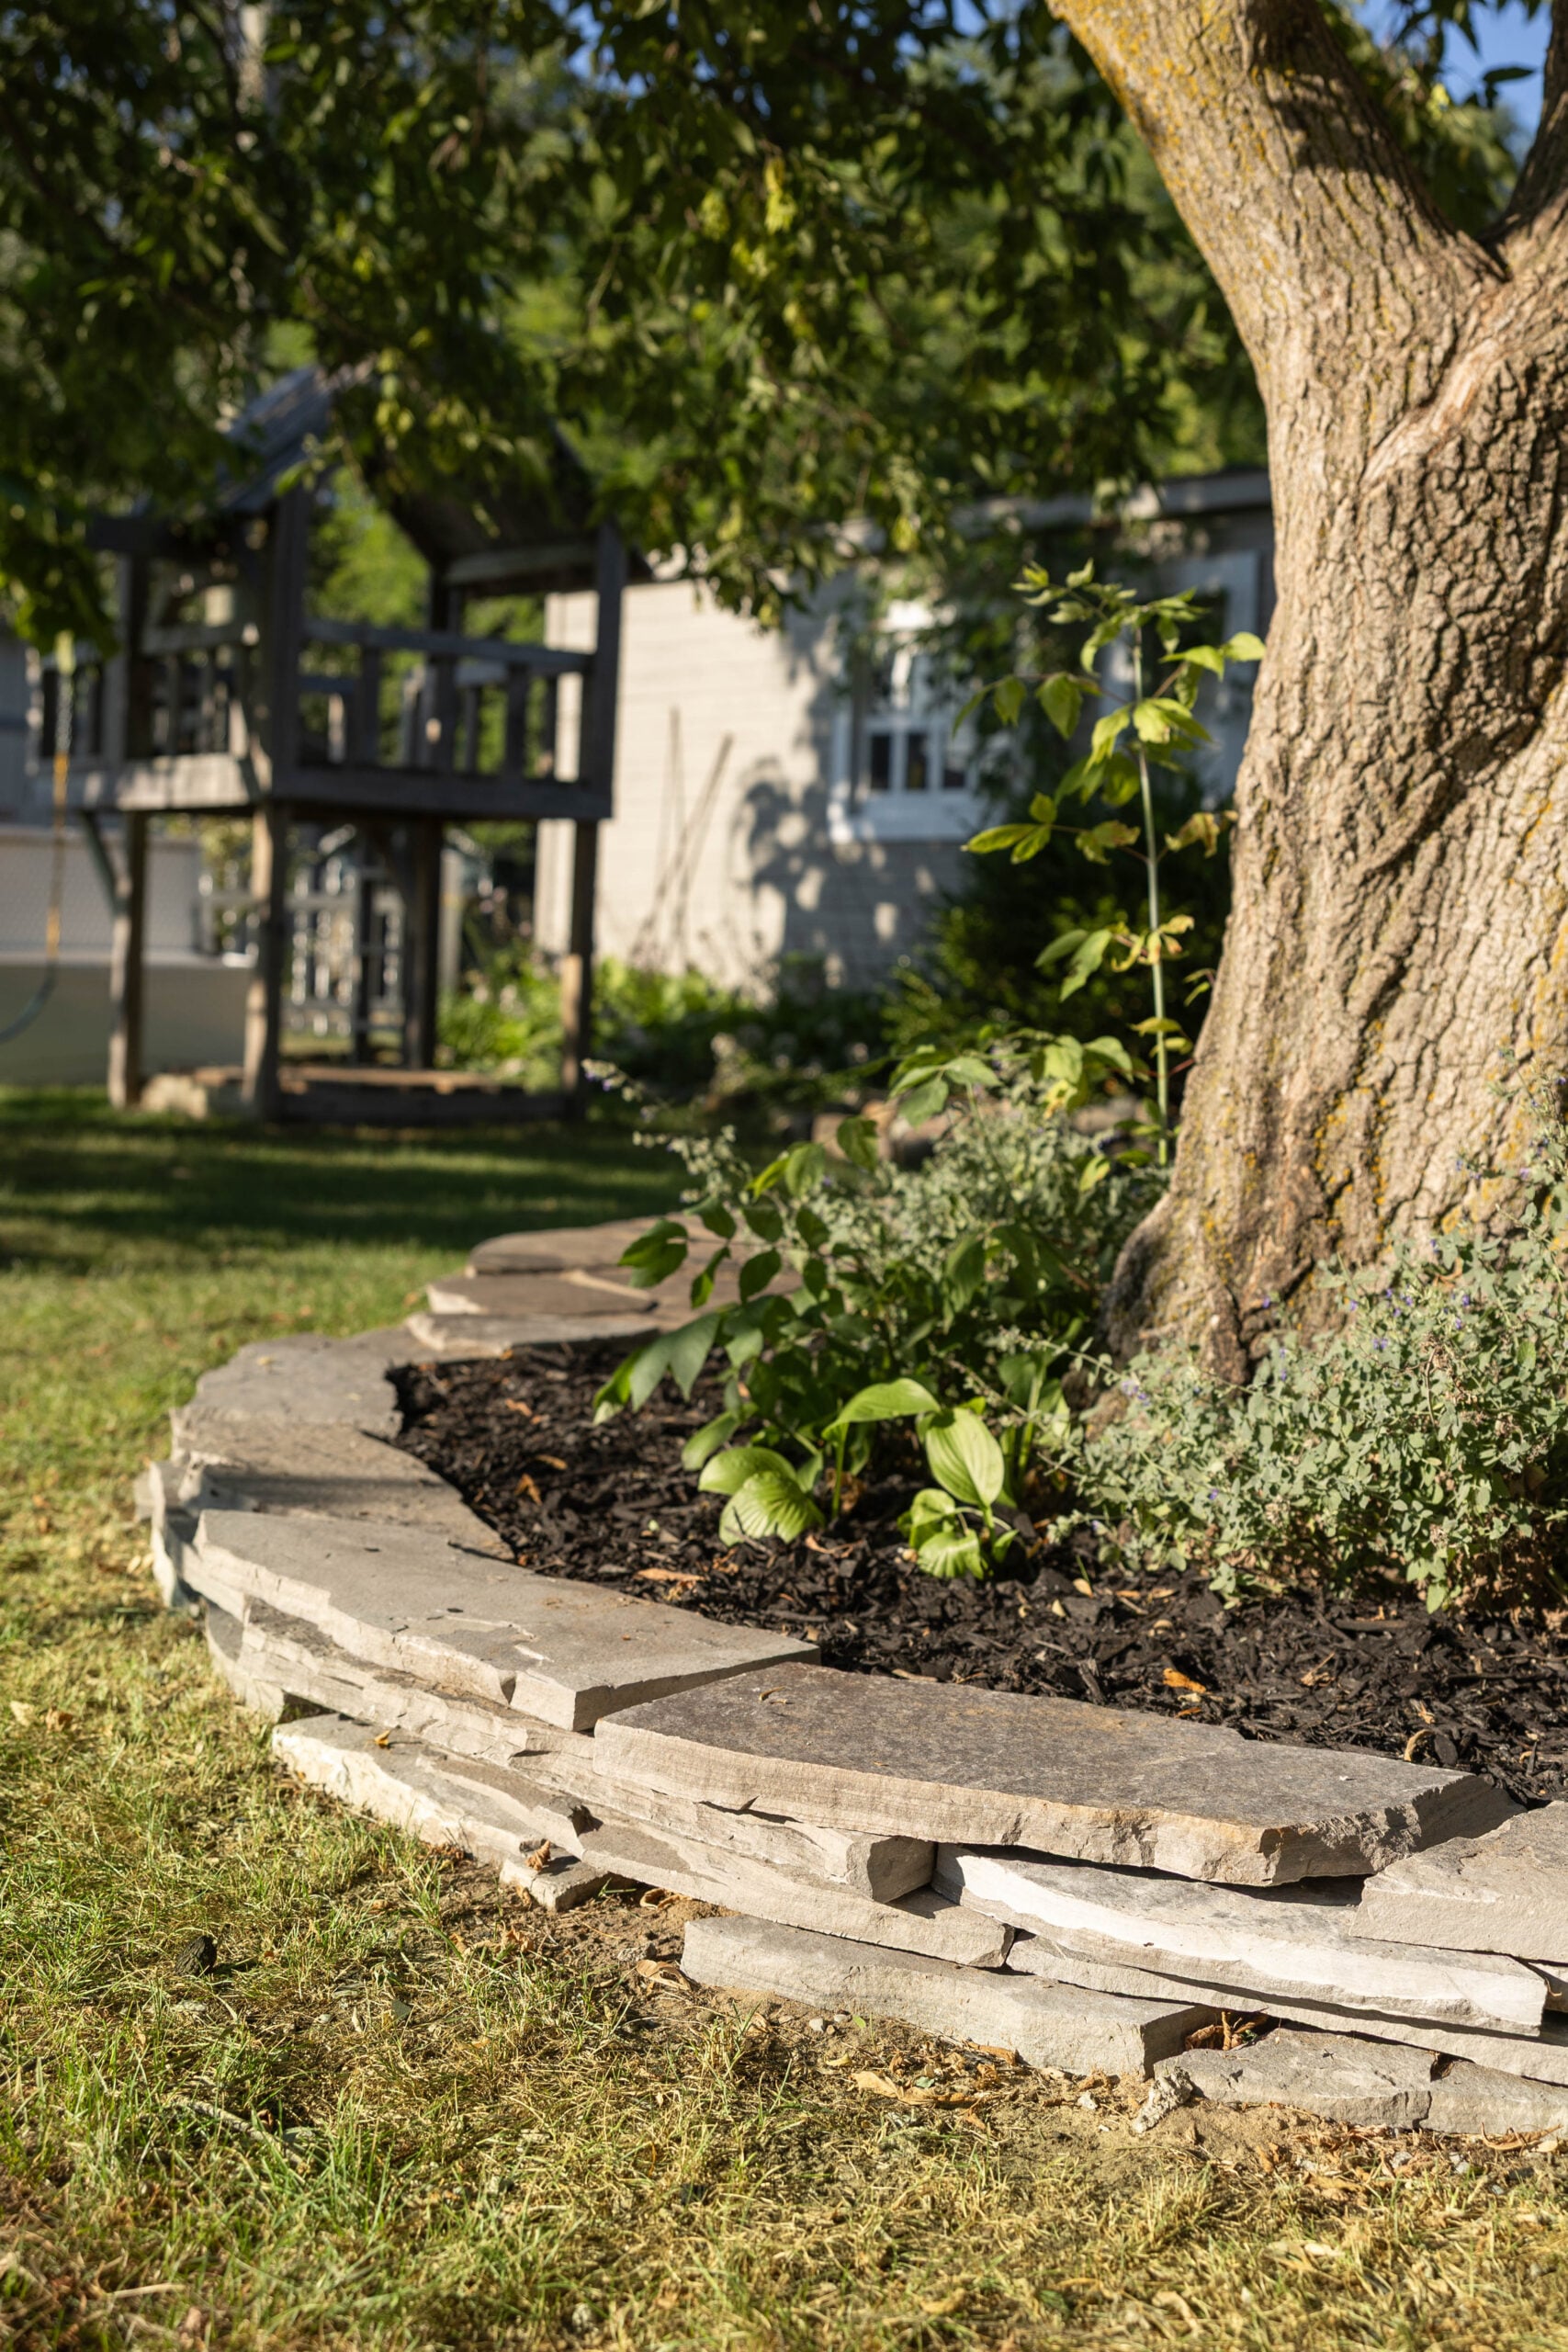
We created a small raised section underneath the tree. This allowed us to work with the existing landscape instead of fighting against it. It also gave the finished patio a little more visual interest.
Building a Retaining Wall
To create the raised section, we used retaining wall blocks to build a border underneath the tree. The retaining wall created a defined edge and allowed us to build up that portion of the patio while maintaining the different elevations. This wasn’t part of our original plan, but it turned out to be a practical solution to an unexpected problem.
It’s also a good reminder that DIY landscaping projects don’t always go exactly according to the original plan. Sometimes the existing conditions, especially mature trees and their roots, require you to adapt the design.
Preparing the Base for the Flagstone
Once the layout was established, we could begin preparing the base for the flagstone. This is one of the most important steps in a flagstone patio installation. Natural stone is heavy, and the patio needs a stable, properly compacted foundation underneath it.
We used approximately 3–4 inches of 3/4-inch crushed gravel as the first layer. The gravel was spread throughout the patio area and thoroughly compacted. Around the retaining wall, we made sure to maintain enough depth between the top of the wall and the finished patio surface to accommodate the base materials and flagstone.
After the larger crushed gravel was compacted, we added a finer layer of approximately 3/8-inch crushed gravel and compacted that as well. The result was a firm, stable base ready for the flagstone.
Why Proper Compaction Matters
The base preparation isn’t the most exciting part of building a patio, but it’s one of the areas where it’s worth taking your time. A properly prepared and compacted base helps create a stable surface for the stone and can help reduce problems with settling and movement over time.
We wanted to do this project correctly rather than rush through the preparation, so a significant portion of the project was spent simply getting the foundation ready.
Laying the Flagstone
Once the base was prepared and our stone arrived, we could finally start laying the flagstone. We thought this would be the fun part. It did have some of the qualities of a giant puzzle, but it was also much more labor-intensive than we expected.
Unlike manufactured patio pavers, natural flagstone comes in irregular shapes and sizes. There isn’t a uniform pattern to follow. We spent a lot of time moving stones around, rotating them, and figuring out which pieces fit best next to one another. Our goal was to use as many large pieces as possible while creating natural-looking joints between the stones.
Cutting the Flagstone
Eventually, we reached areas where no existing stone would fit the space properly. That’s when we began cutting the flagstone. Using a saw and the appropriate blade, my husband cut individual pieces to fit into the remaining spaces.
This took quite a bit of patience. Natural stone isn’t like putting together perfectly shaped manufactured pavers, so there was plenty of trial and error. Slowly, though, the patio began to come together.
Filling the Flagstone Joints With Polymeric Sand
Once all of the flagstone was in place, we finished the joints with polymeric sand. The sand was spread over the surface of the patio and swept into all of the joints between the stones.
Once the joints were filled, the surface was carefully wetted according to the product’s instructions. The water activates the polymers in the sand, allowing it to harden. This gave the finished patio a more polished appearance and helped secure the joints between the stones.
Always follow the specific installation instructions for the polymeric sand you’re using, since application requirements can vary between products.
How We Styled the DIY Flagstone Patio
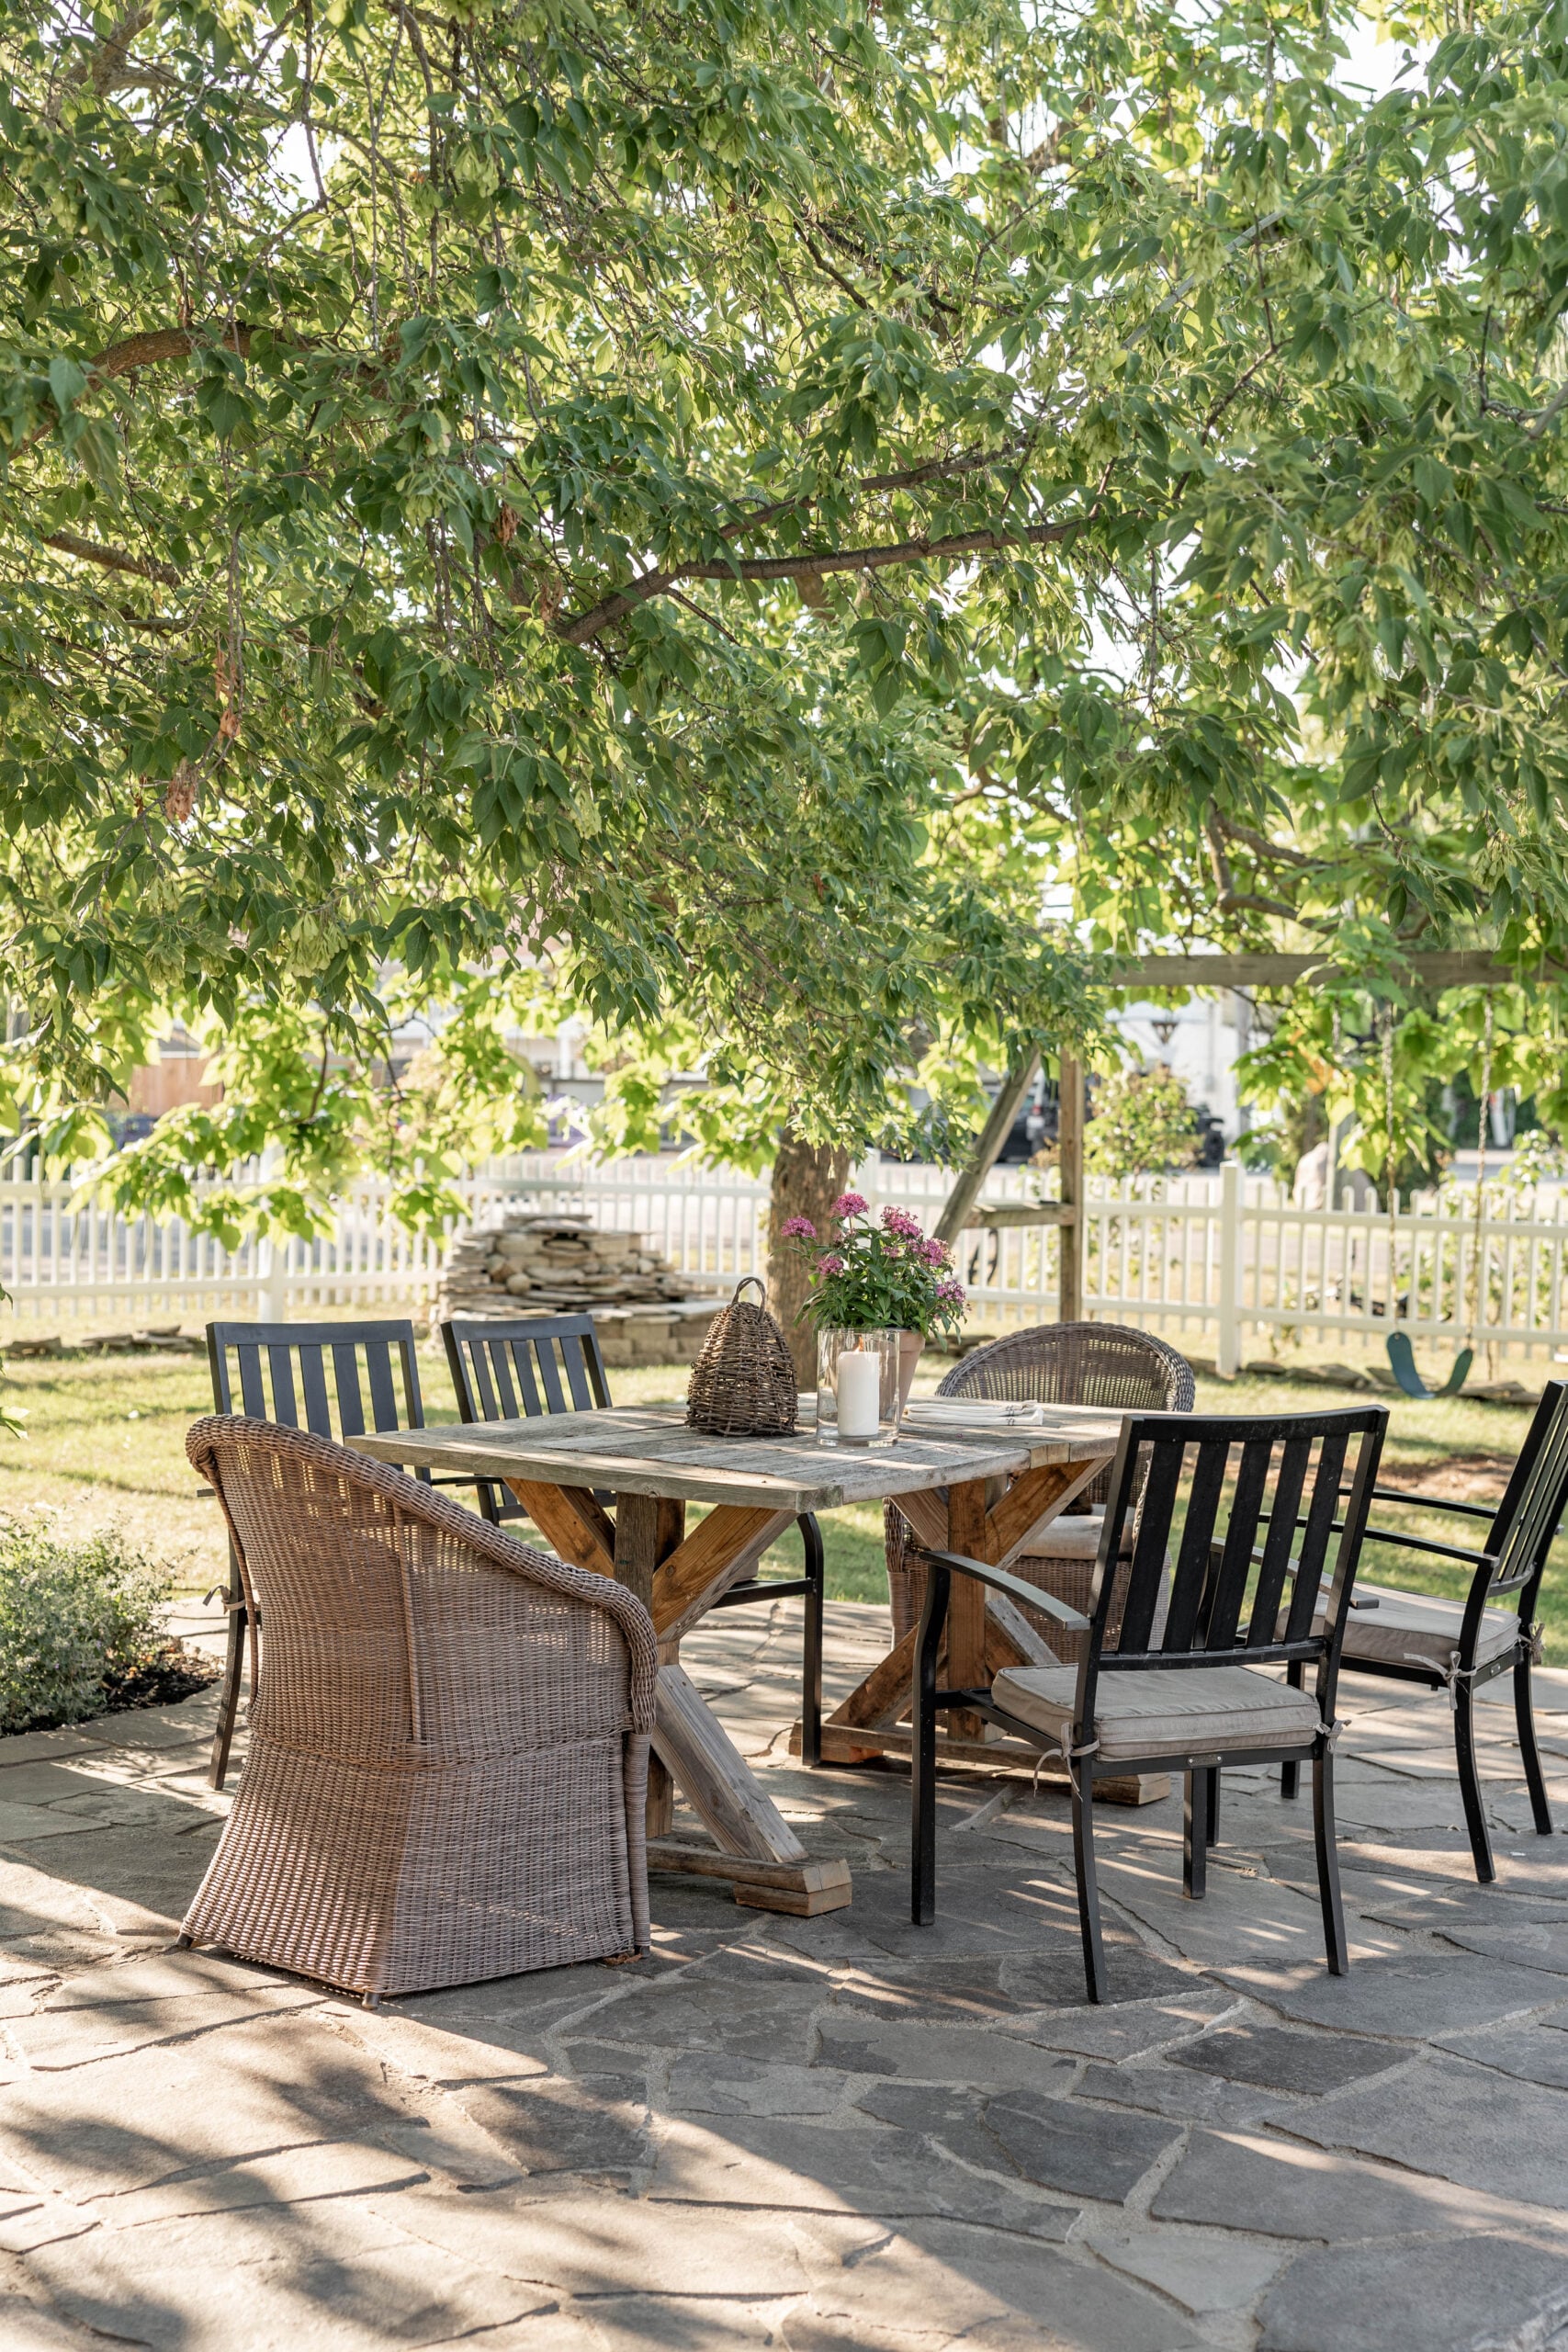
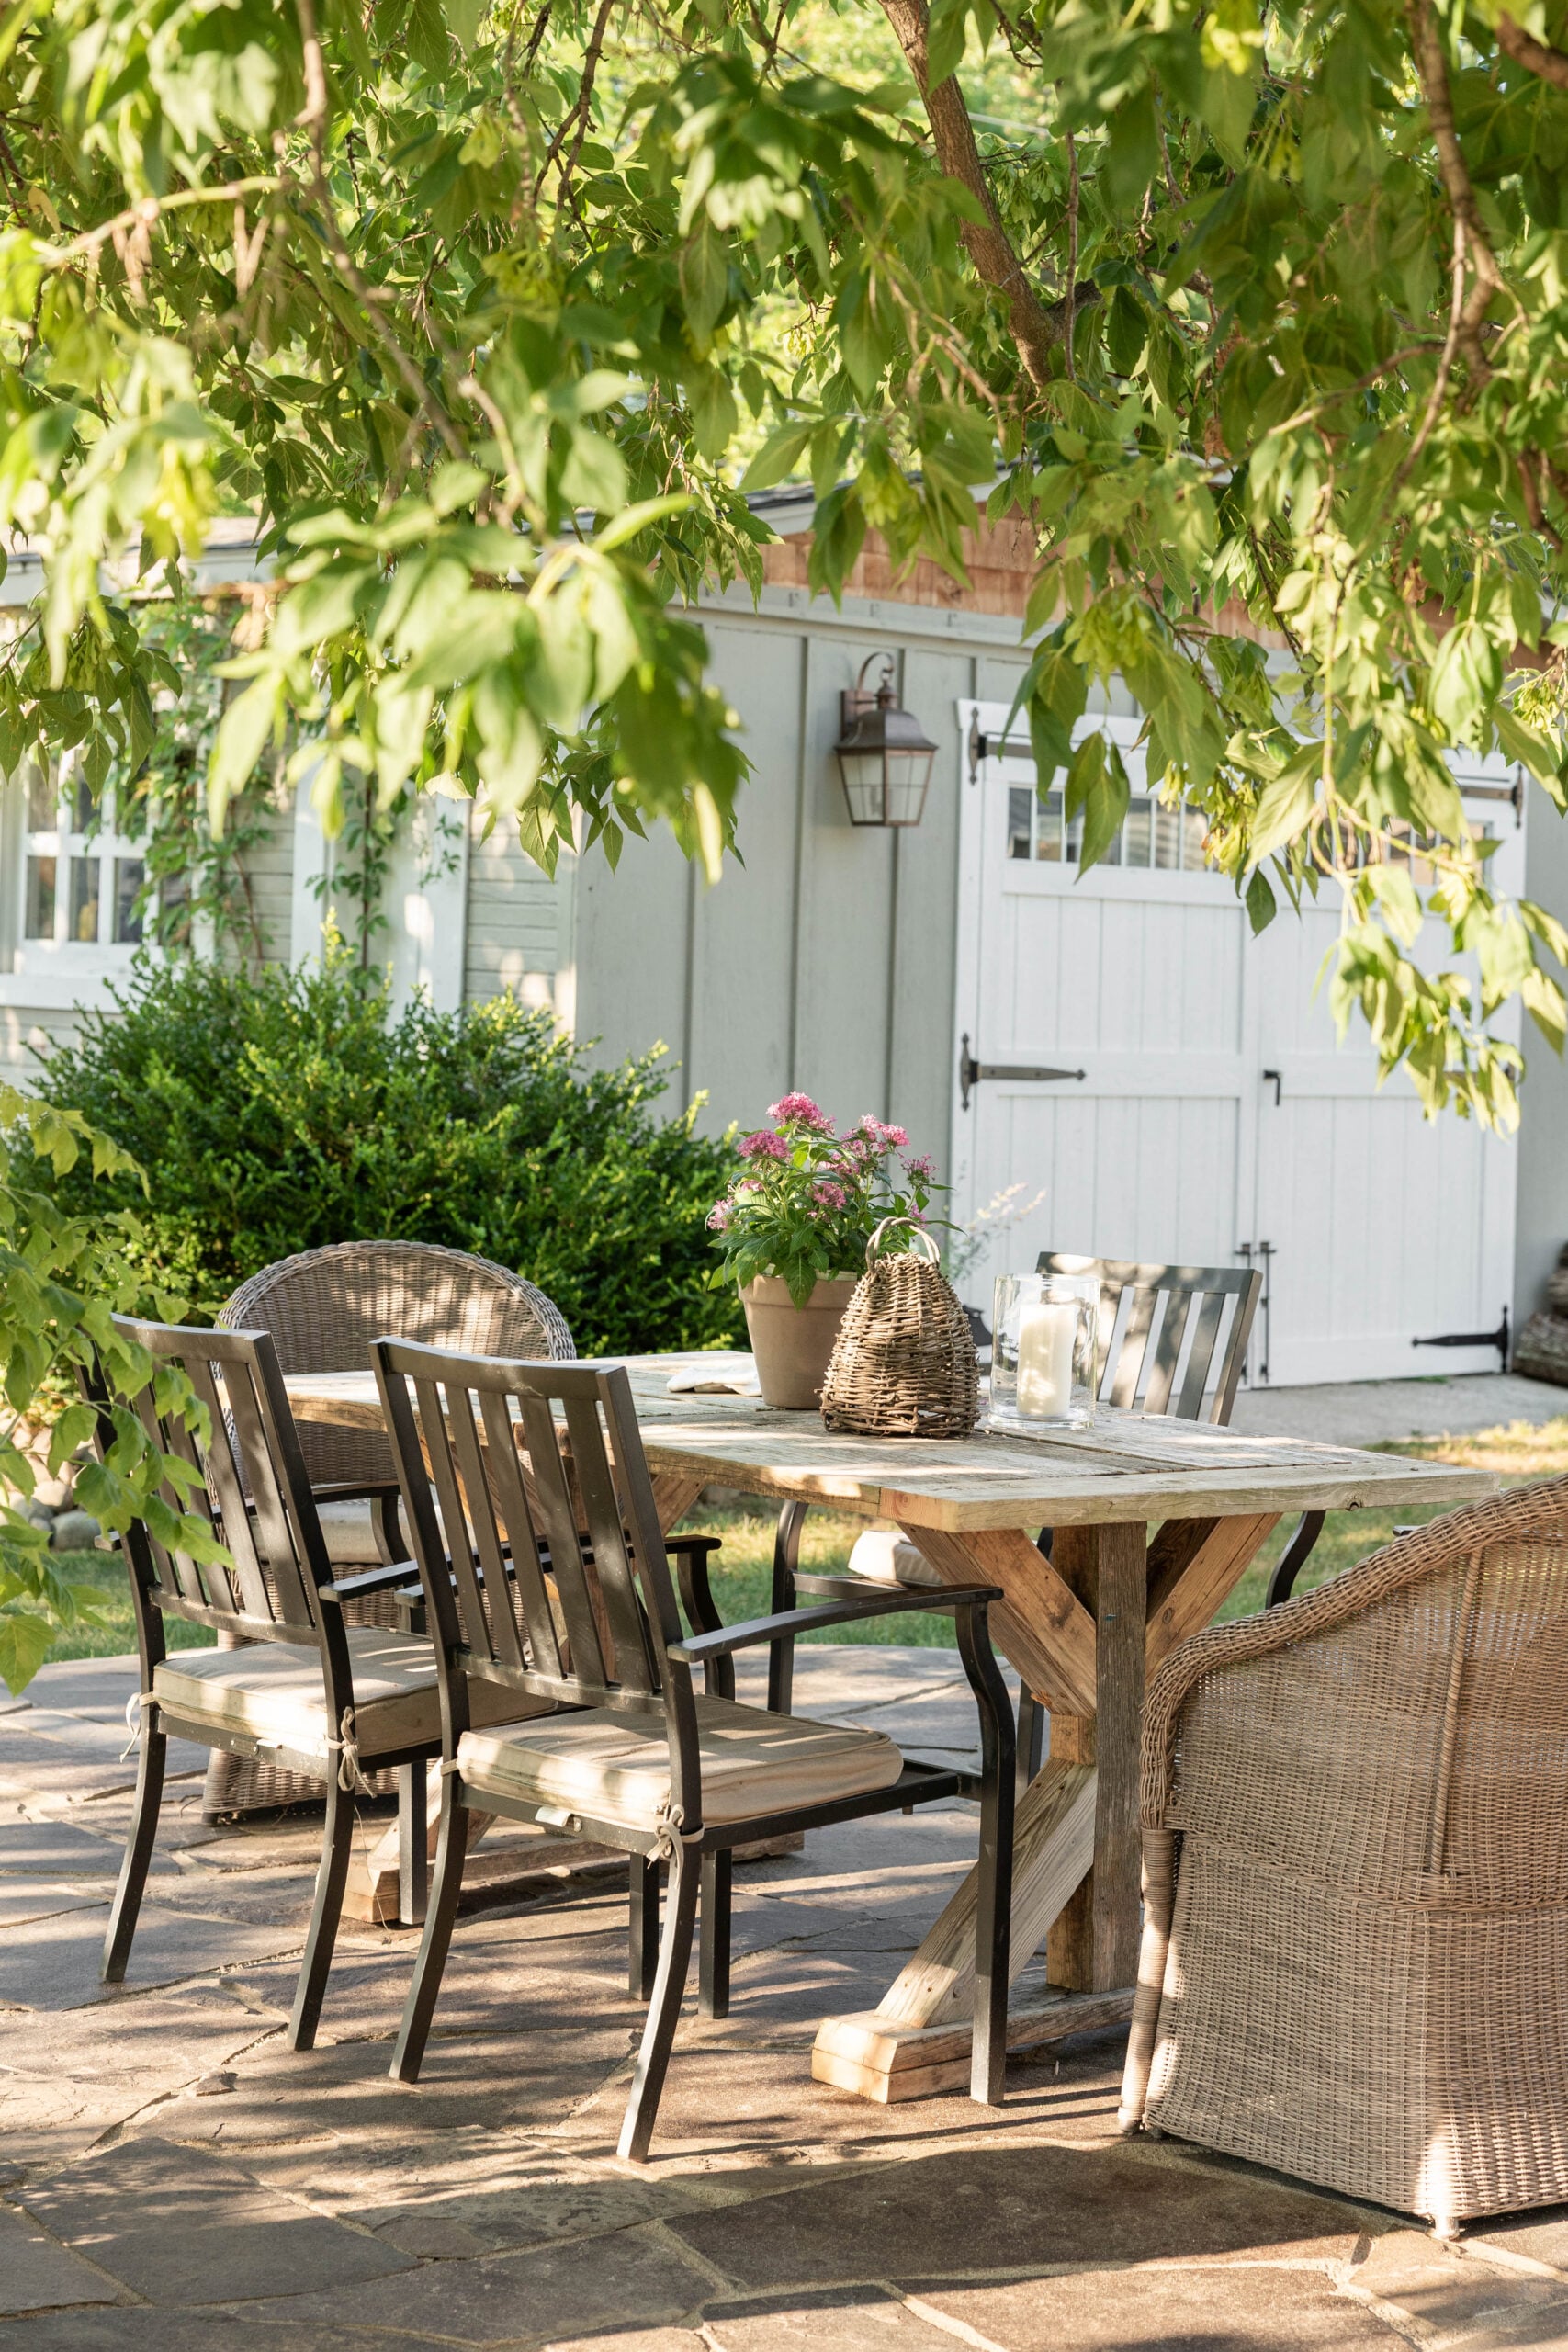
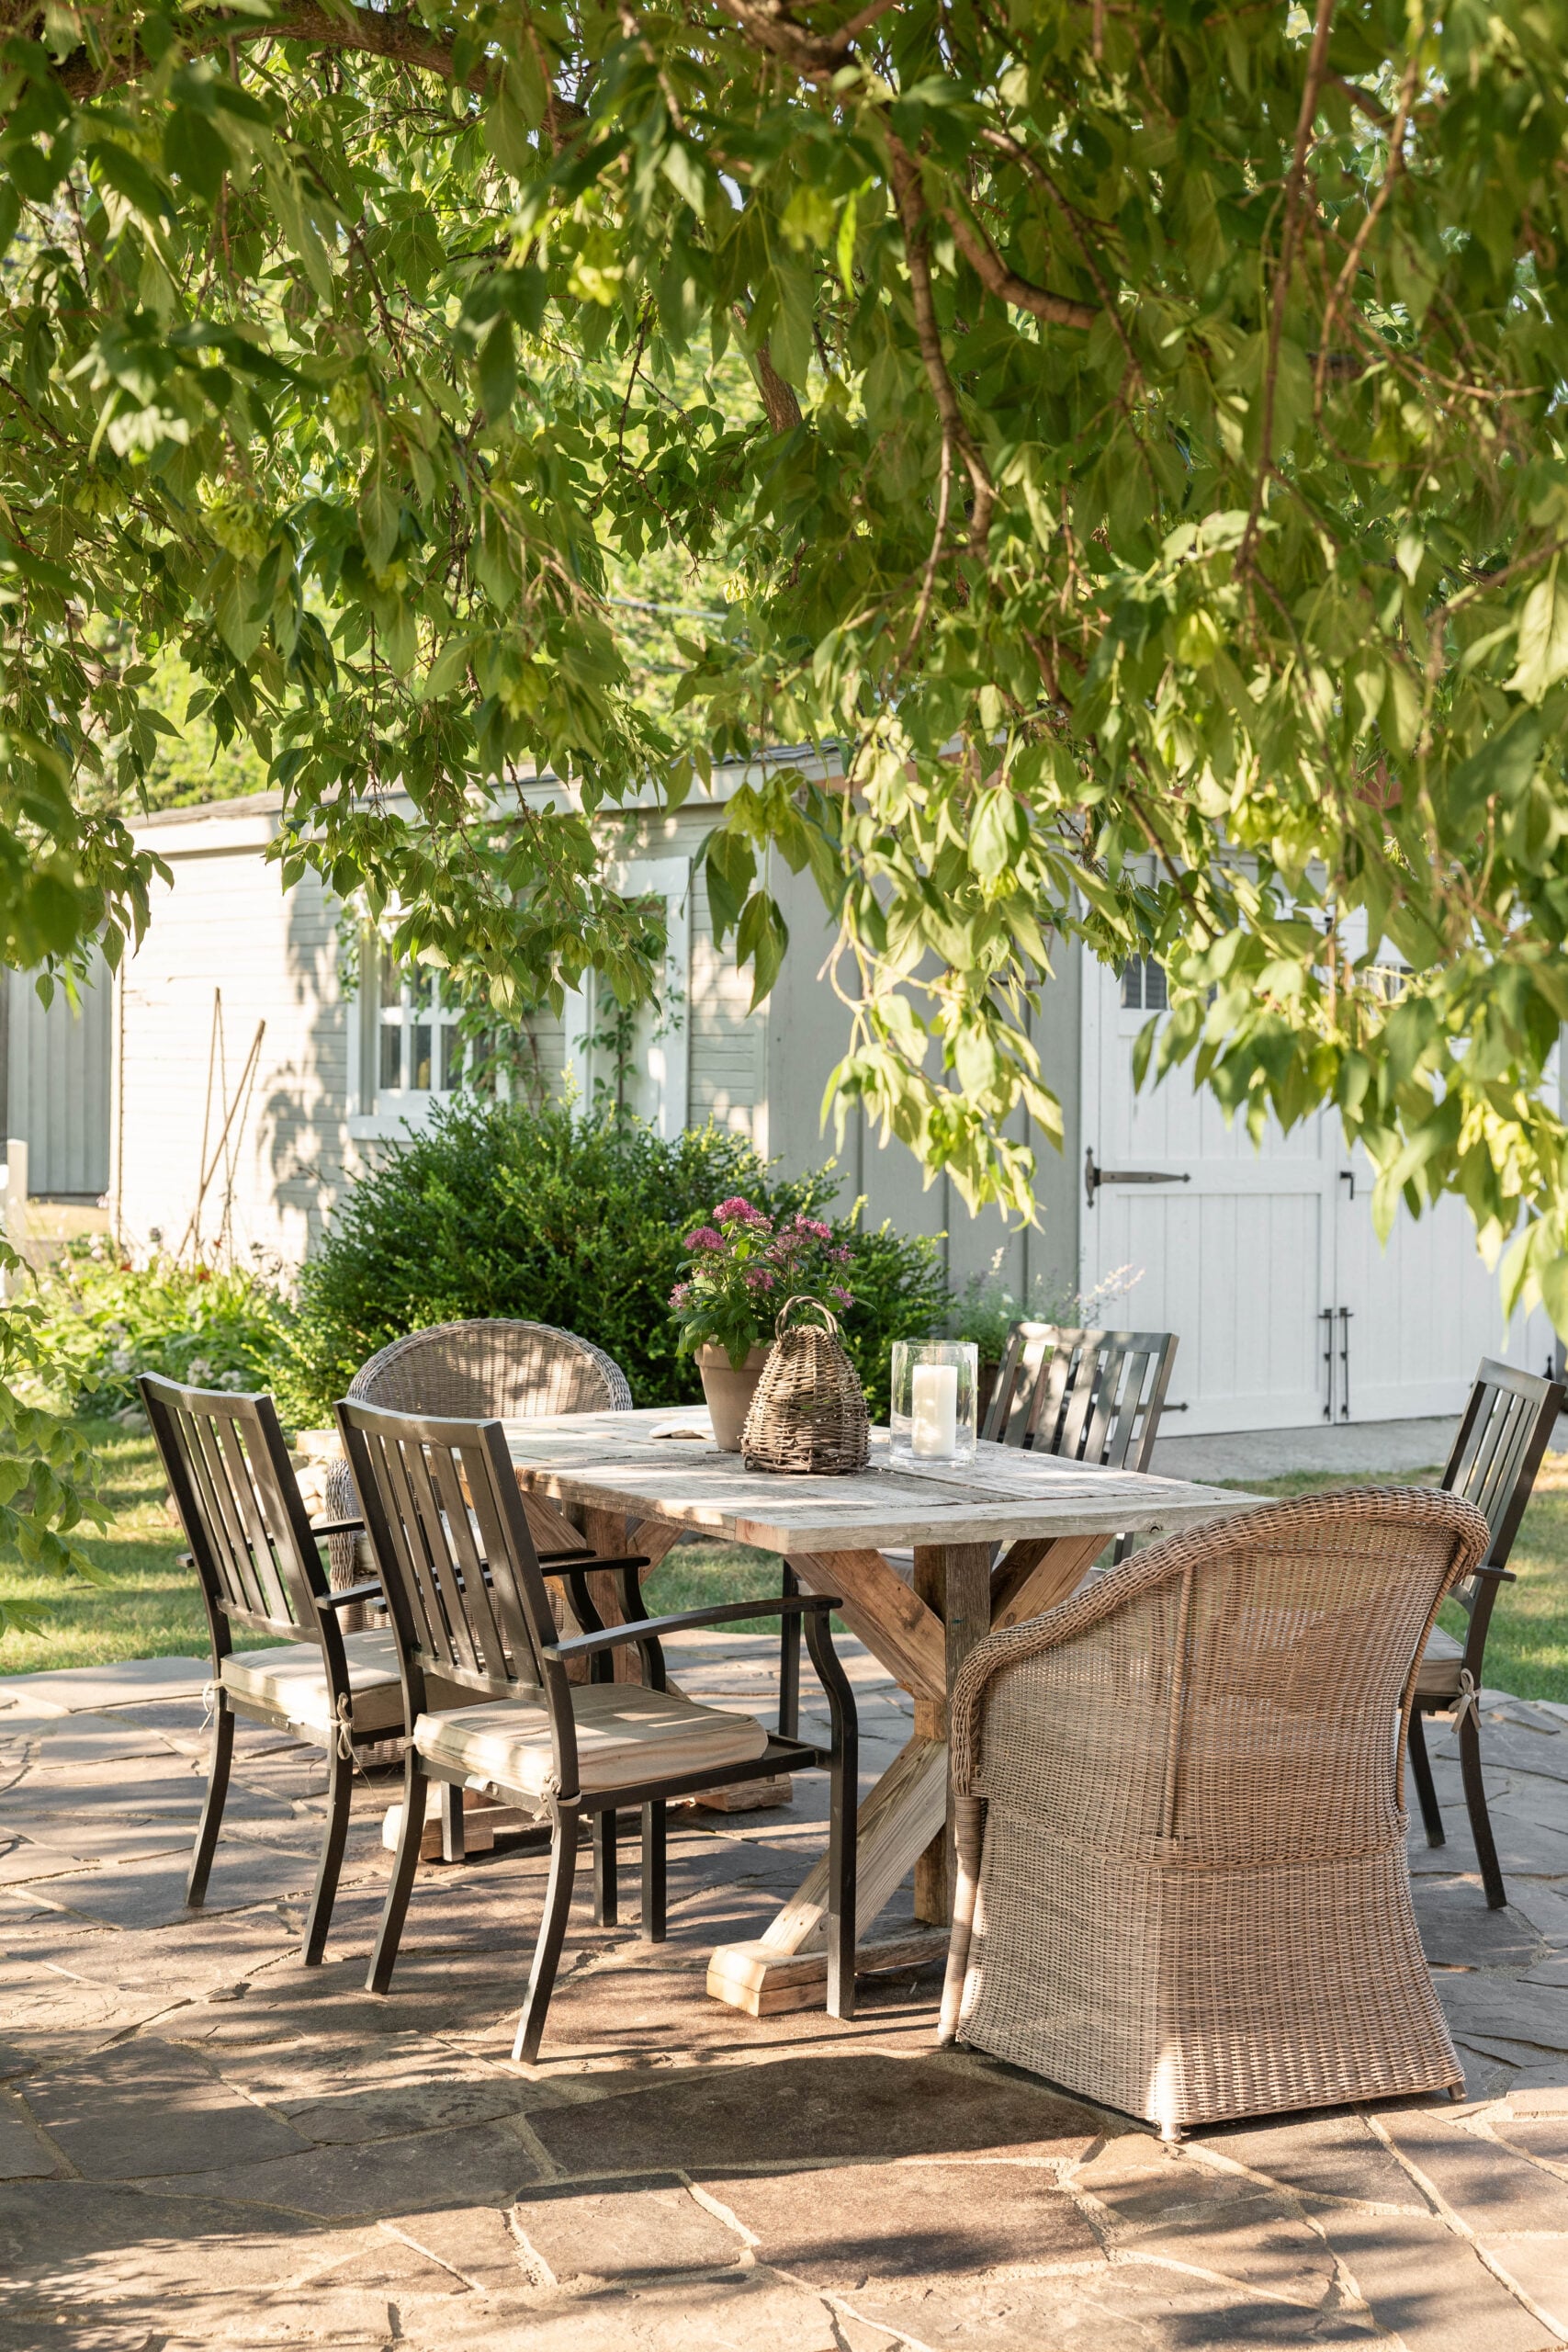
One of our goals was to avoid buying an entirely new patio furniture set. Instead, we looked around our home, garage, and family members’ homes to see what we could repurpose. That ended up being one of my favorite parts of the project.
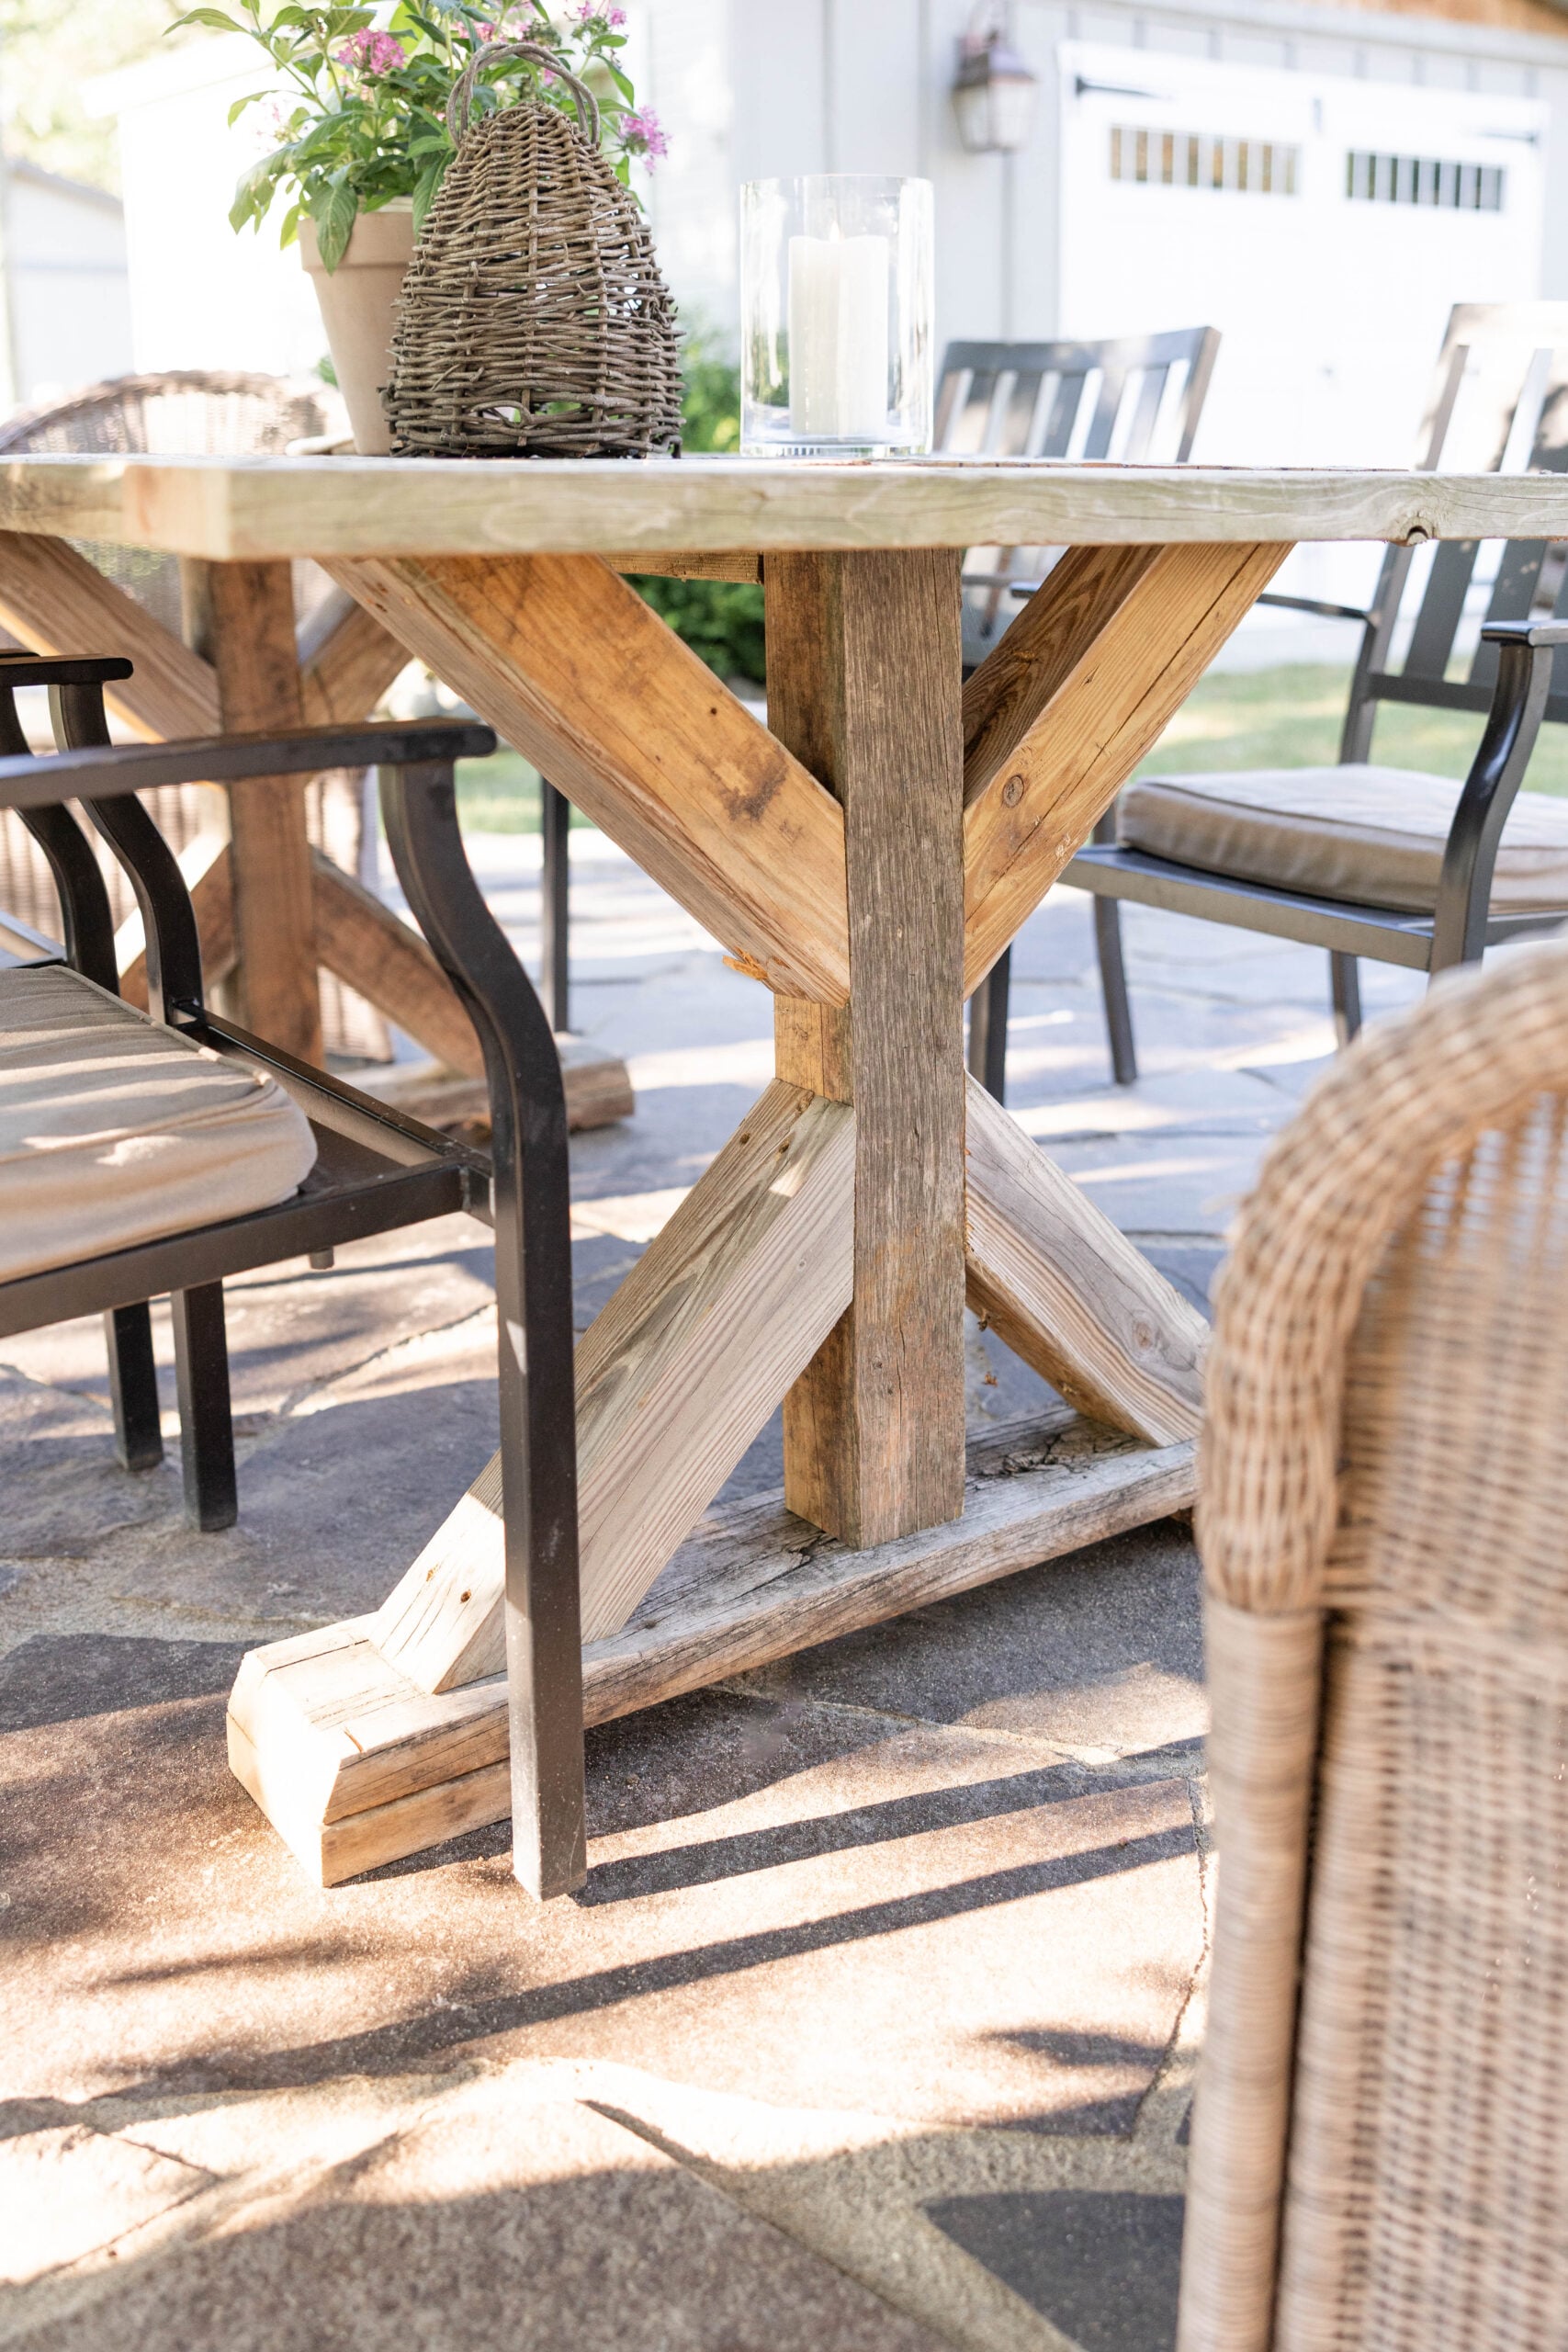
DIY Outdoor Table From Reclaimed Wood
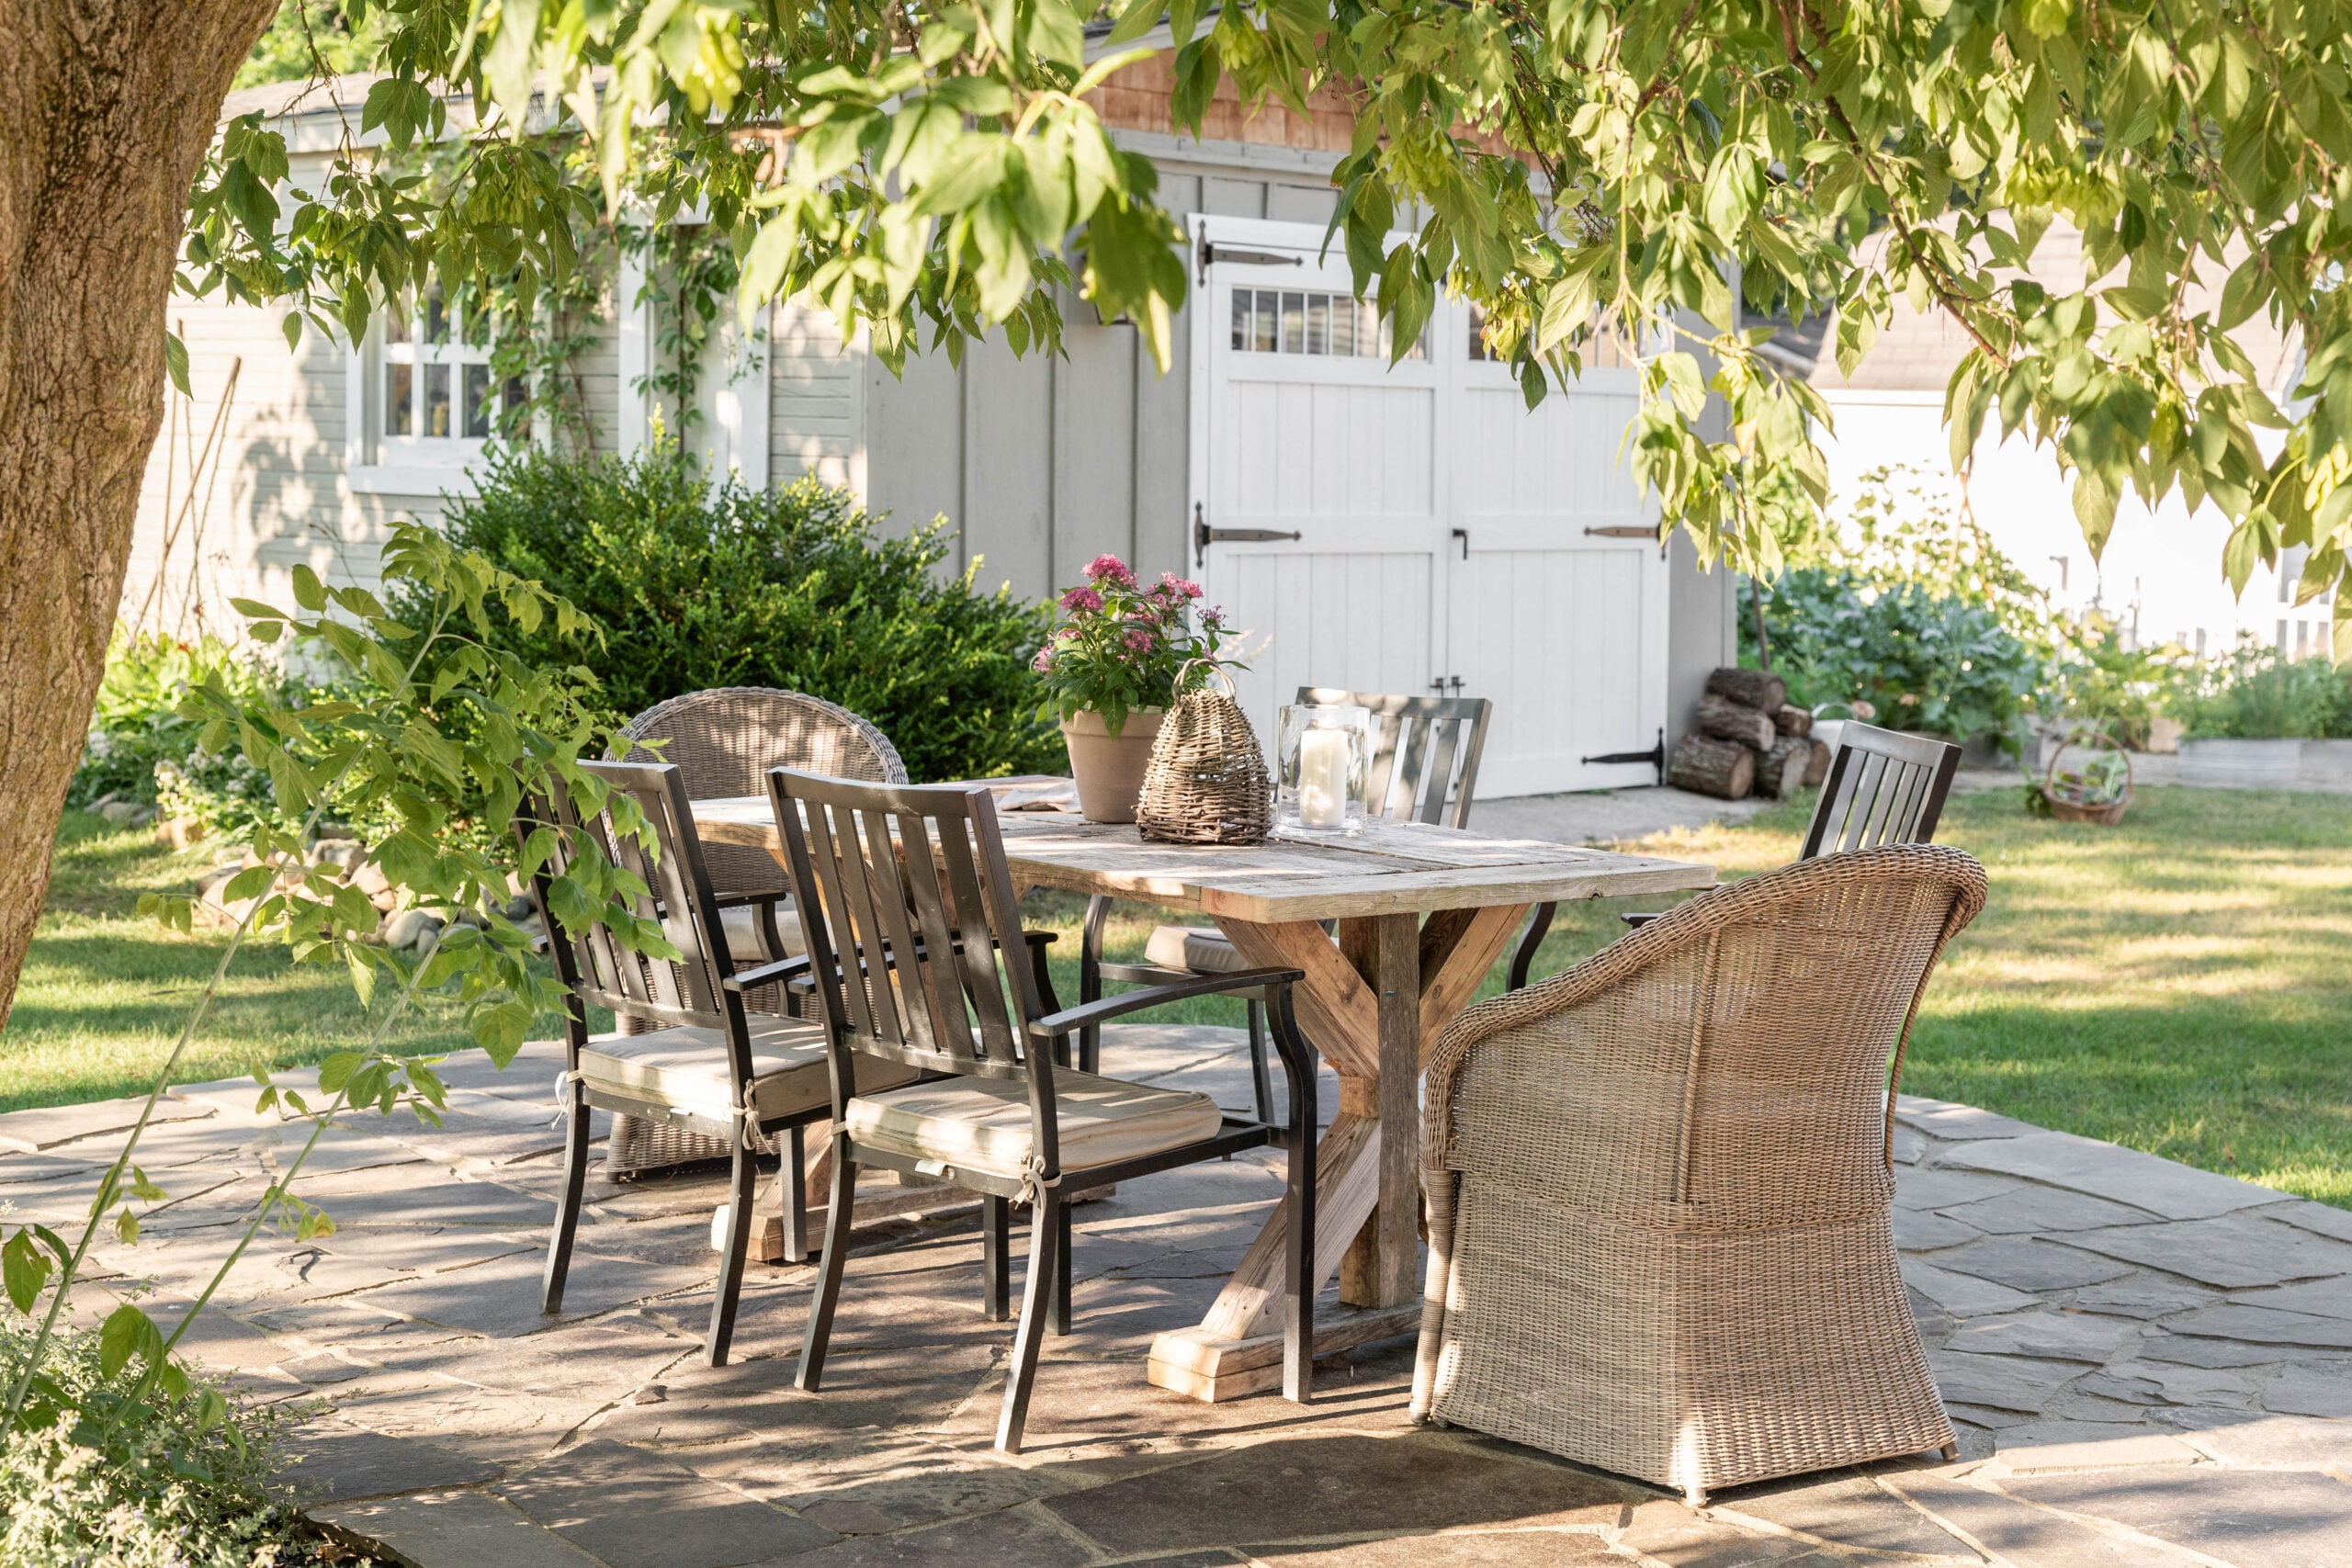
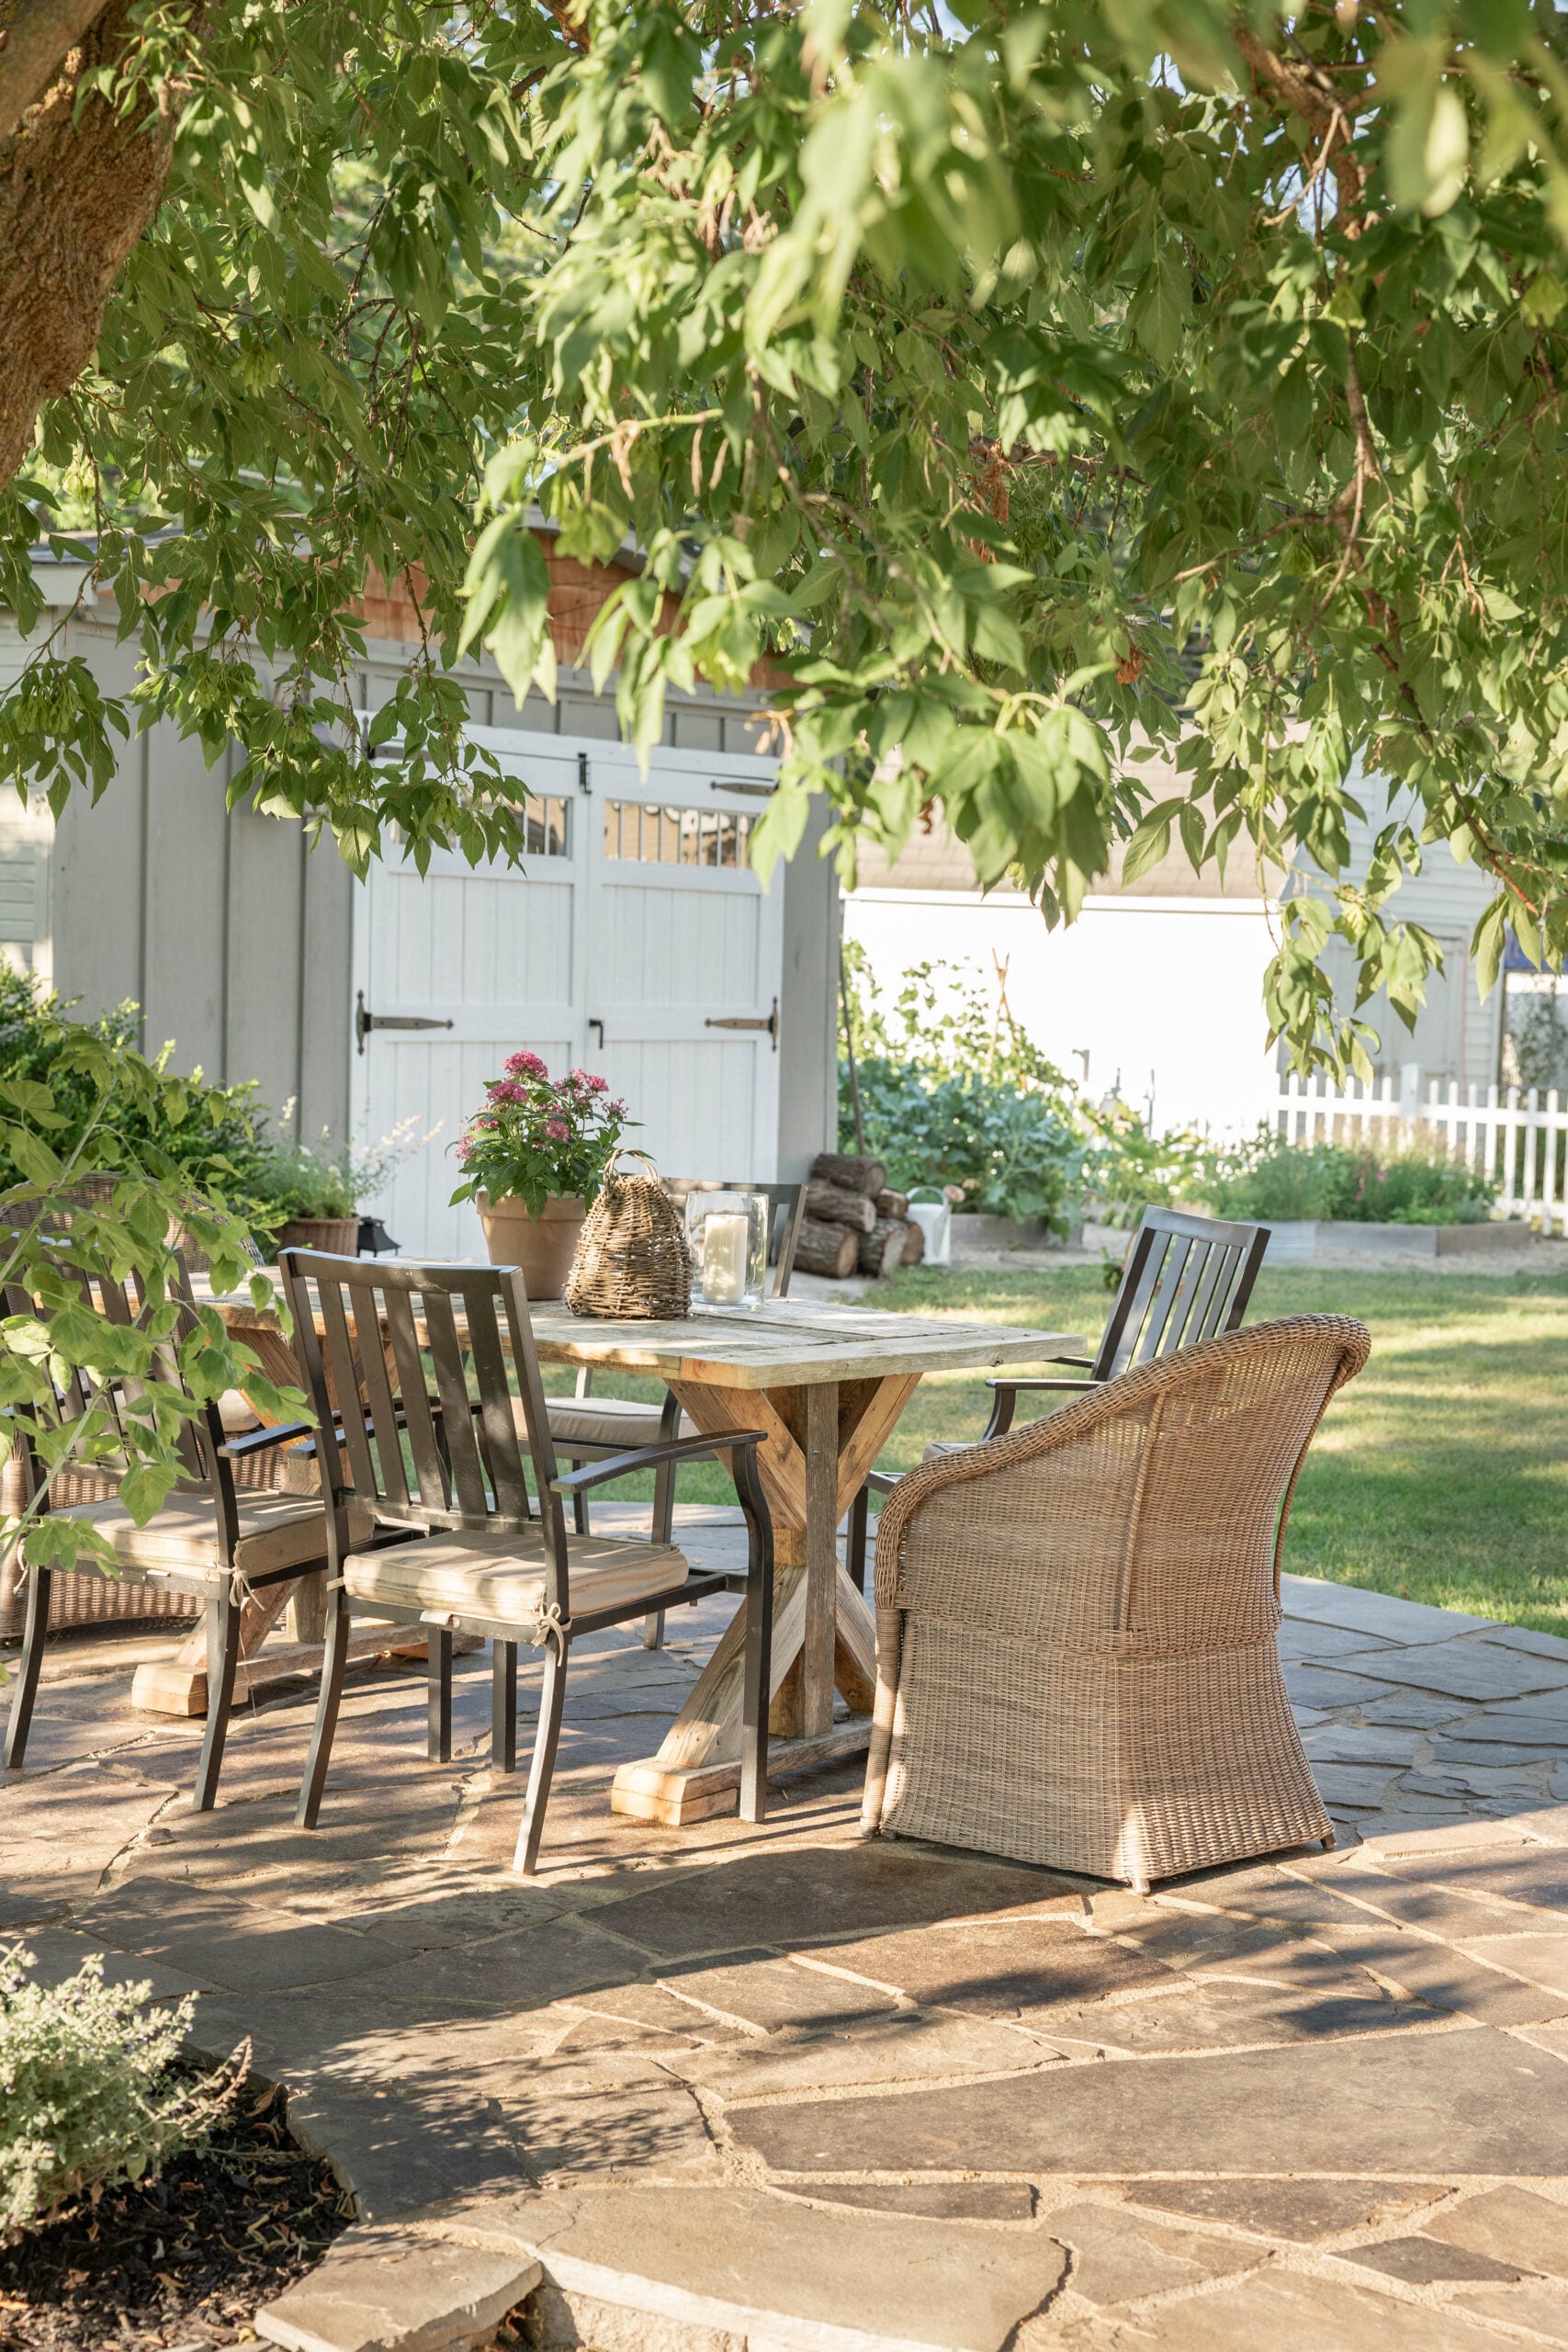
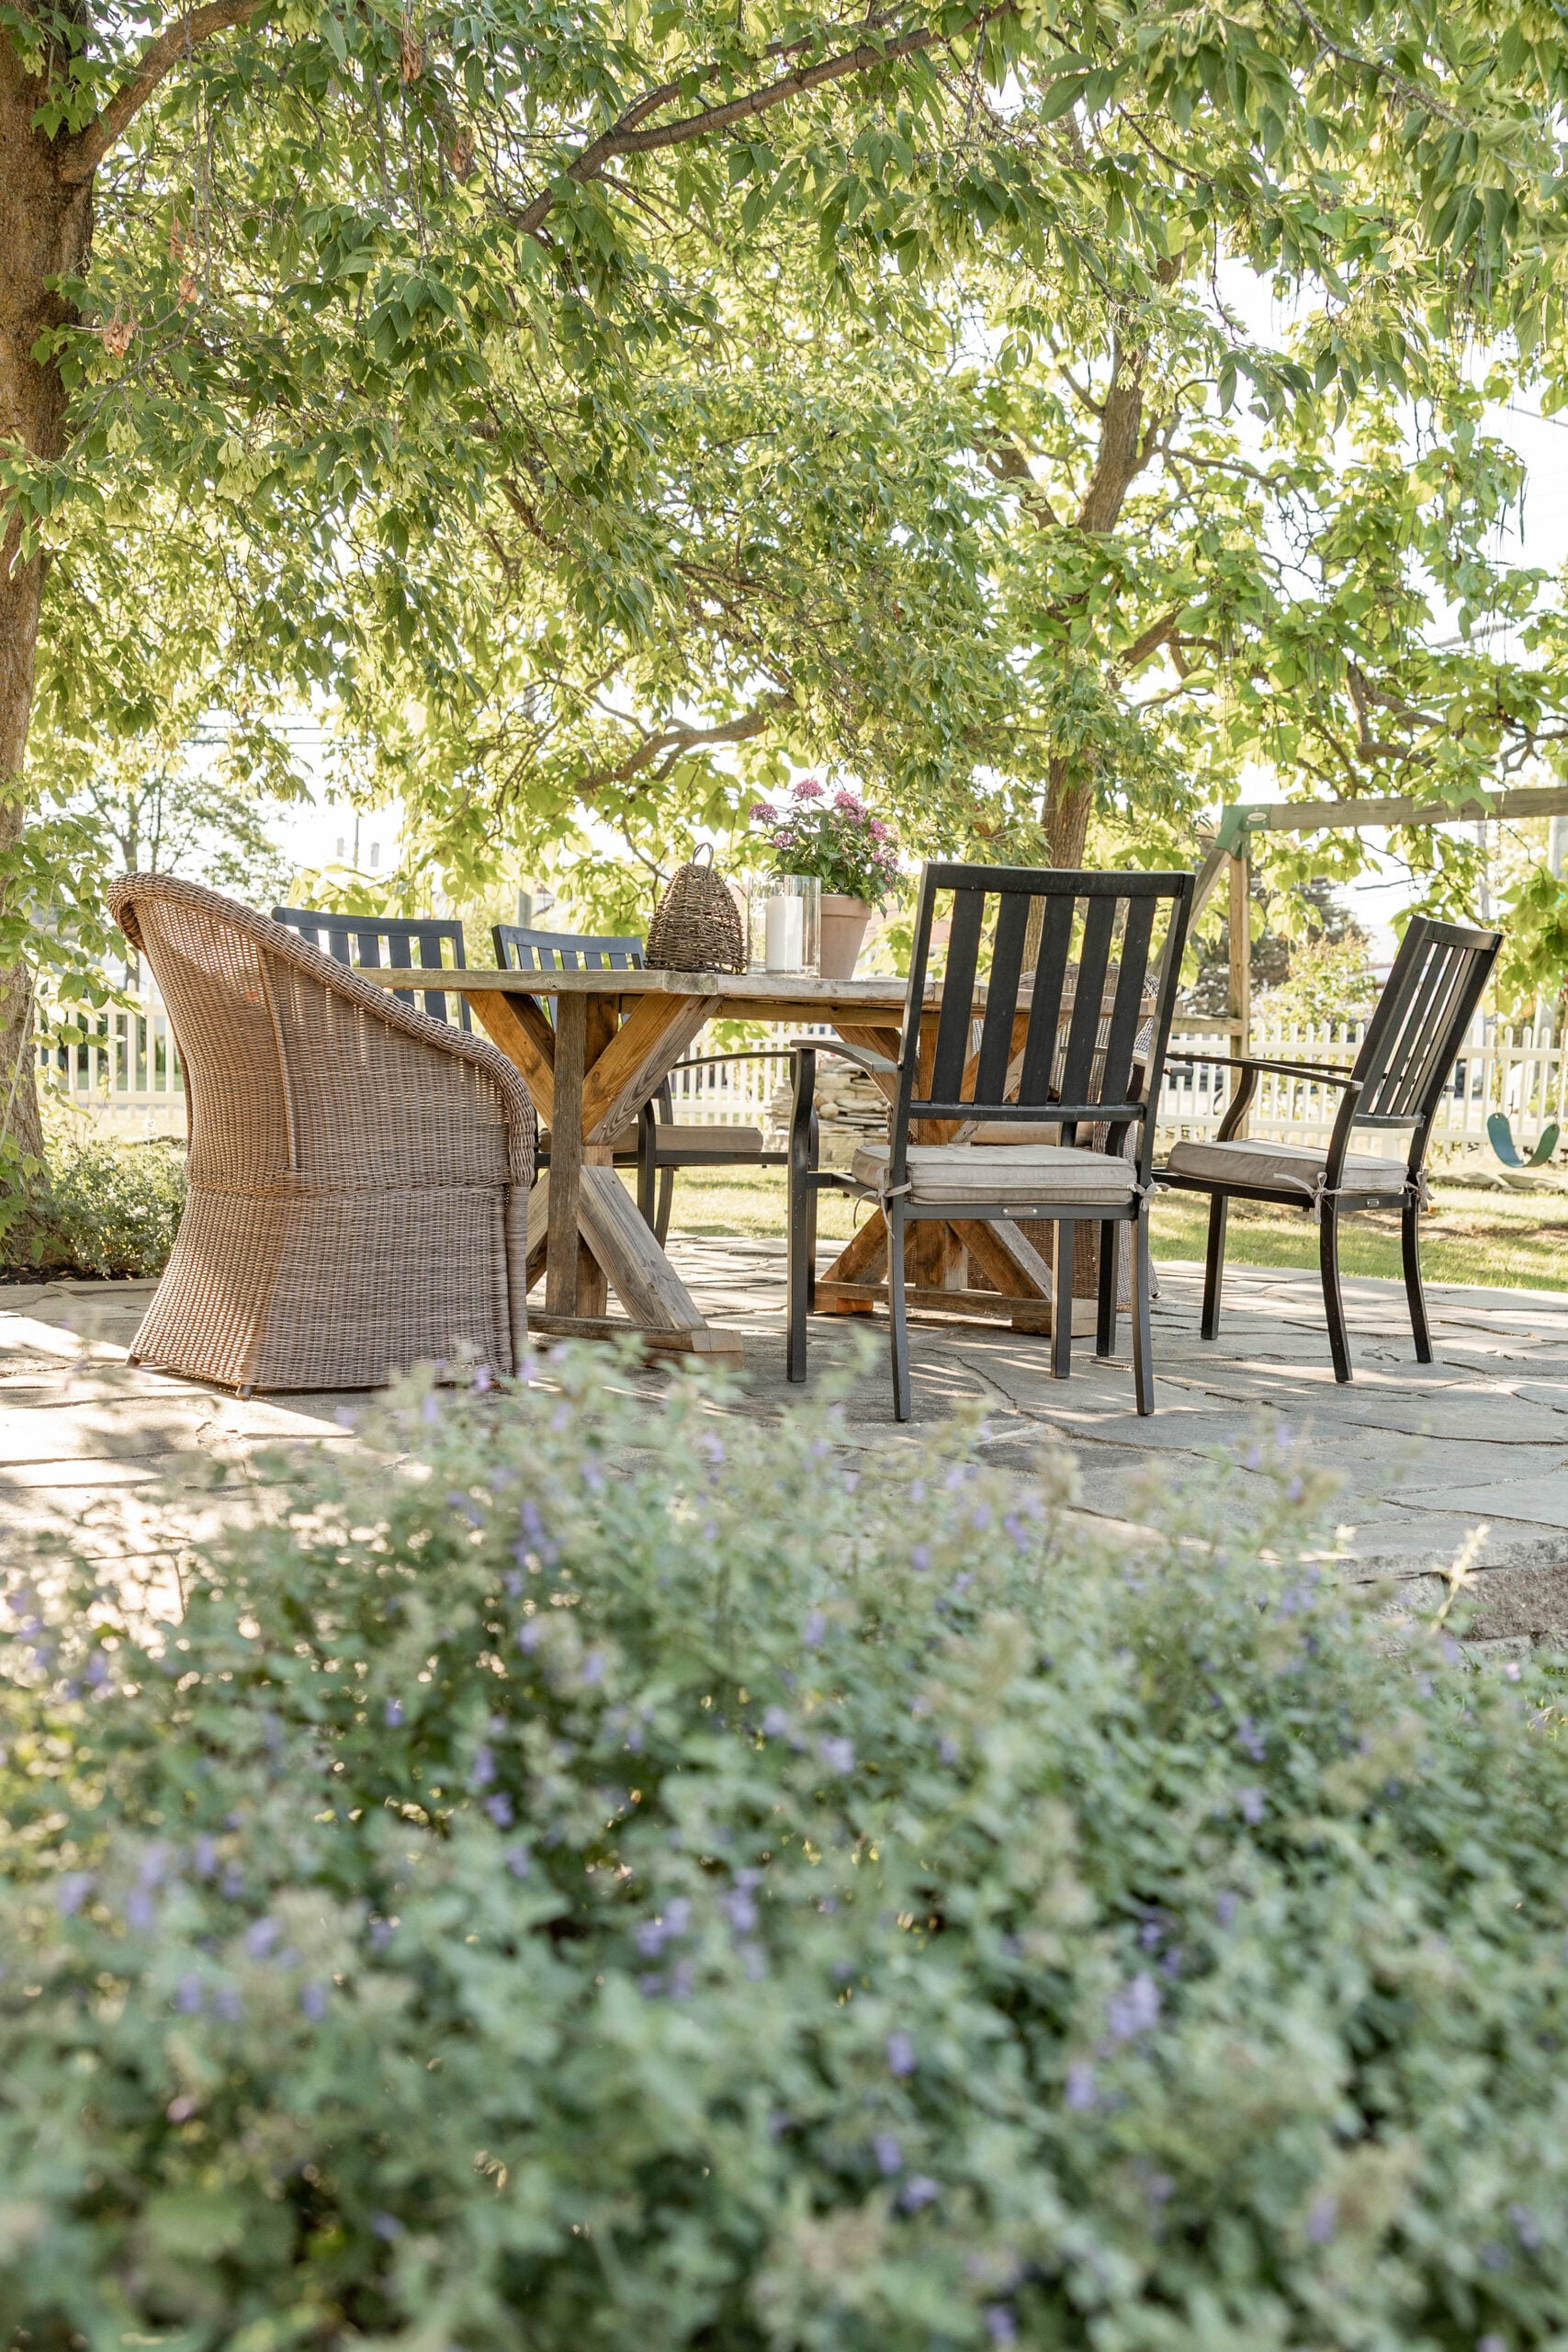
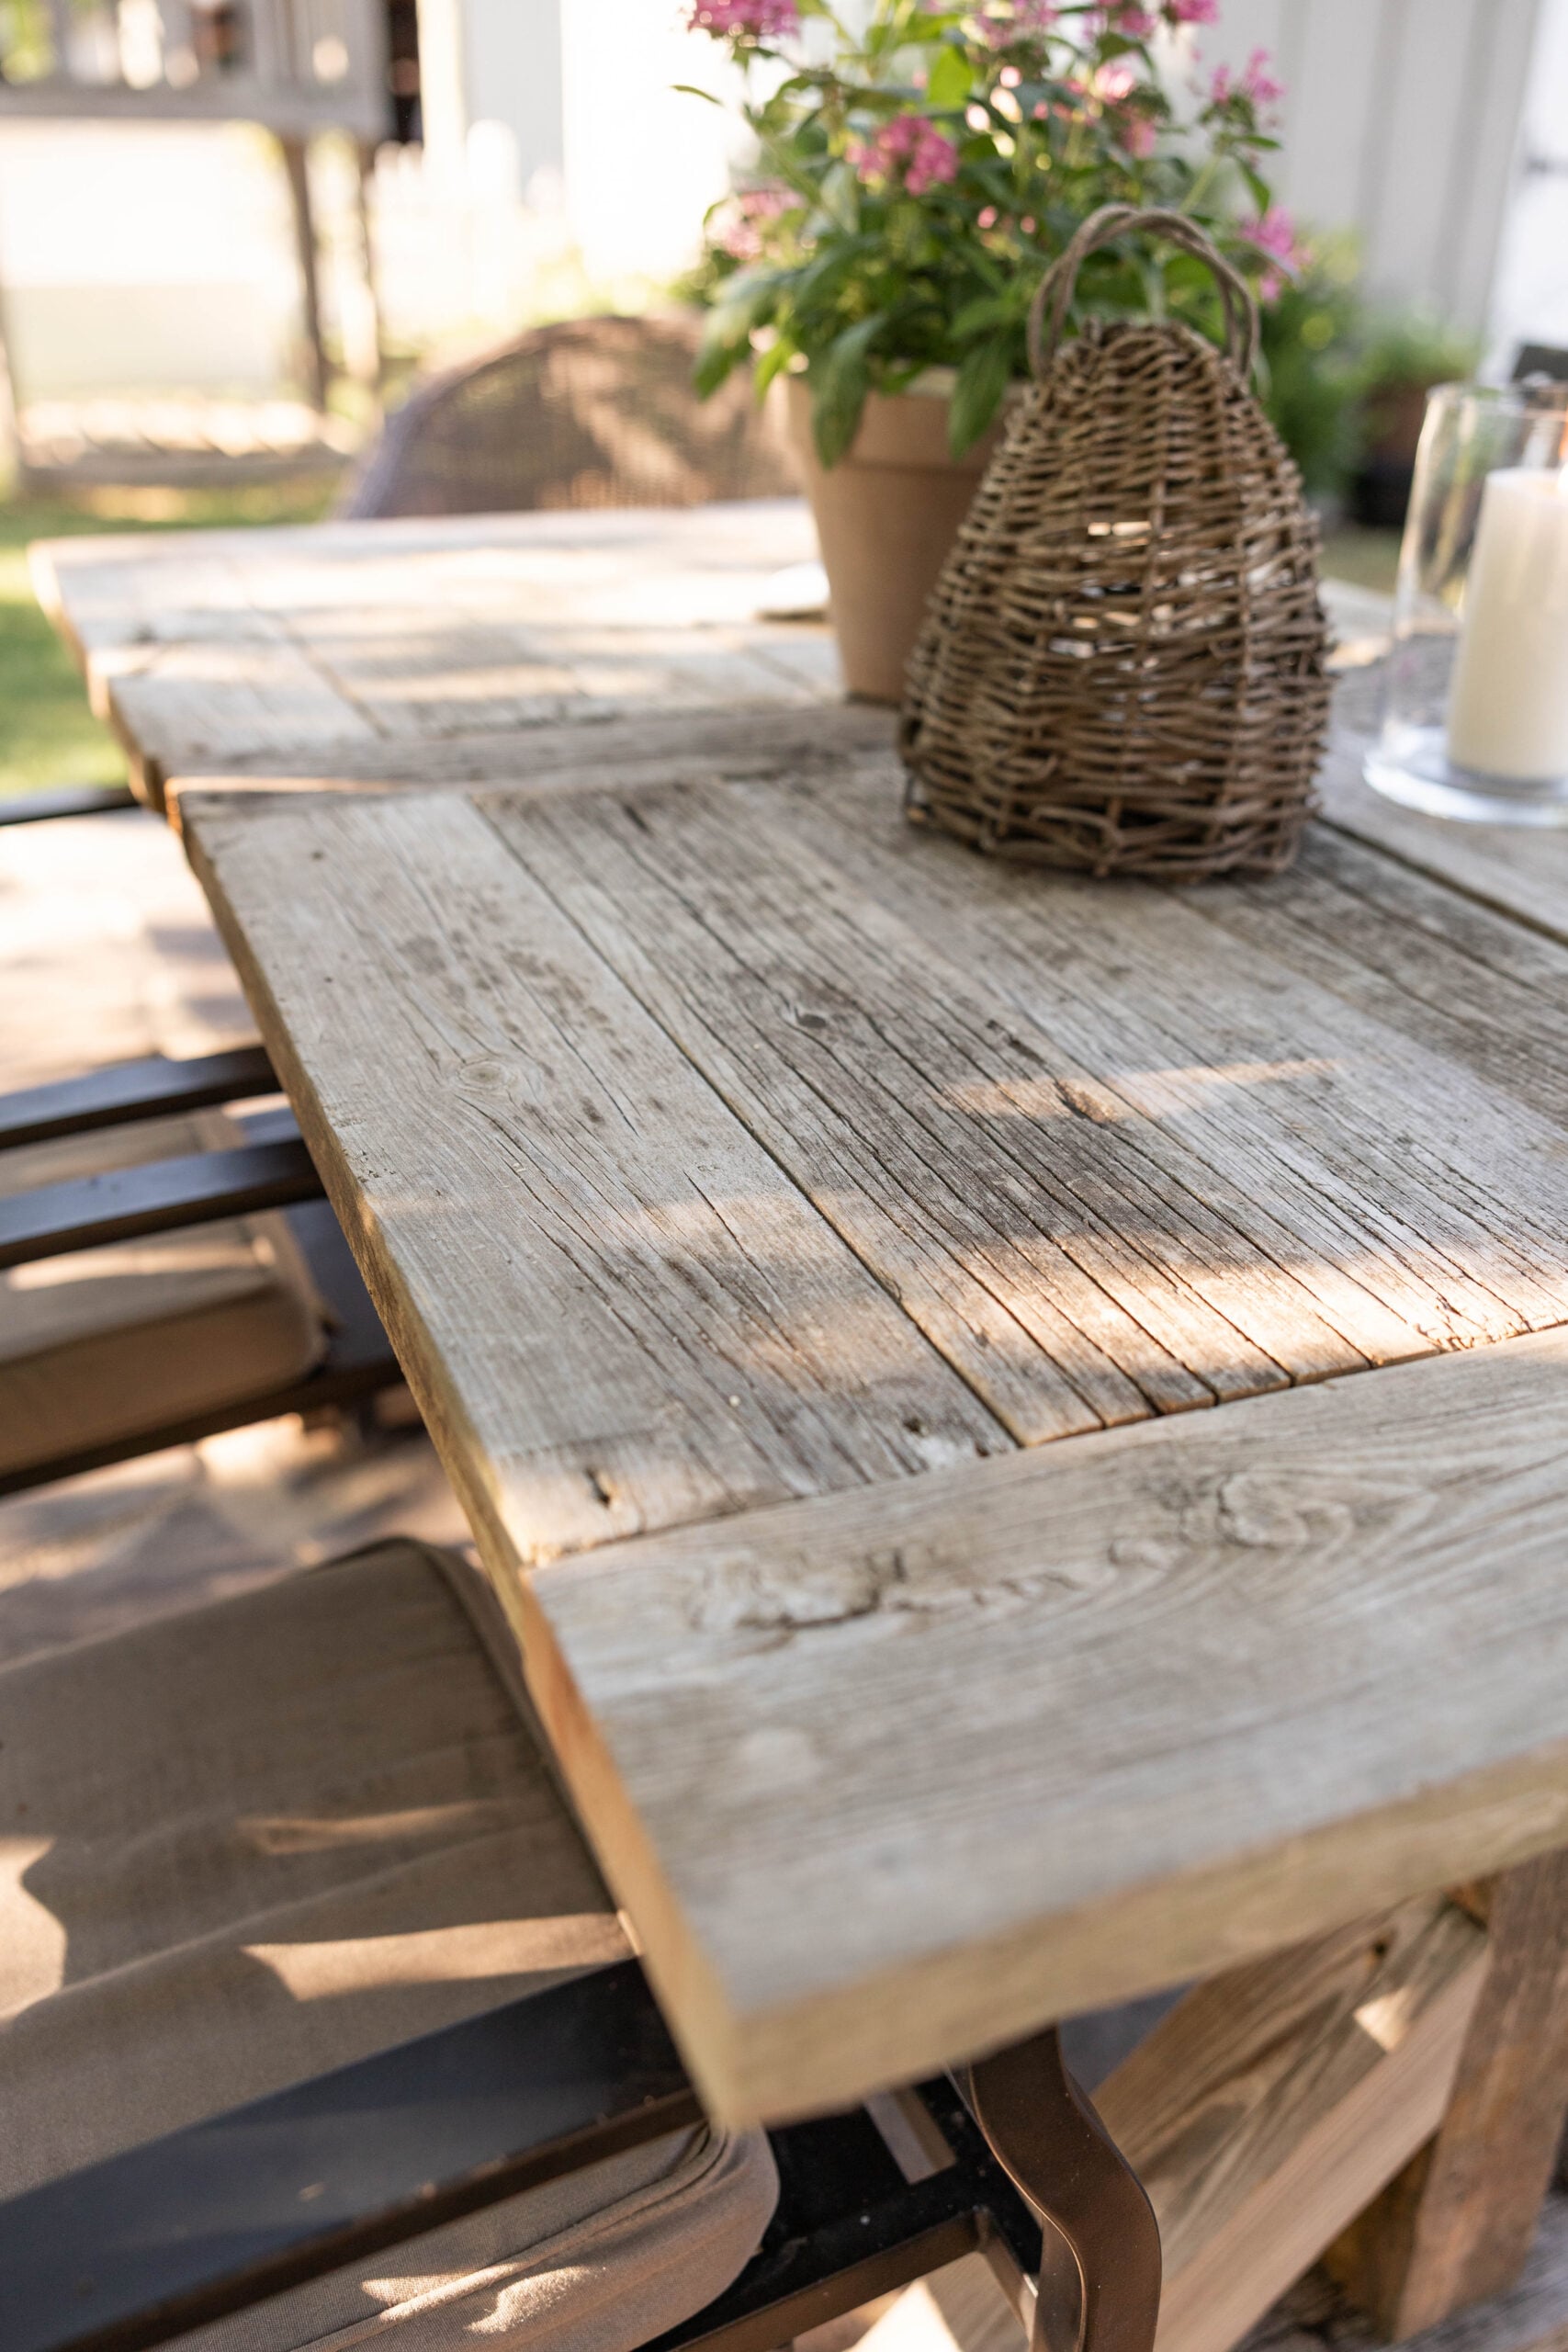
We had some old pressure-treated lumber sitting in our garage that originally came from a ramp our church had taken apart years ago. My husband turned that old lumber into an outdoor table. Because we already had the wood, the table didn’t cost us anything.
We may eventually sand it and decide whether it needs to be sealed or finished, but for now, I love the character it adds to the space.
Repurposed Table From My Mom
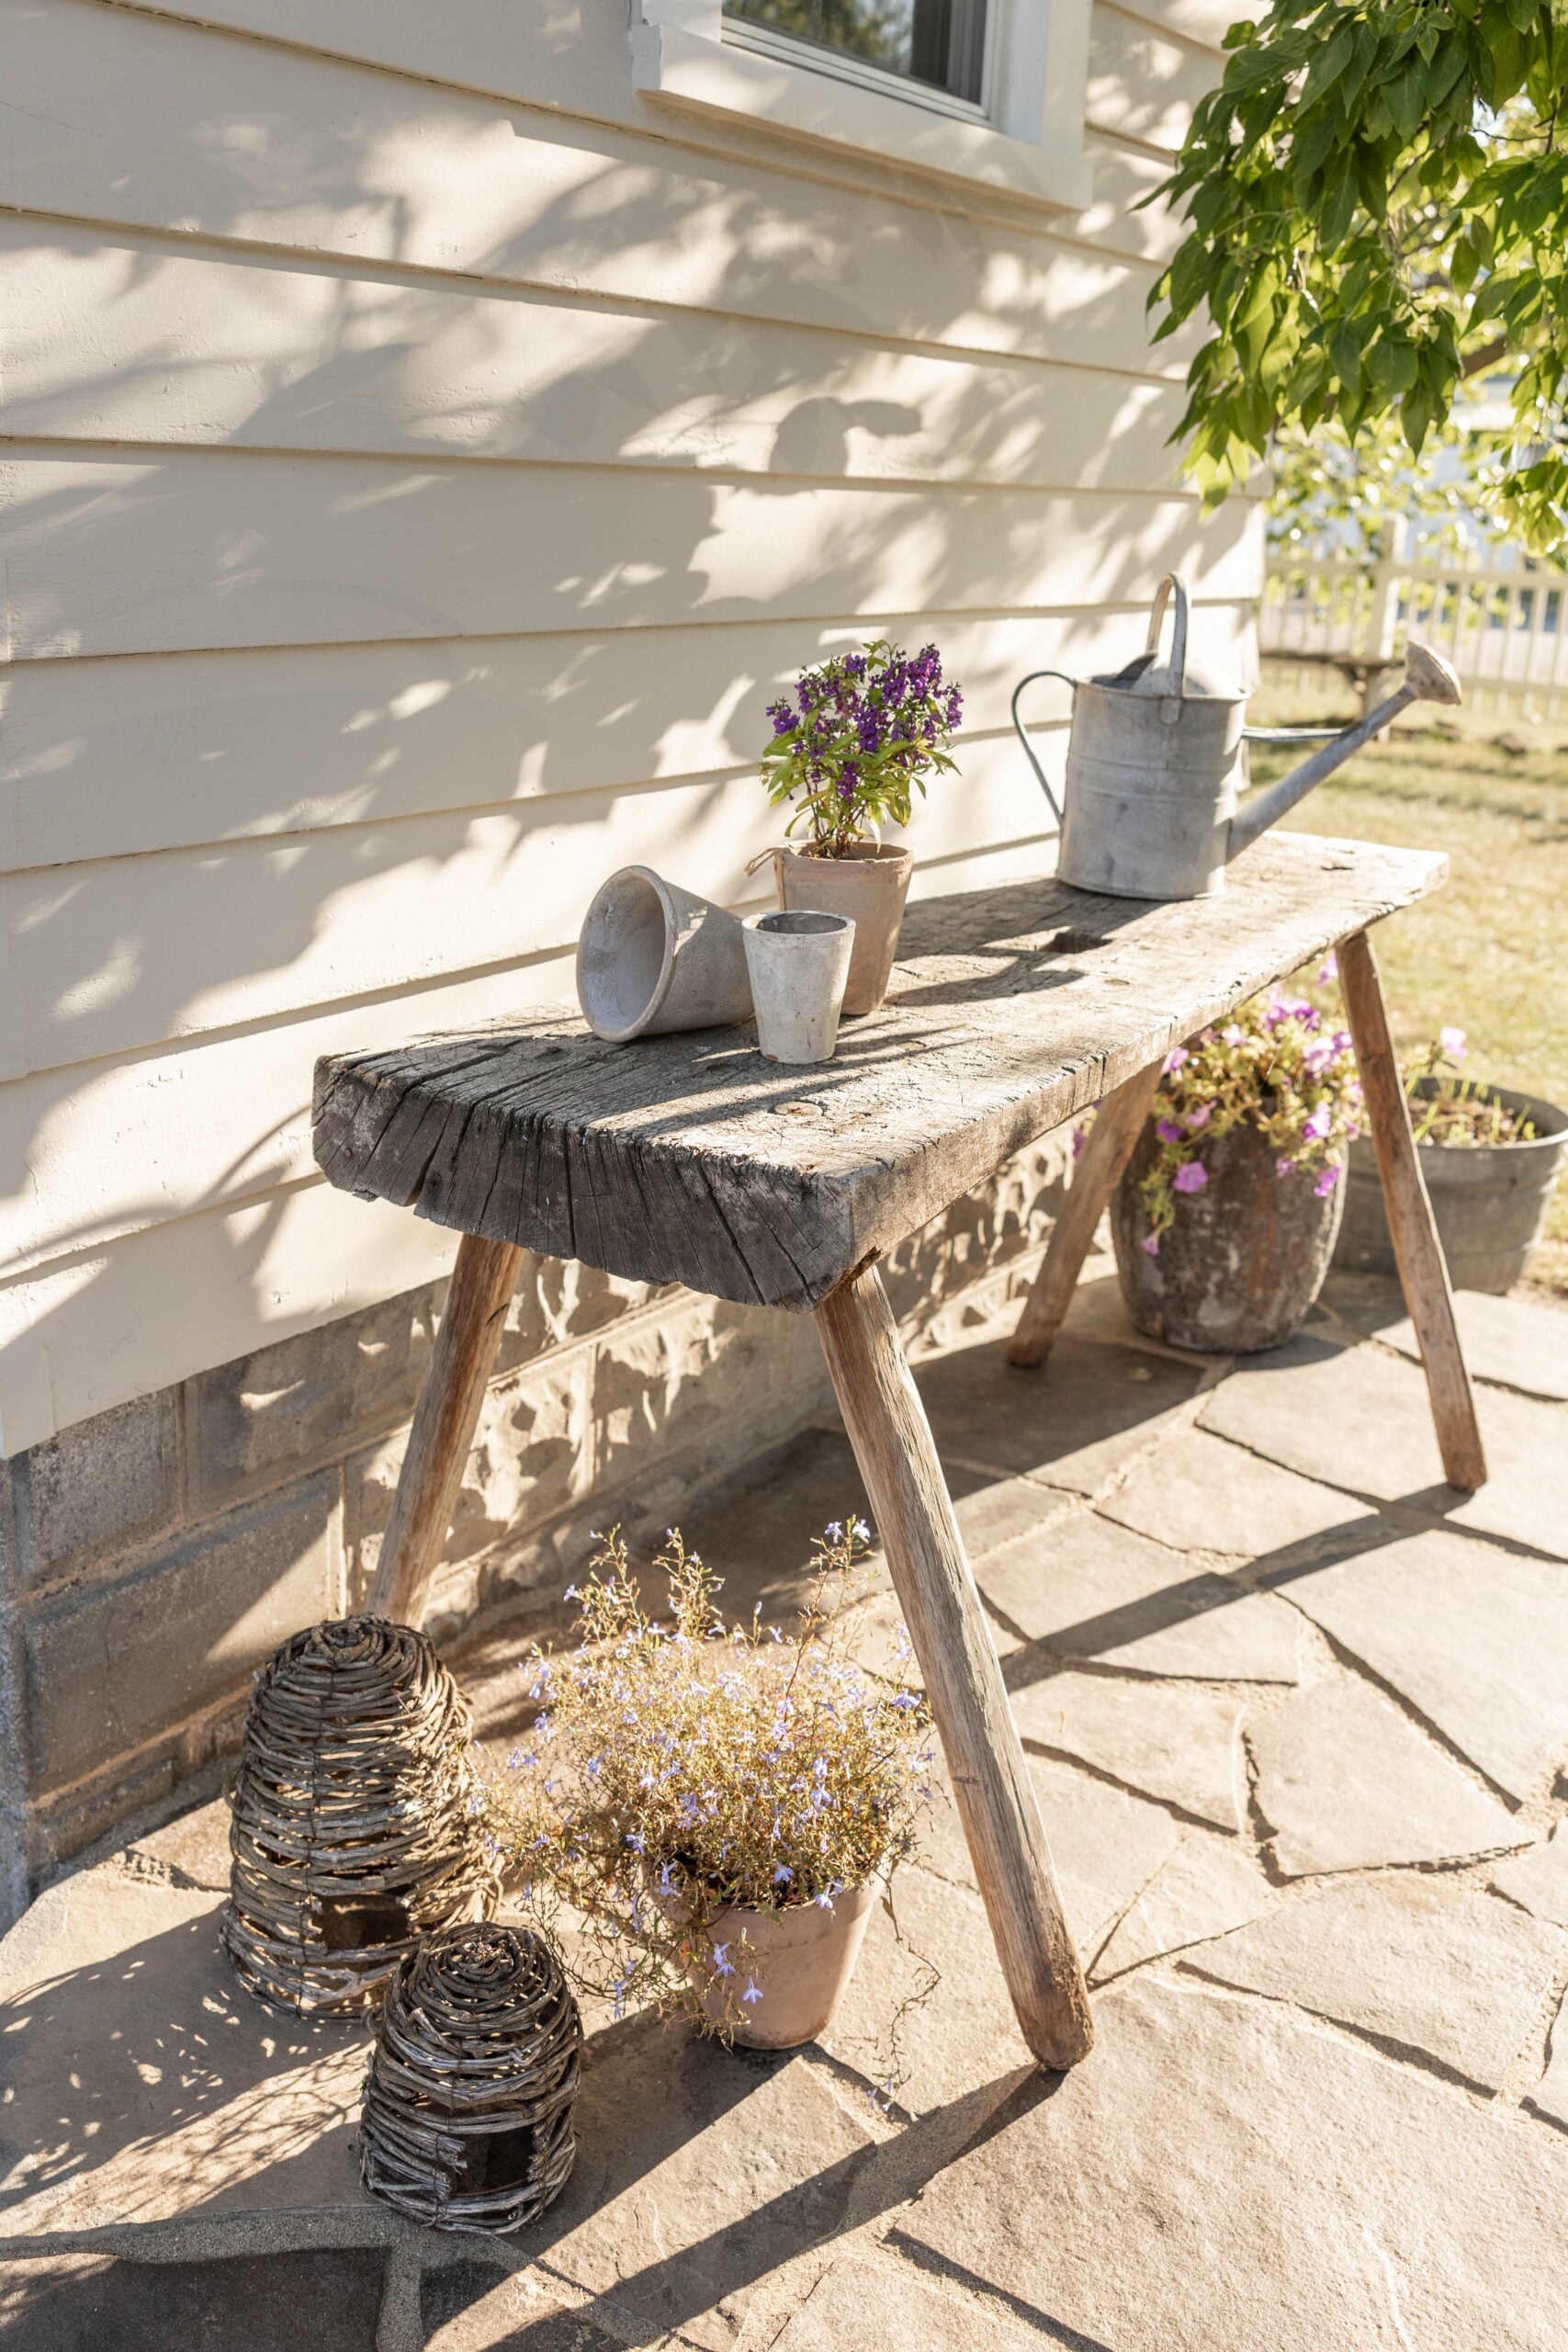
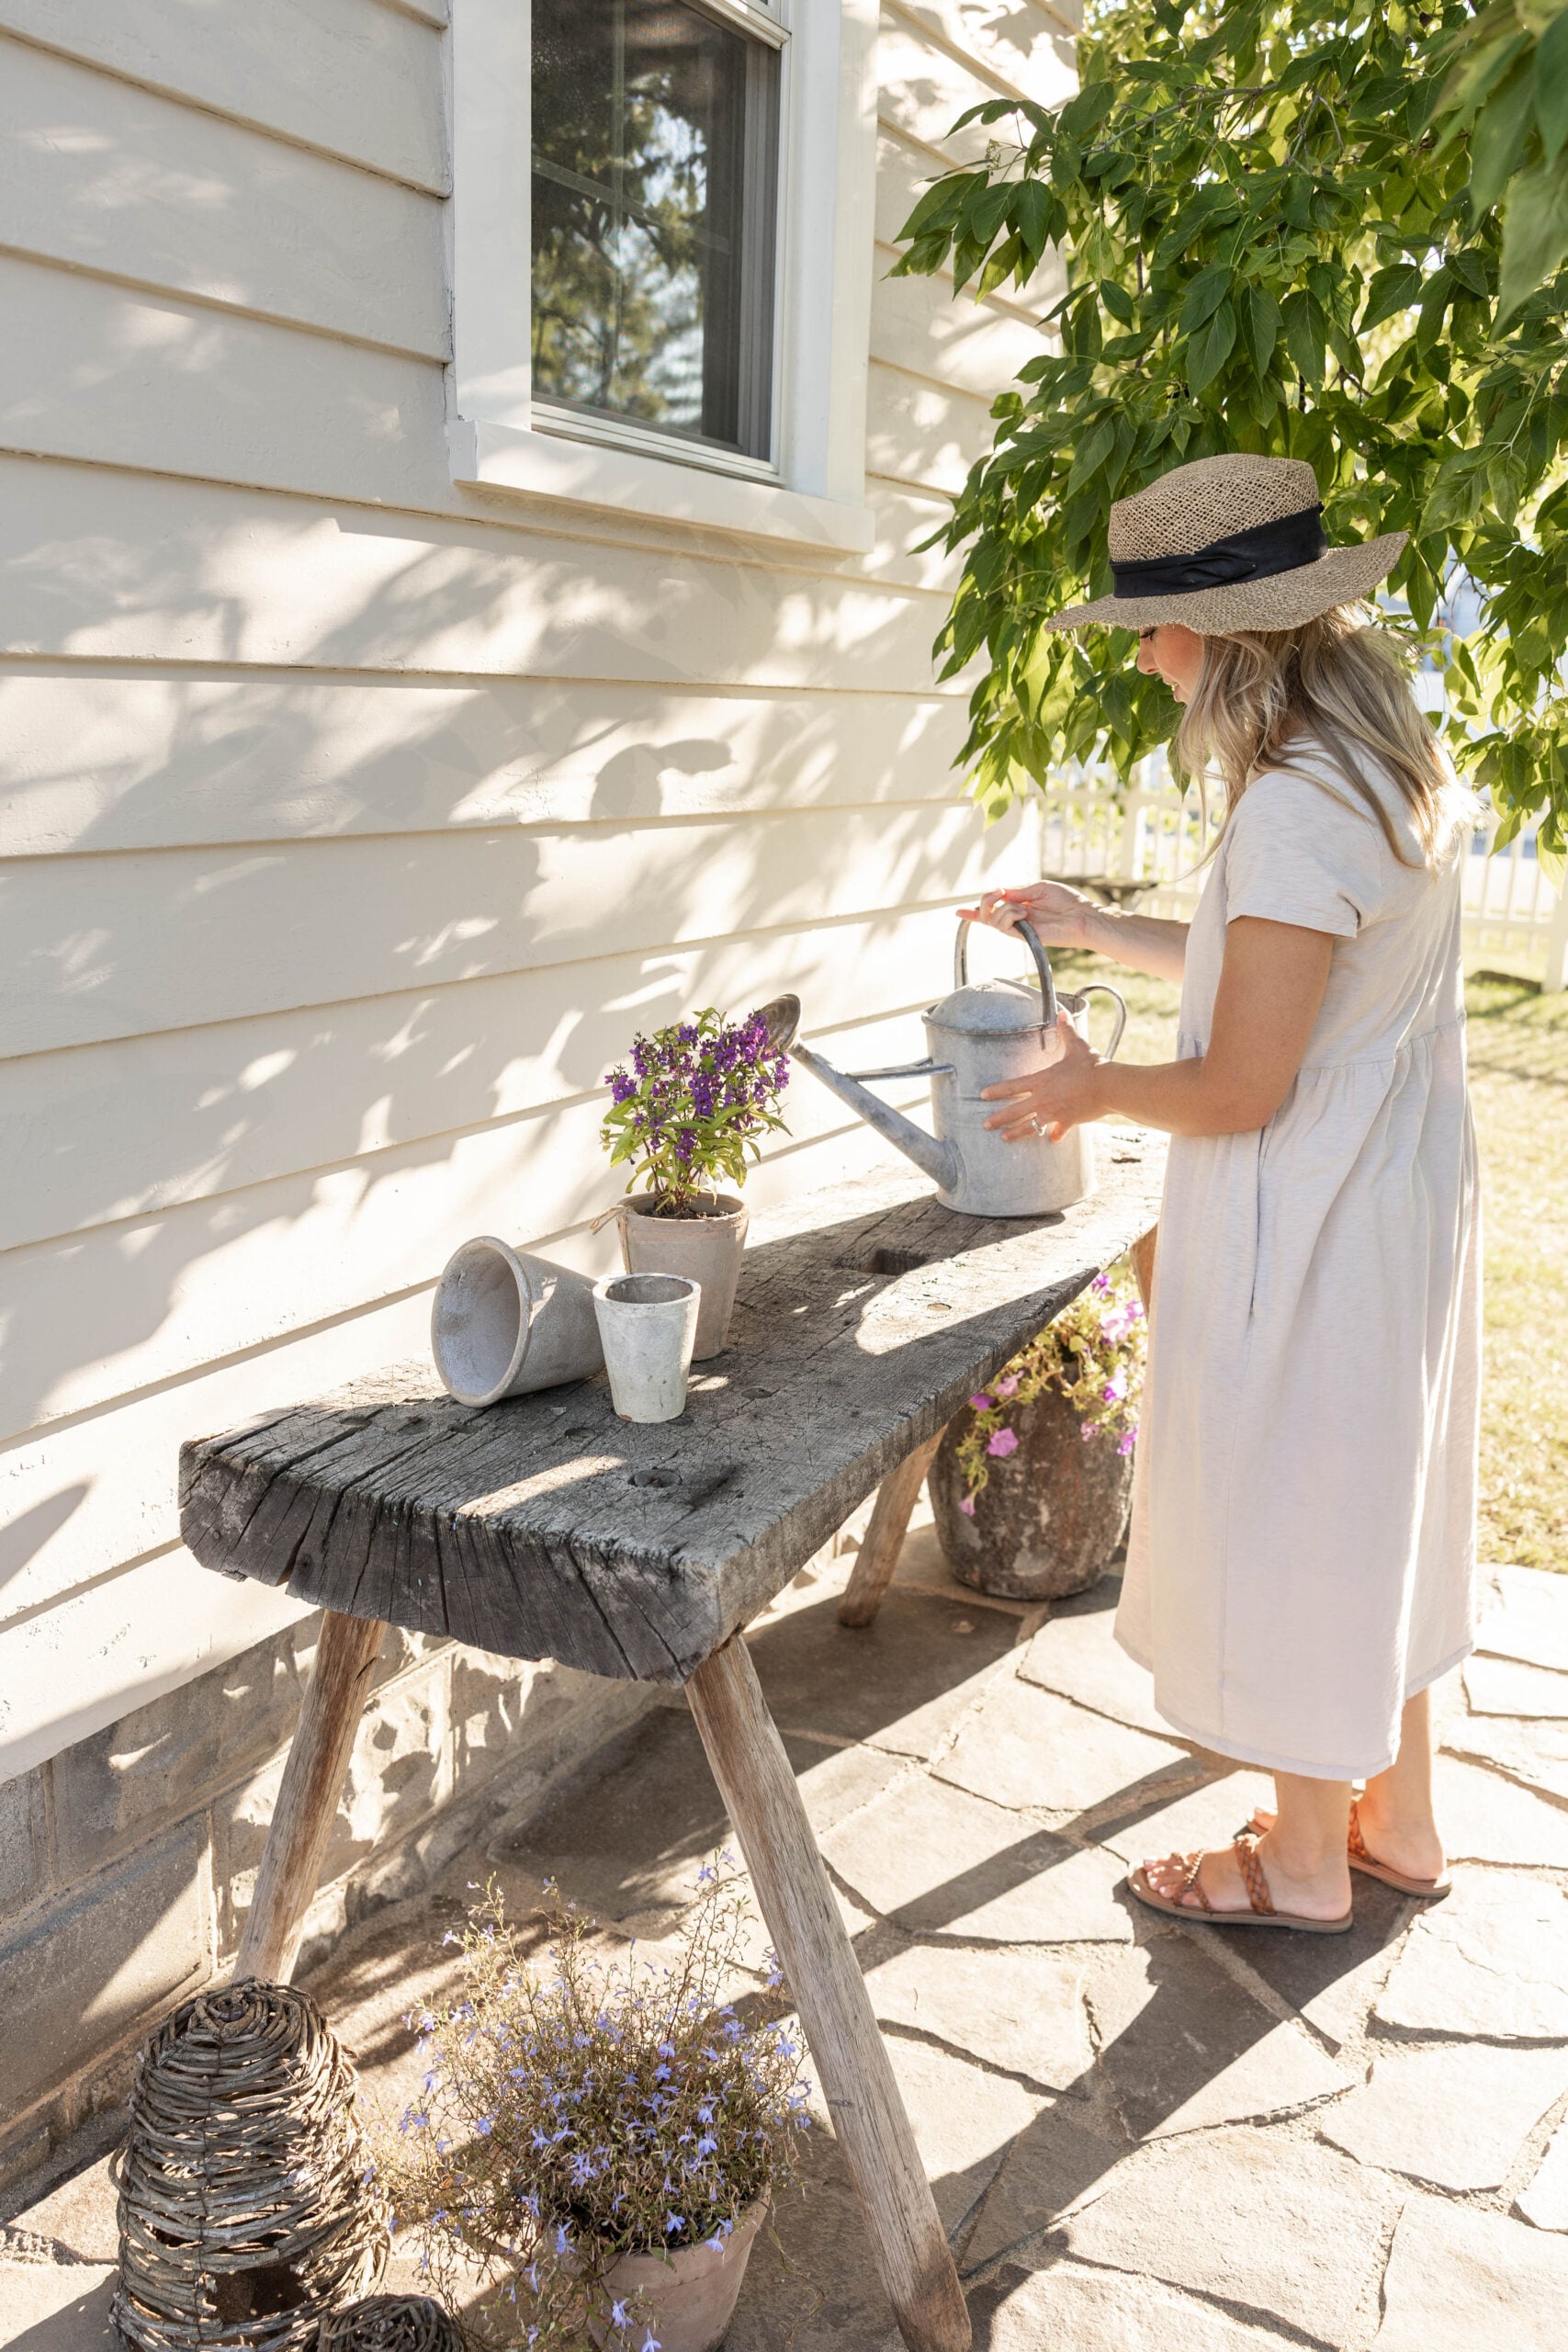
My mom also had an old table she wasn’t using. It had been sitting outside in her garden area, and she was happy for us to give it a new purpose.
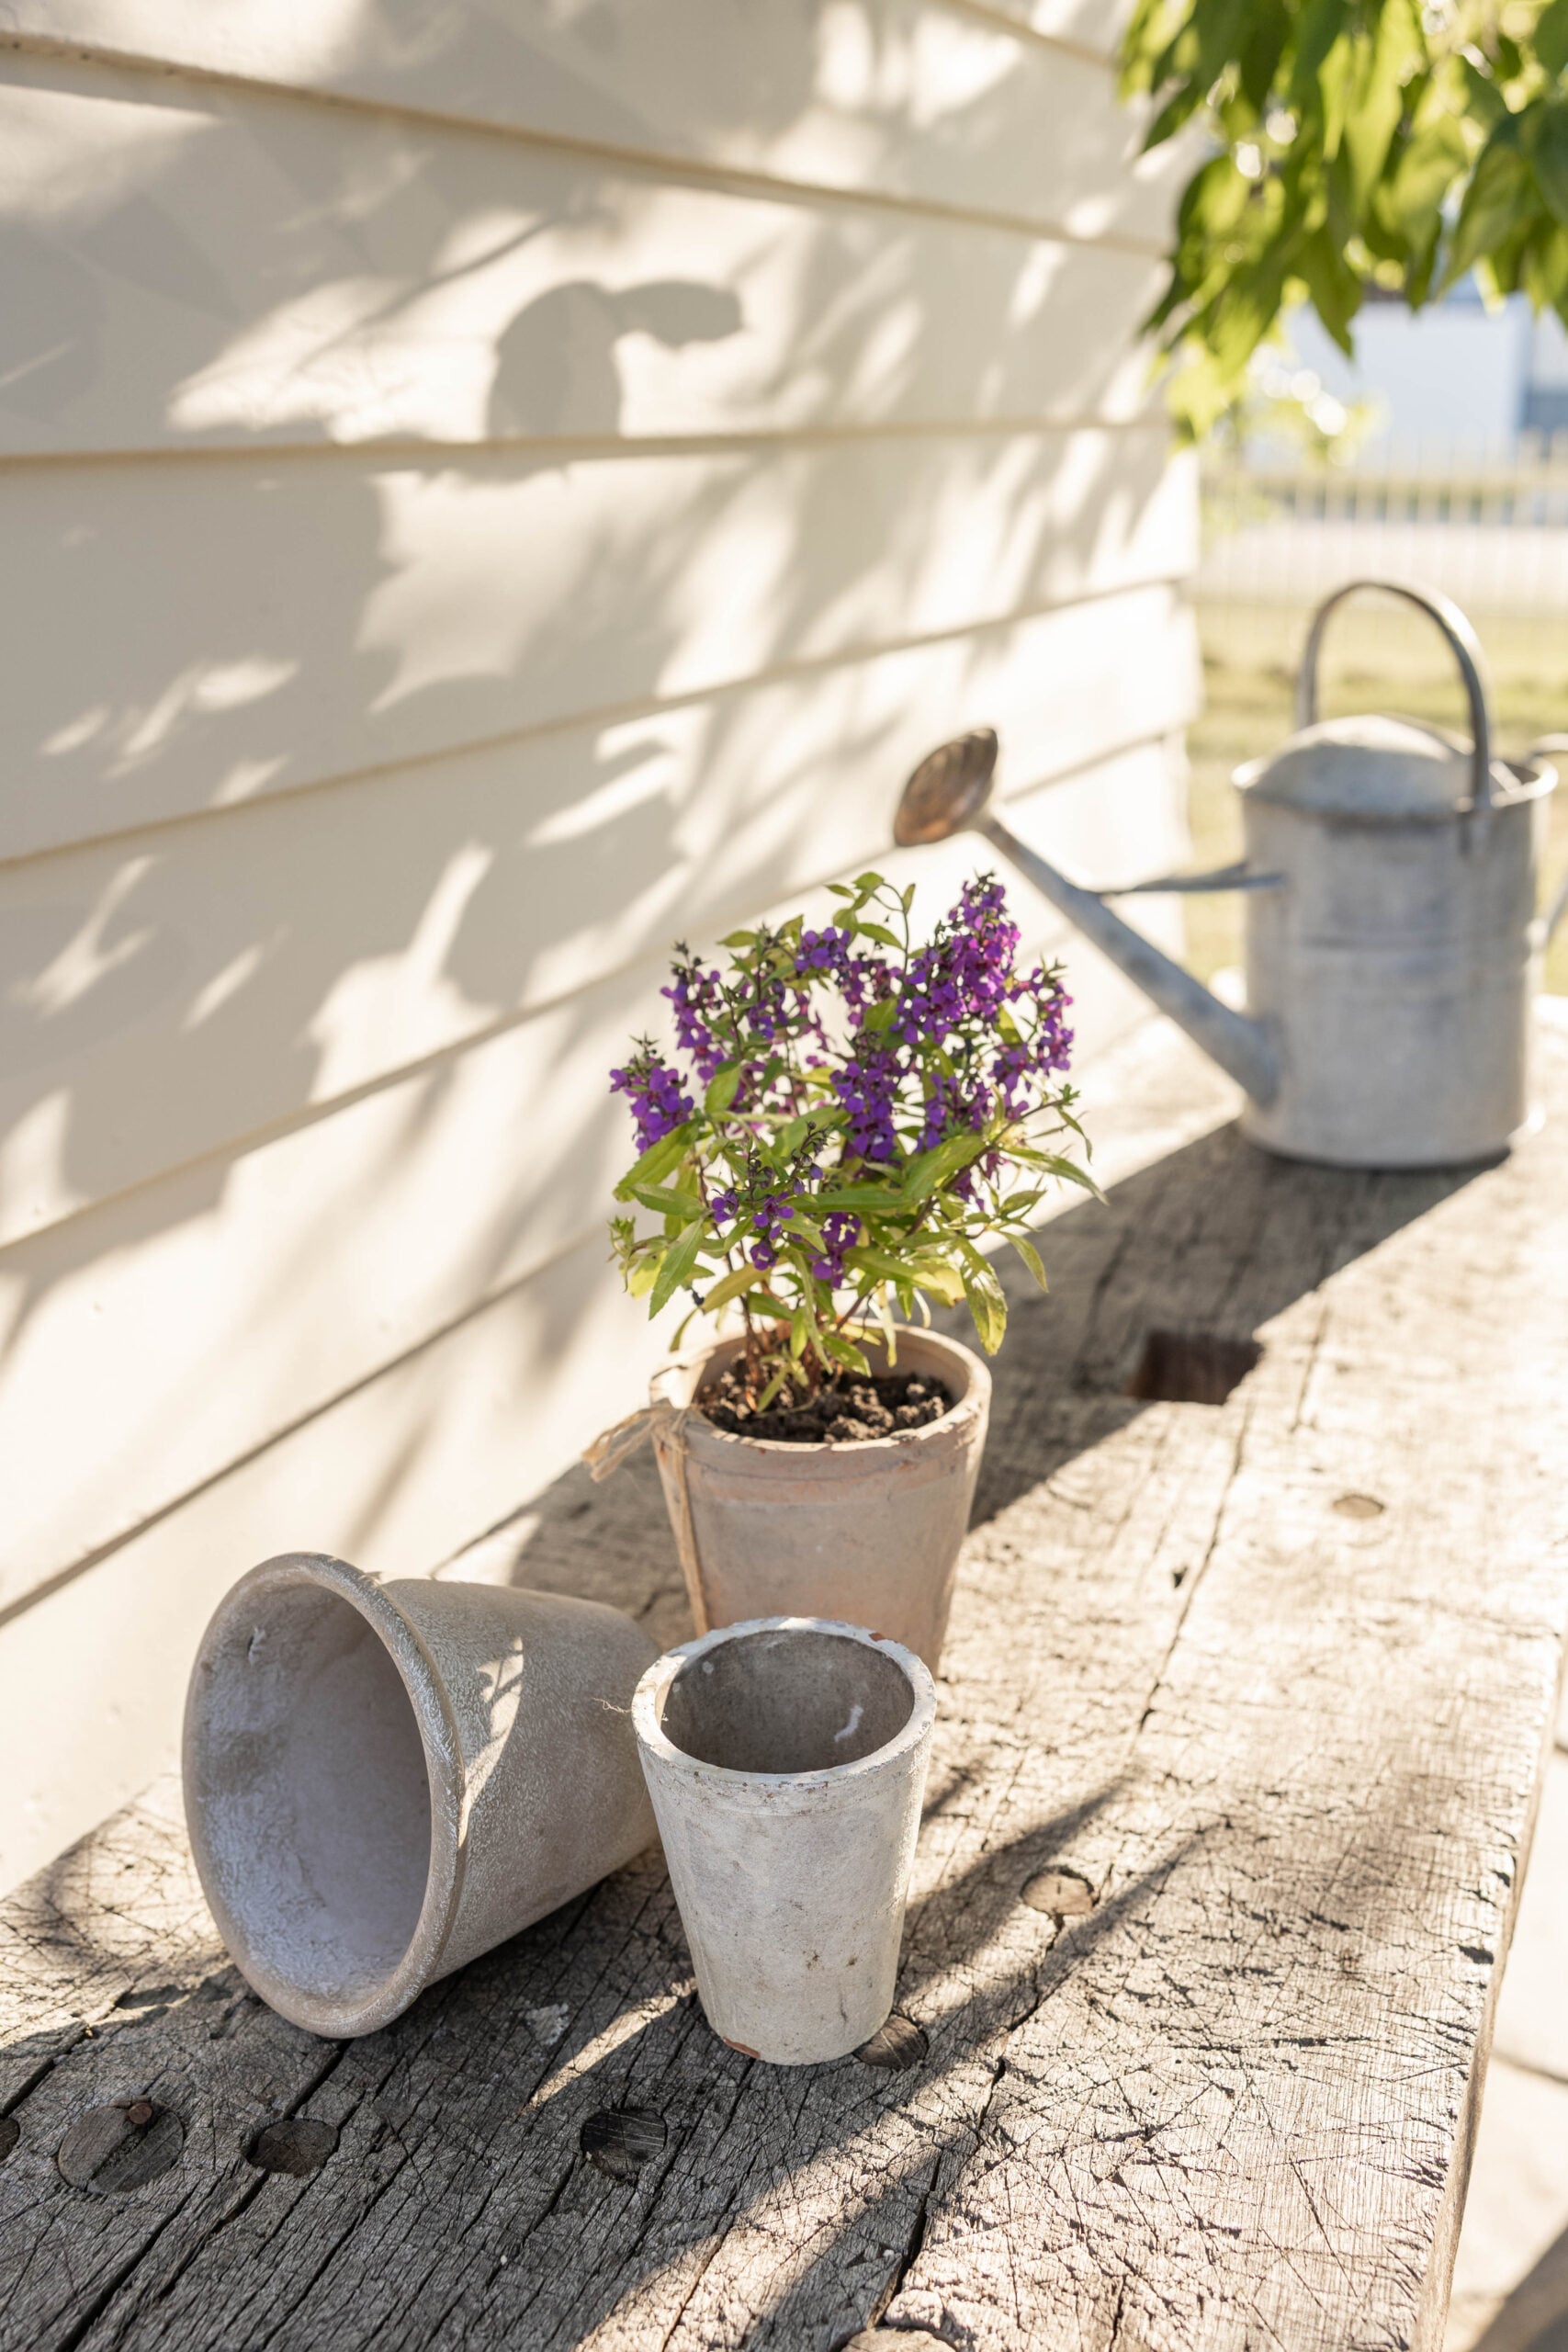
It now works as a serving table on the patio, a perfect place to put dishes, food, or drinks when we’re eating outside or entertaining.
Vintage Outdoor Sink
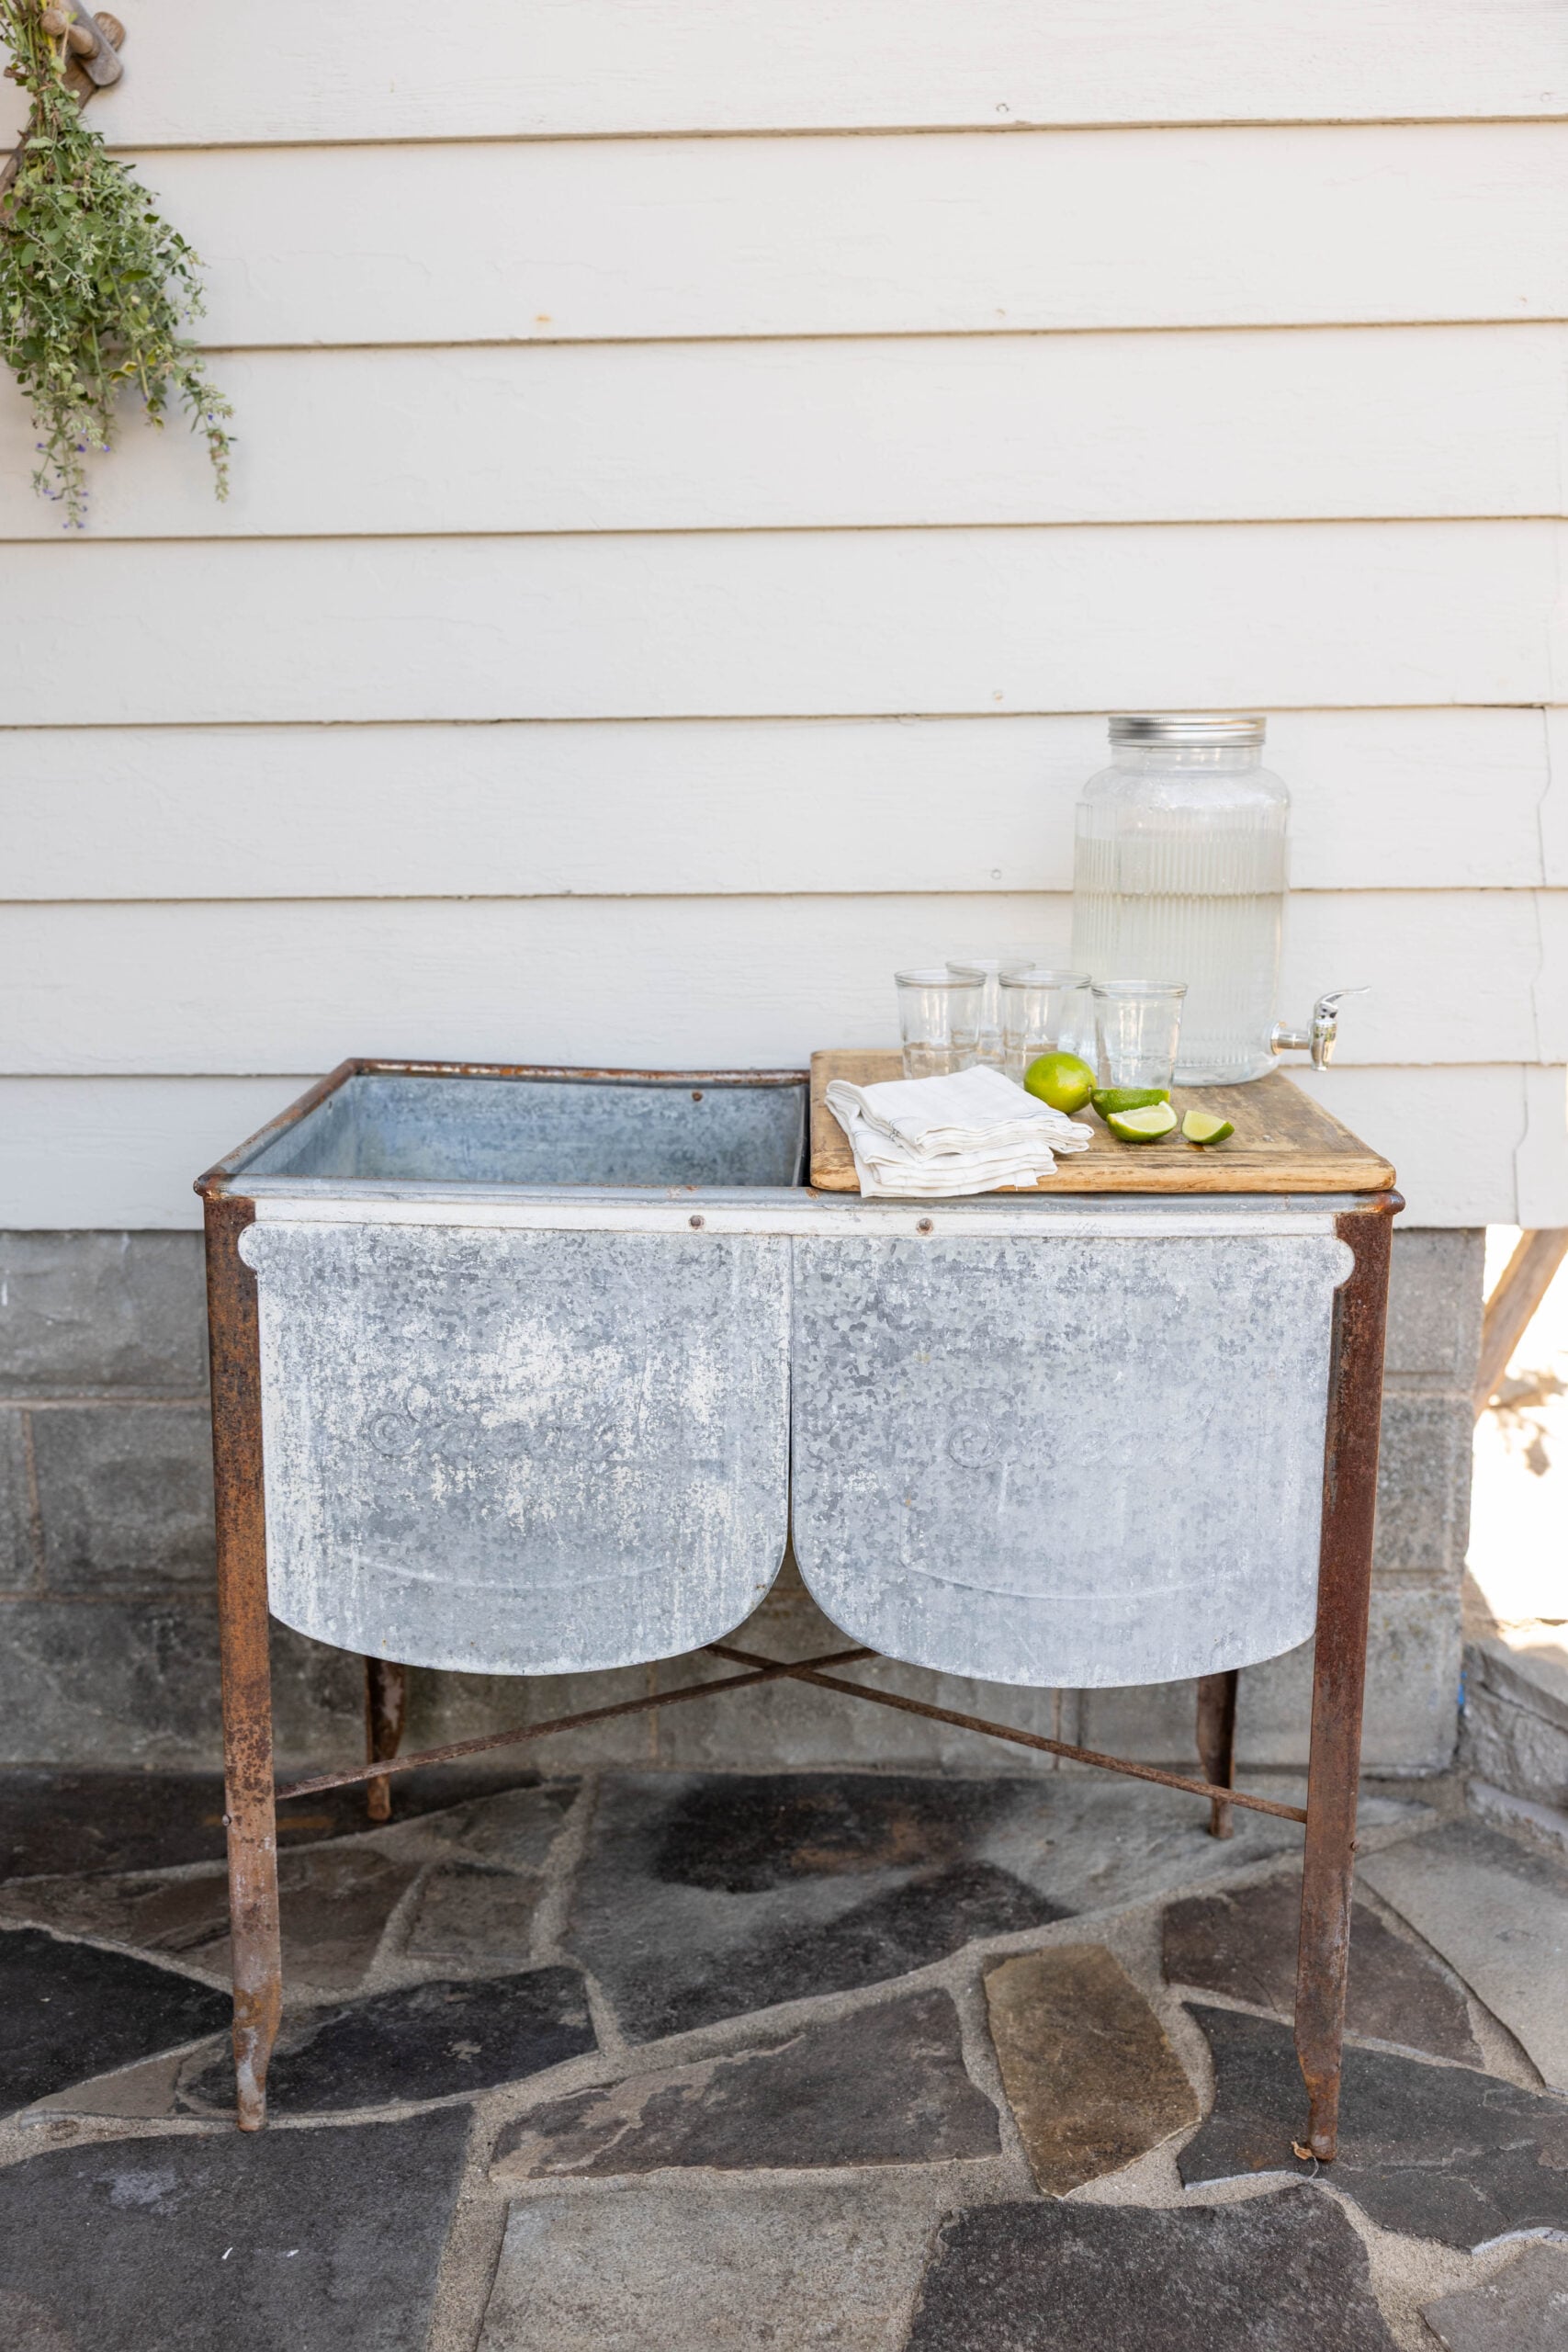
Another favorite piece is an old sink we found on Facebook Marketplace several years ago. I love the character it brings to the patio. Eventually, we’d like to use it as a drink station by filling it with ice and drinks when we’re entertaining. For now, it works as a small outdoor serving and prep area.
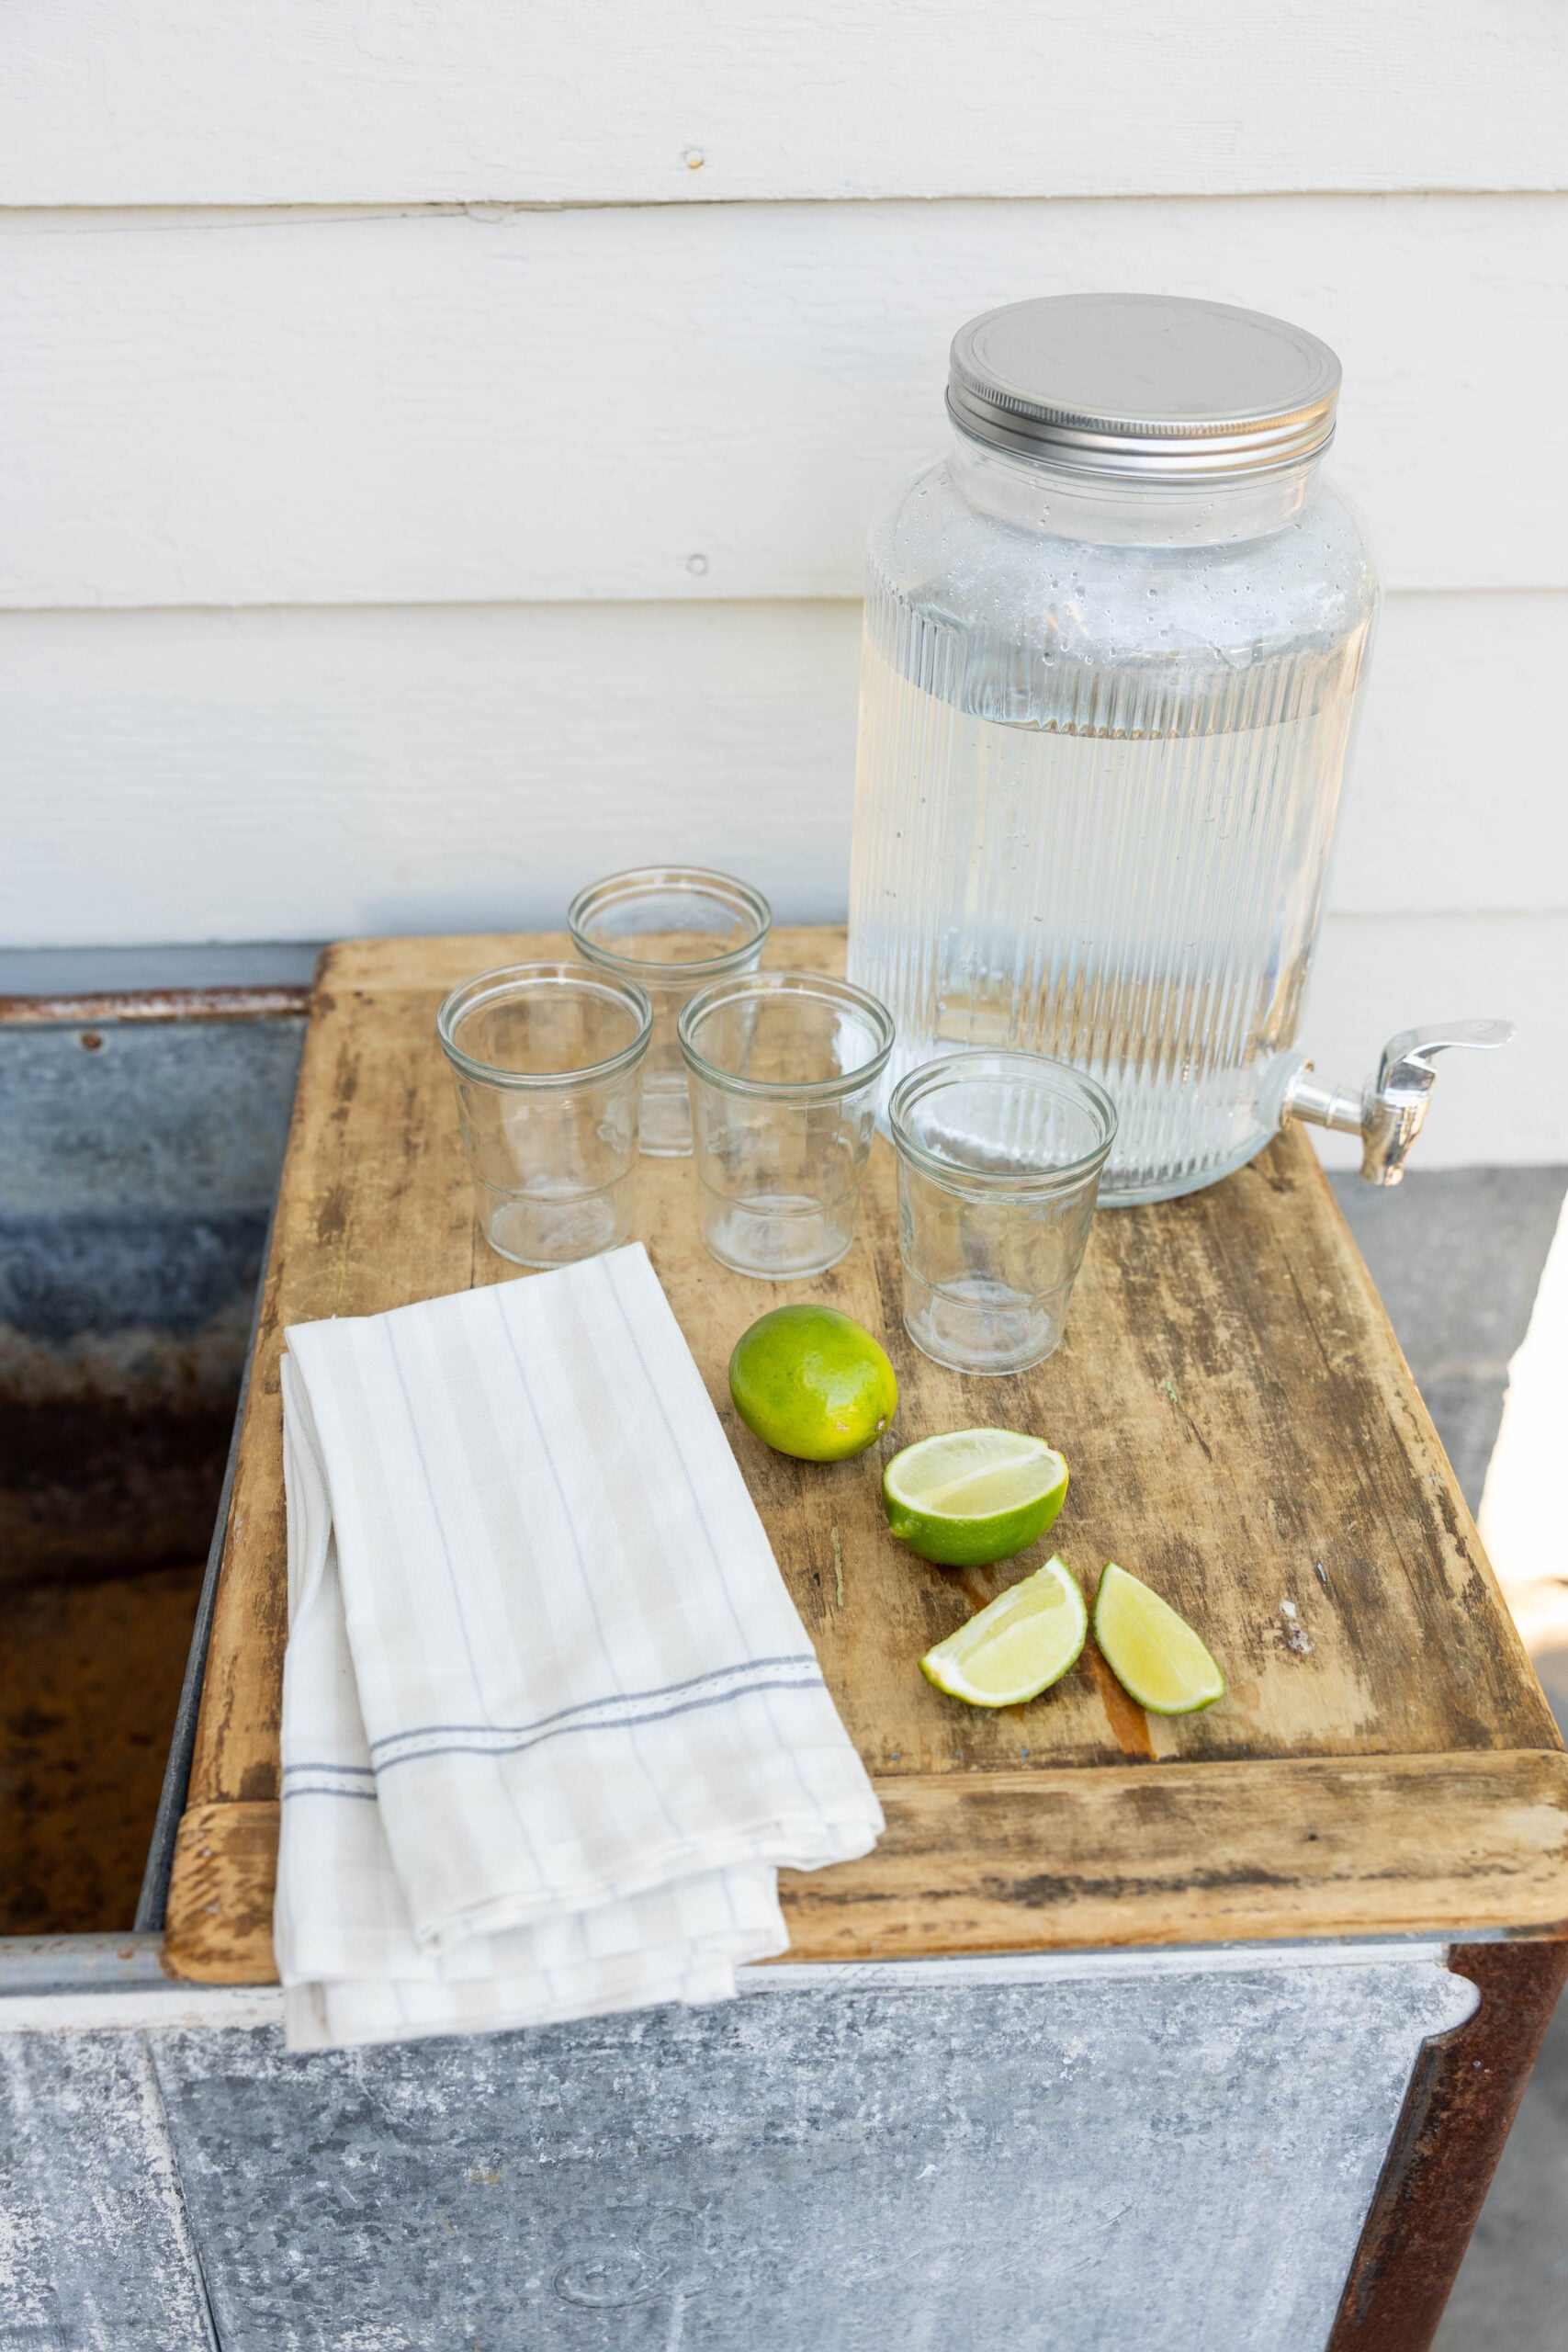
These older, repurposed pieces work especially well with the natural stone and help give the patio that collected, old-world feel we were hoping for.
What We Love About Our New DIY Flagstone Patio
The biggest improvement has been the maintenance. With our old pea gravel patio, debris from the tree would become trapped in the gravel. Cleaning it was frustrating because the leaf blower would often move the gravel along with the debris.
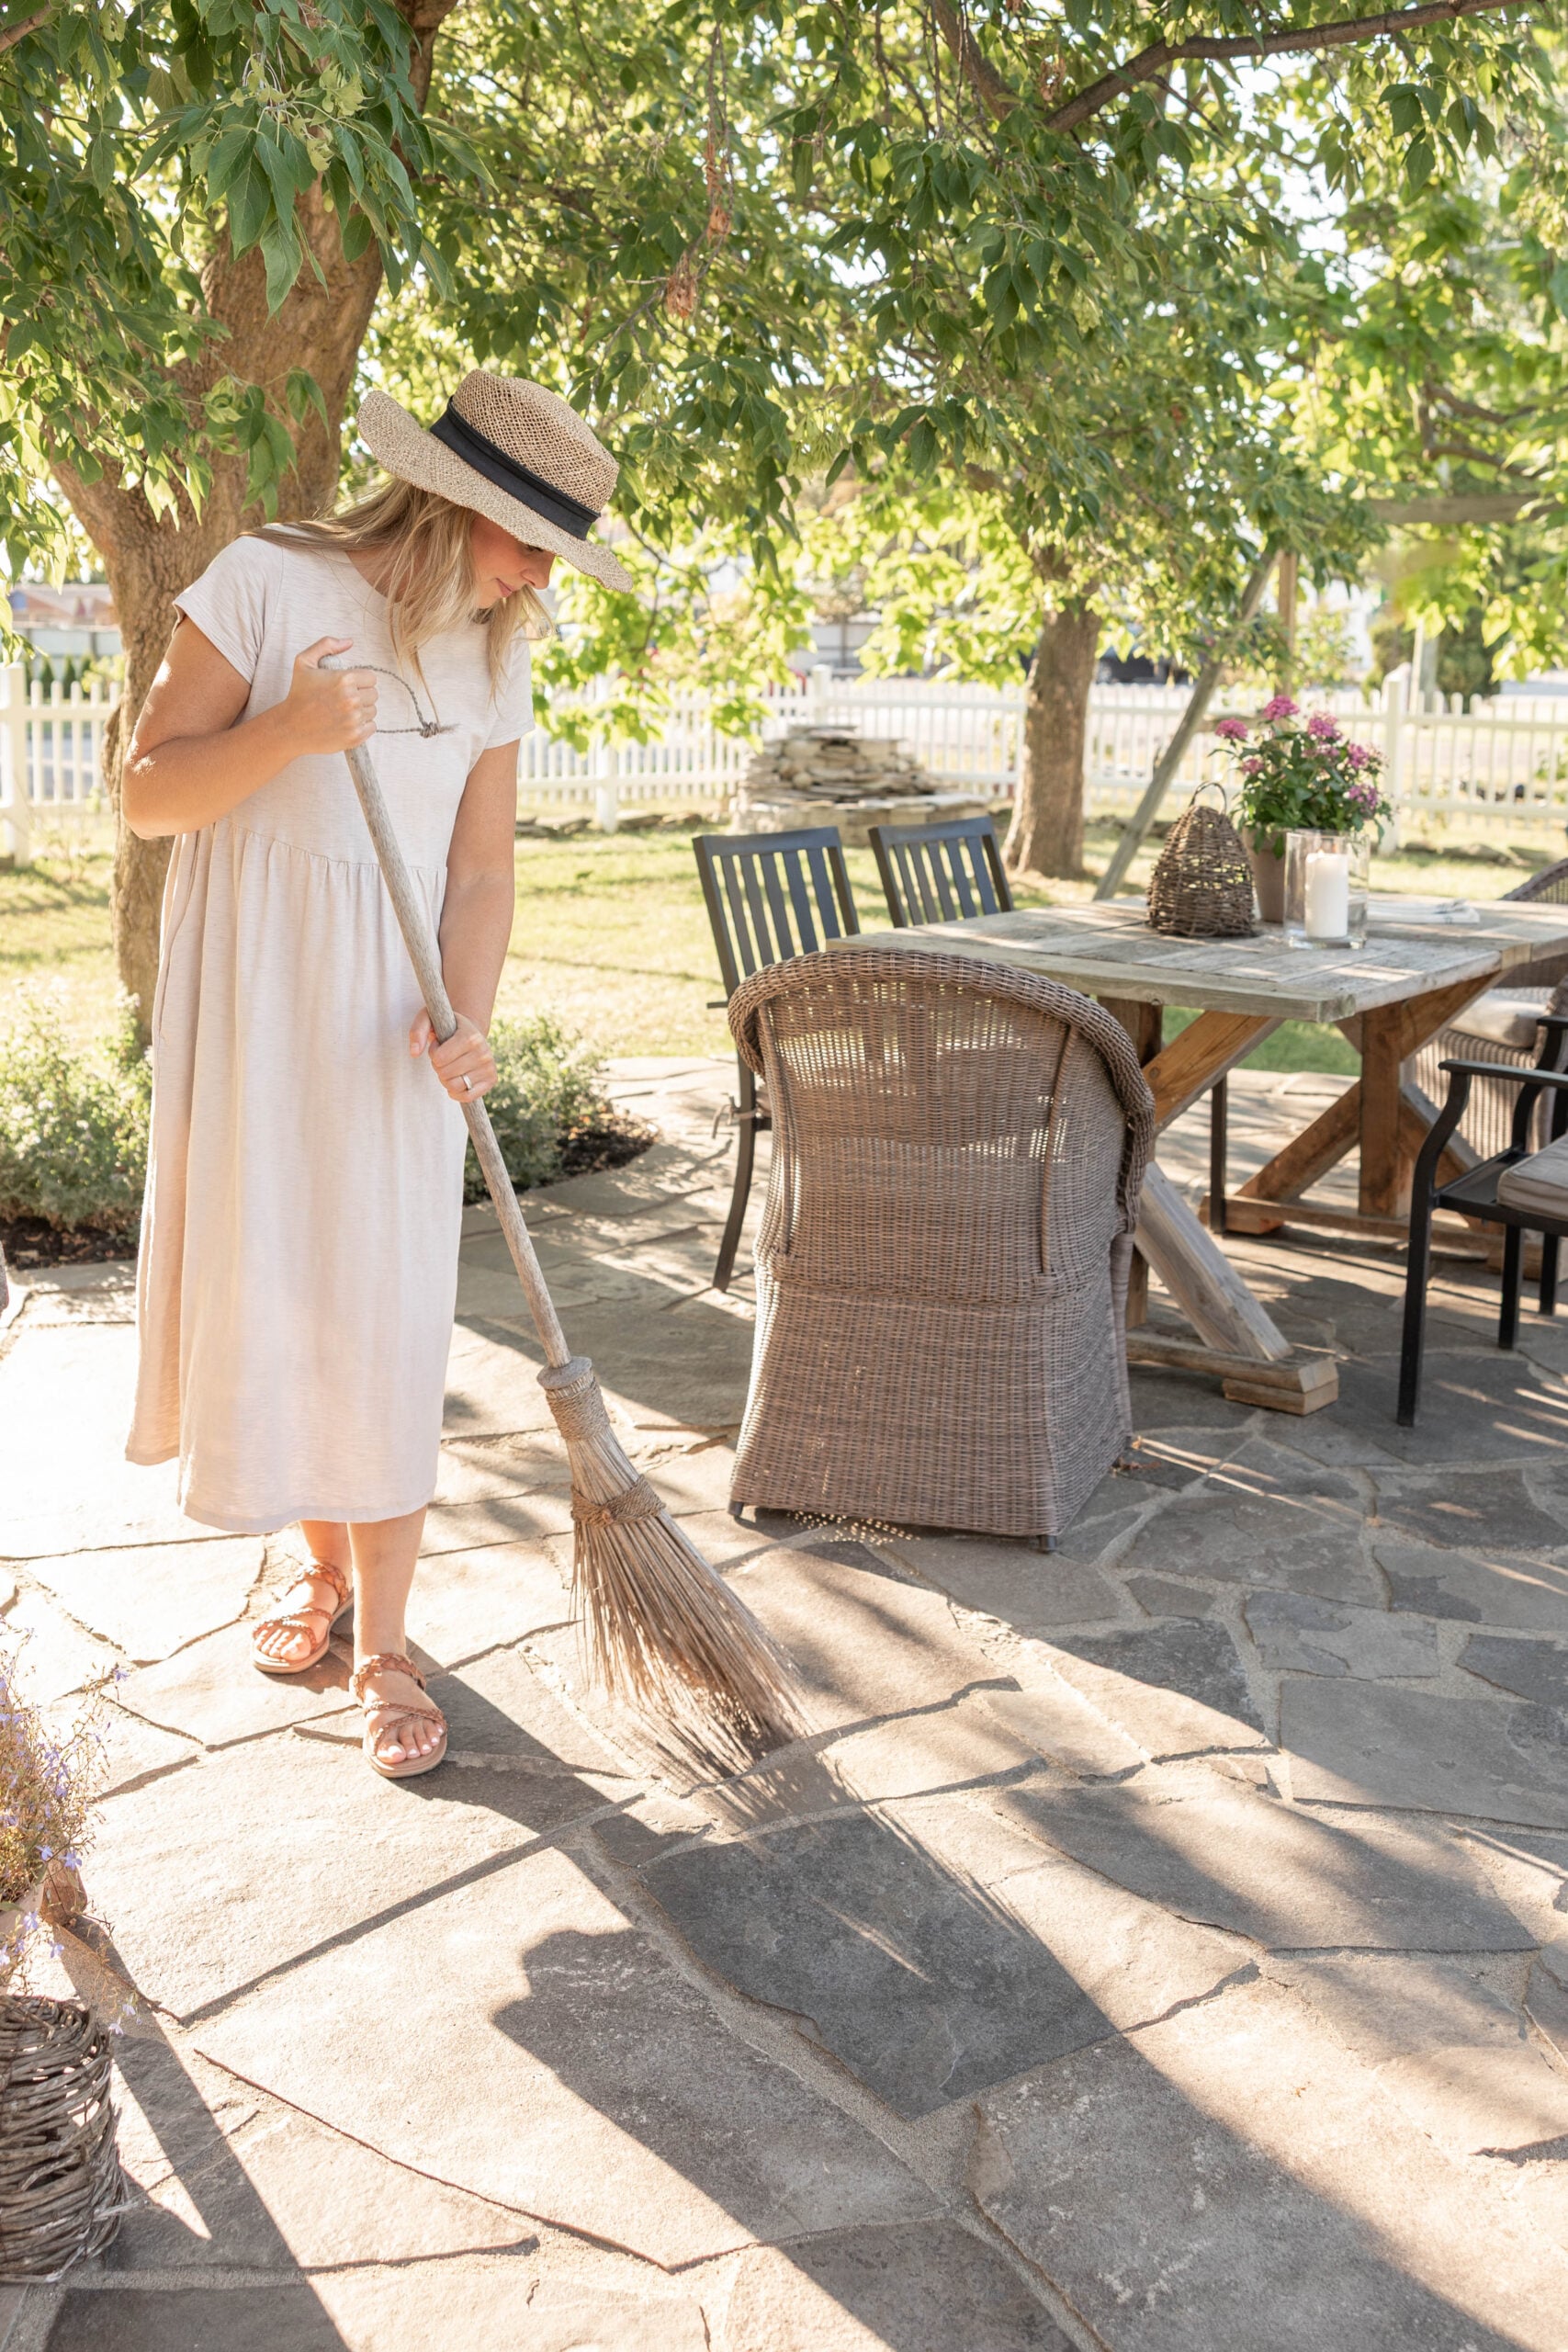
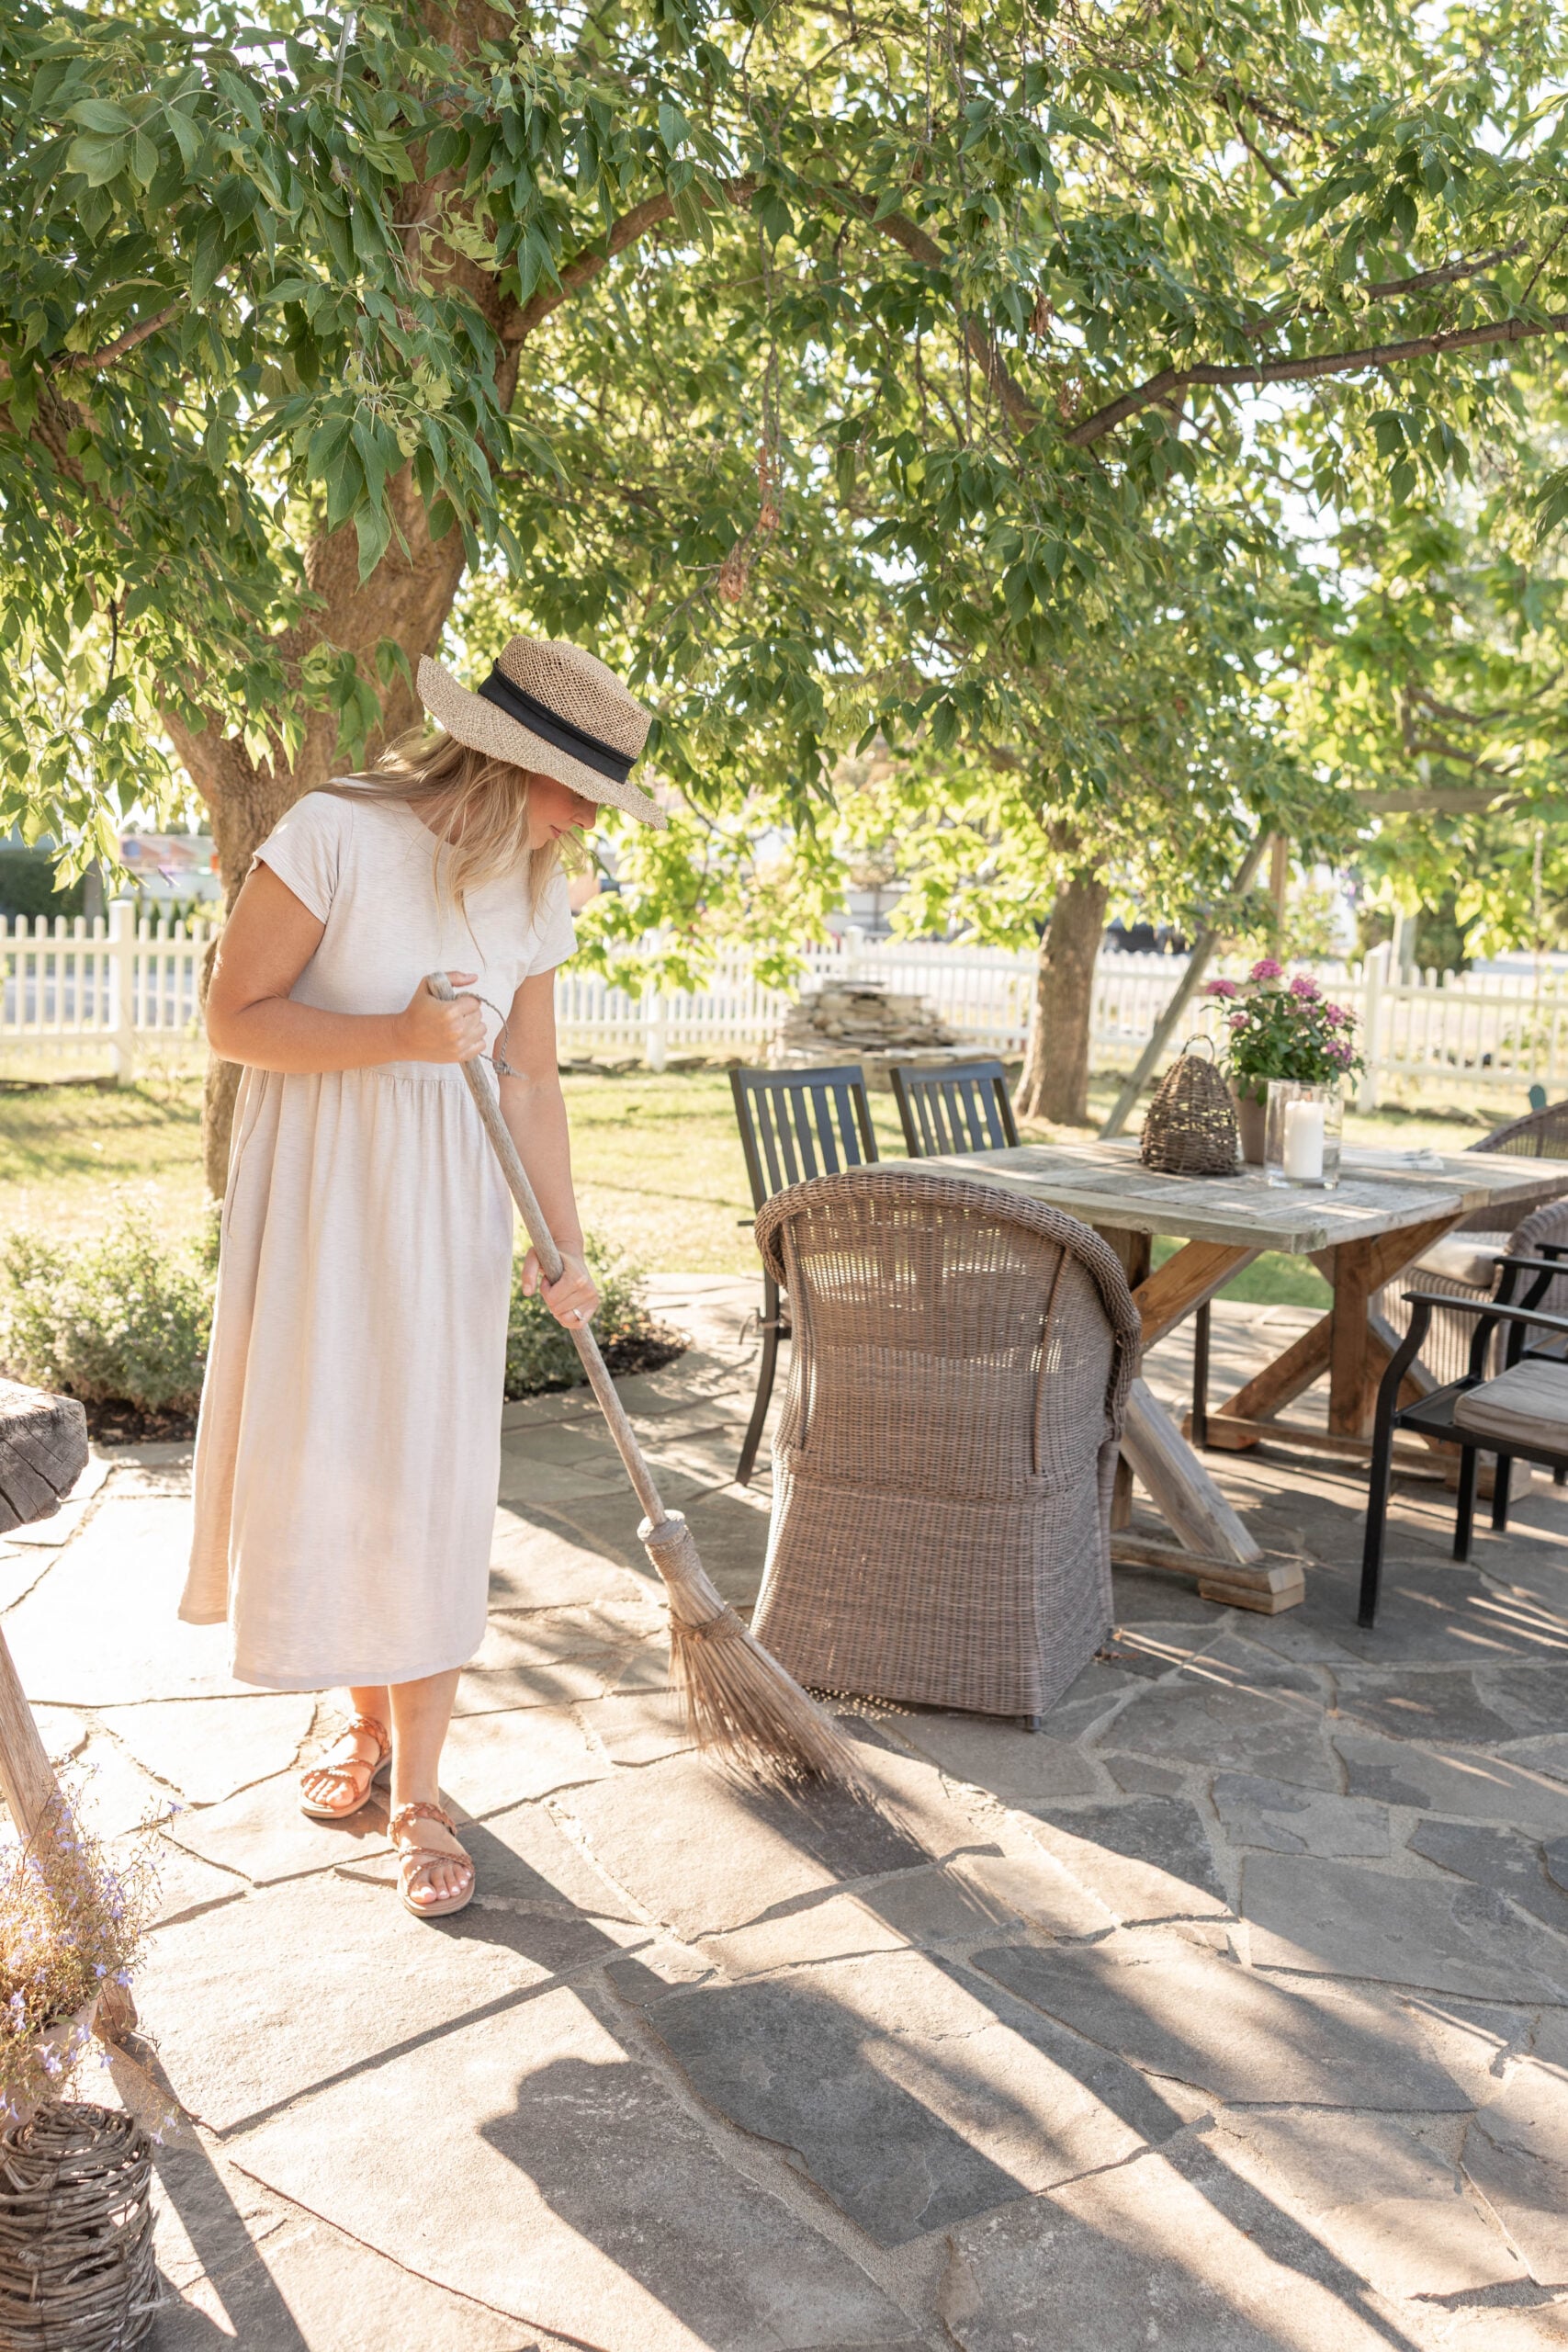
Now, when leaves, helicopters, and other debris fall onto the patio, we can simply blow the surface clean. We aren’t constantly finding pea gravel in the house, and we don’t have to spend as much time repairing the rock border or pulling weeds from the gravel. It’s made a surprisingly noticeable difference in how we use and maintain the space.
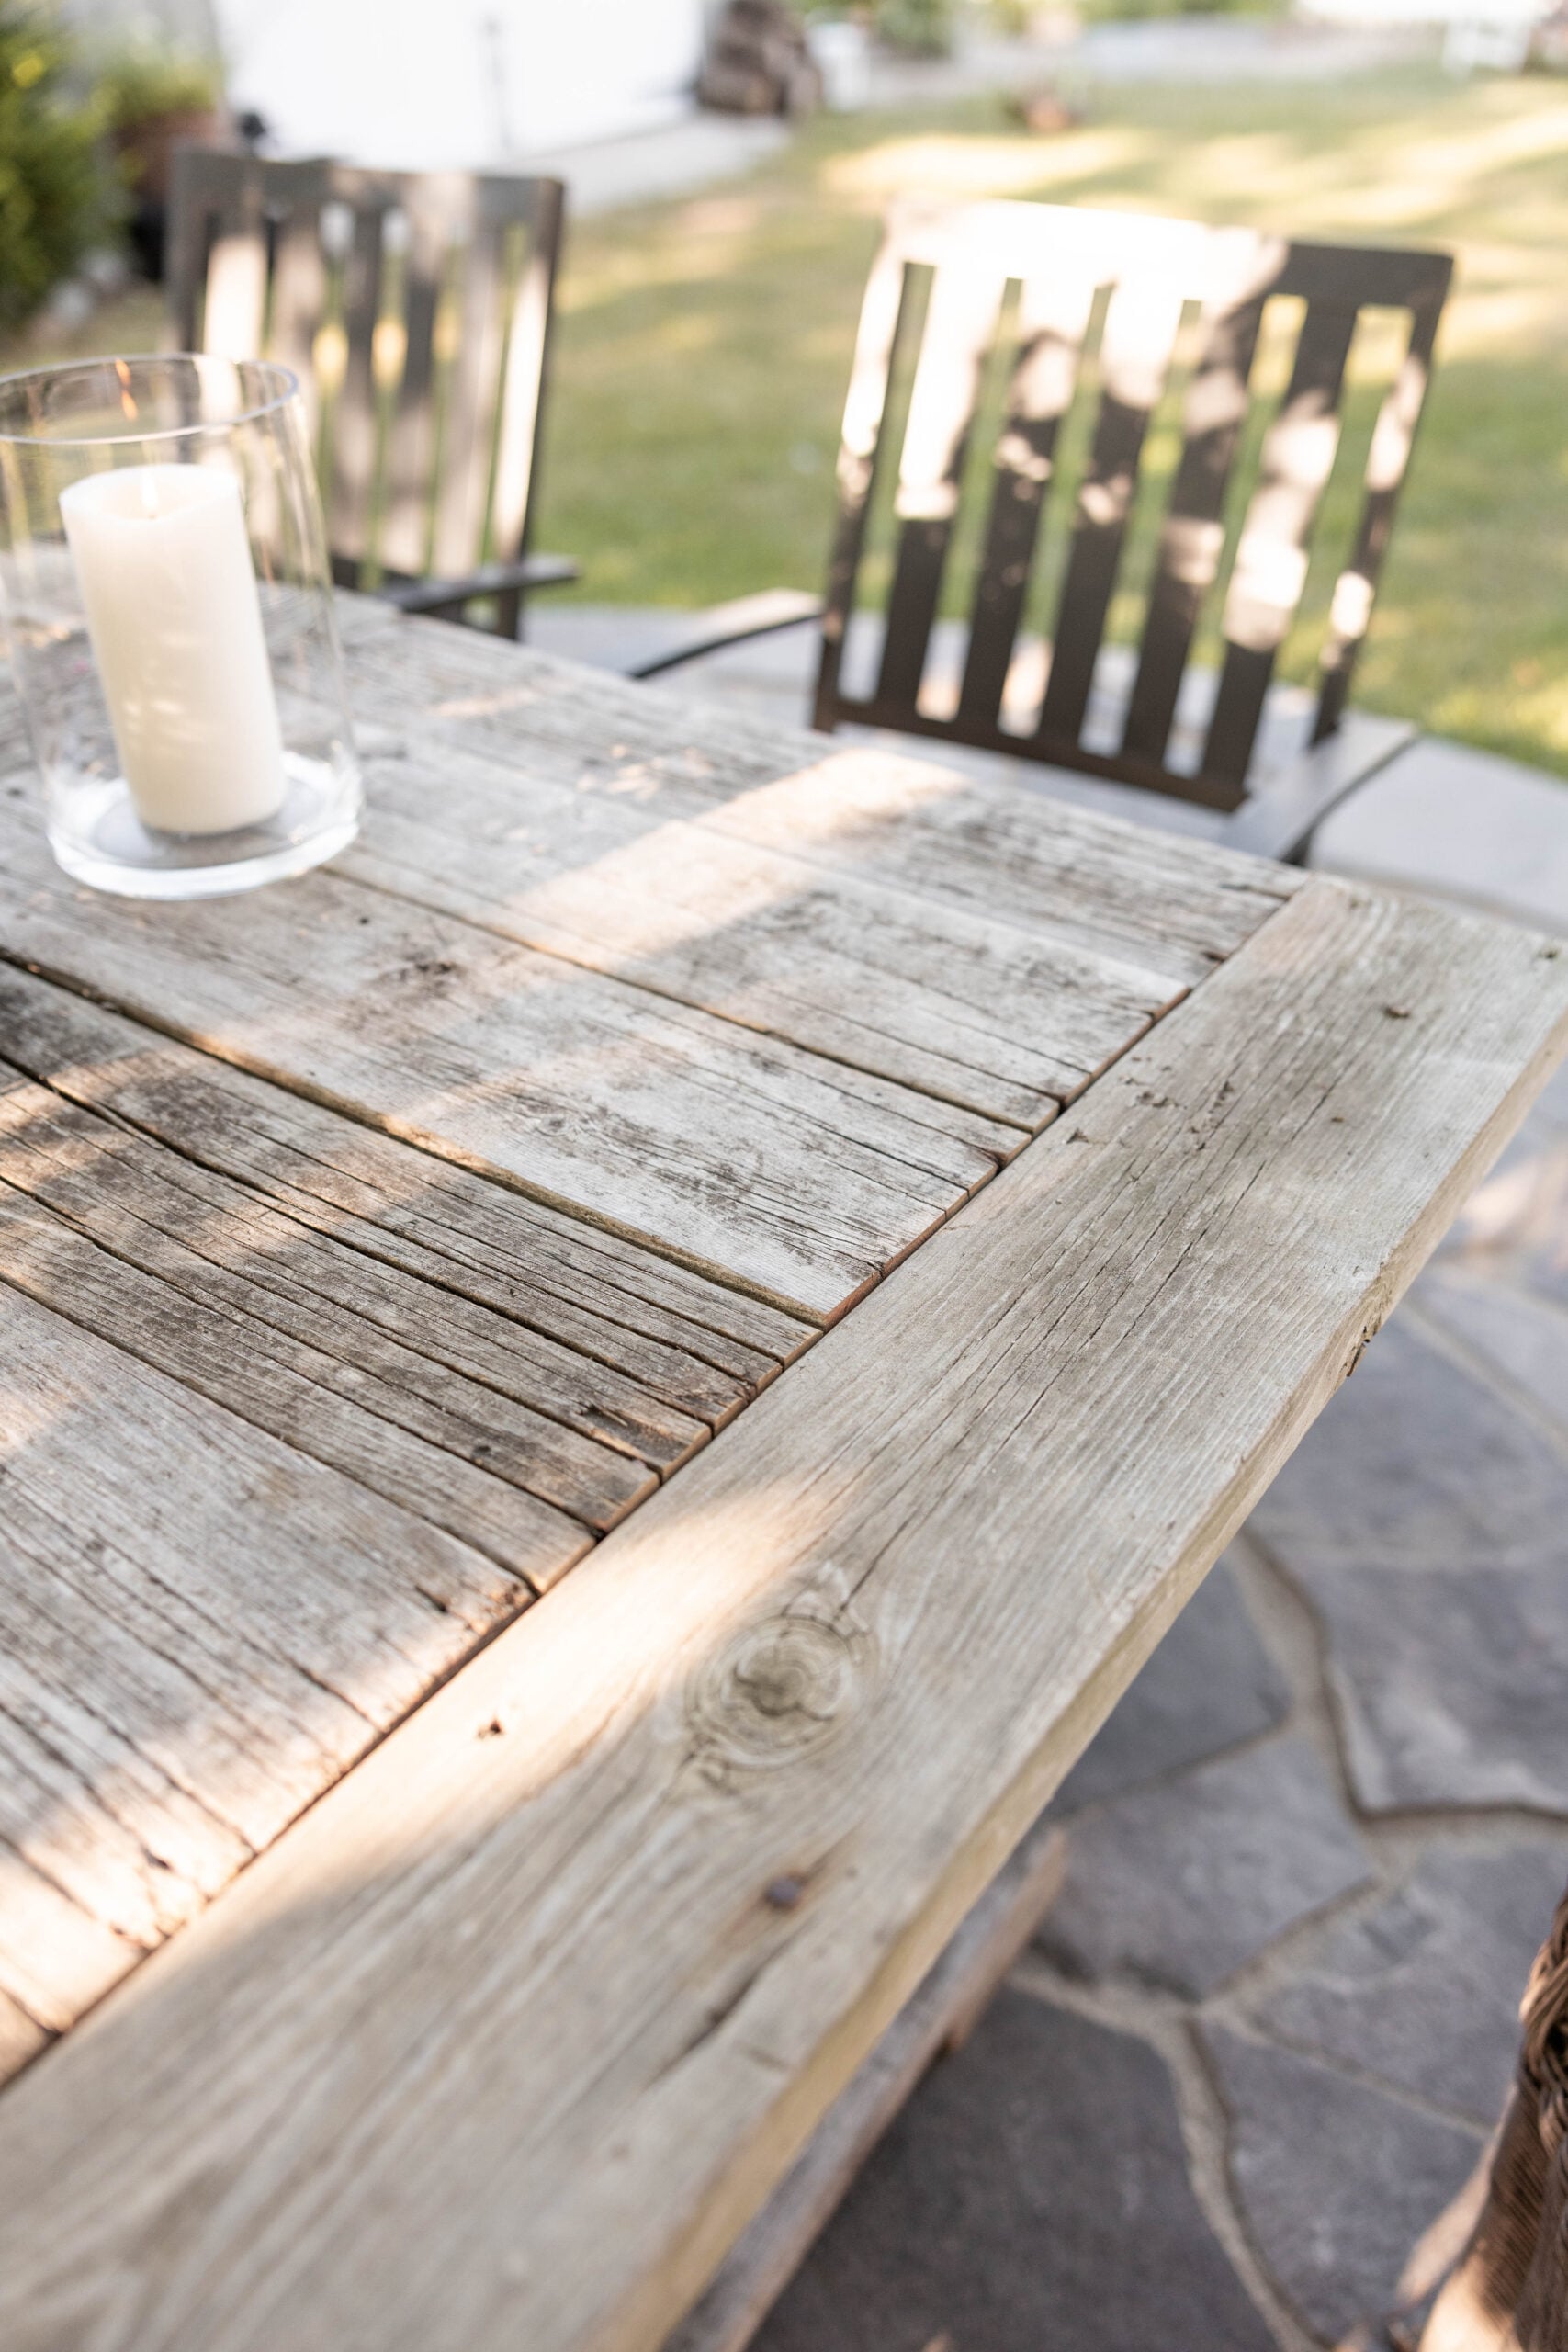
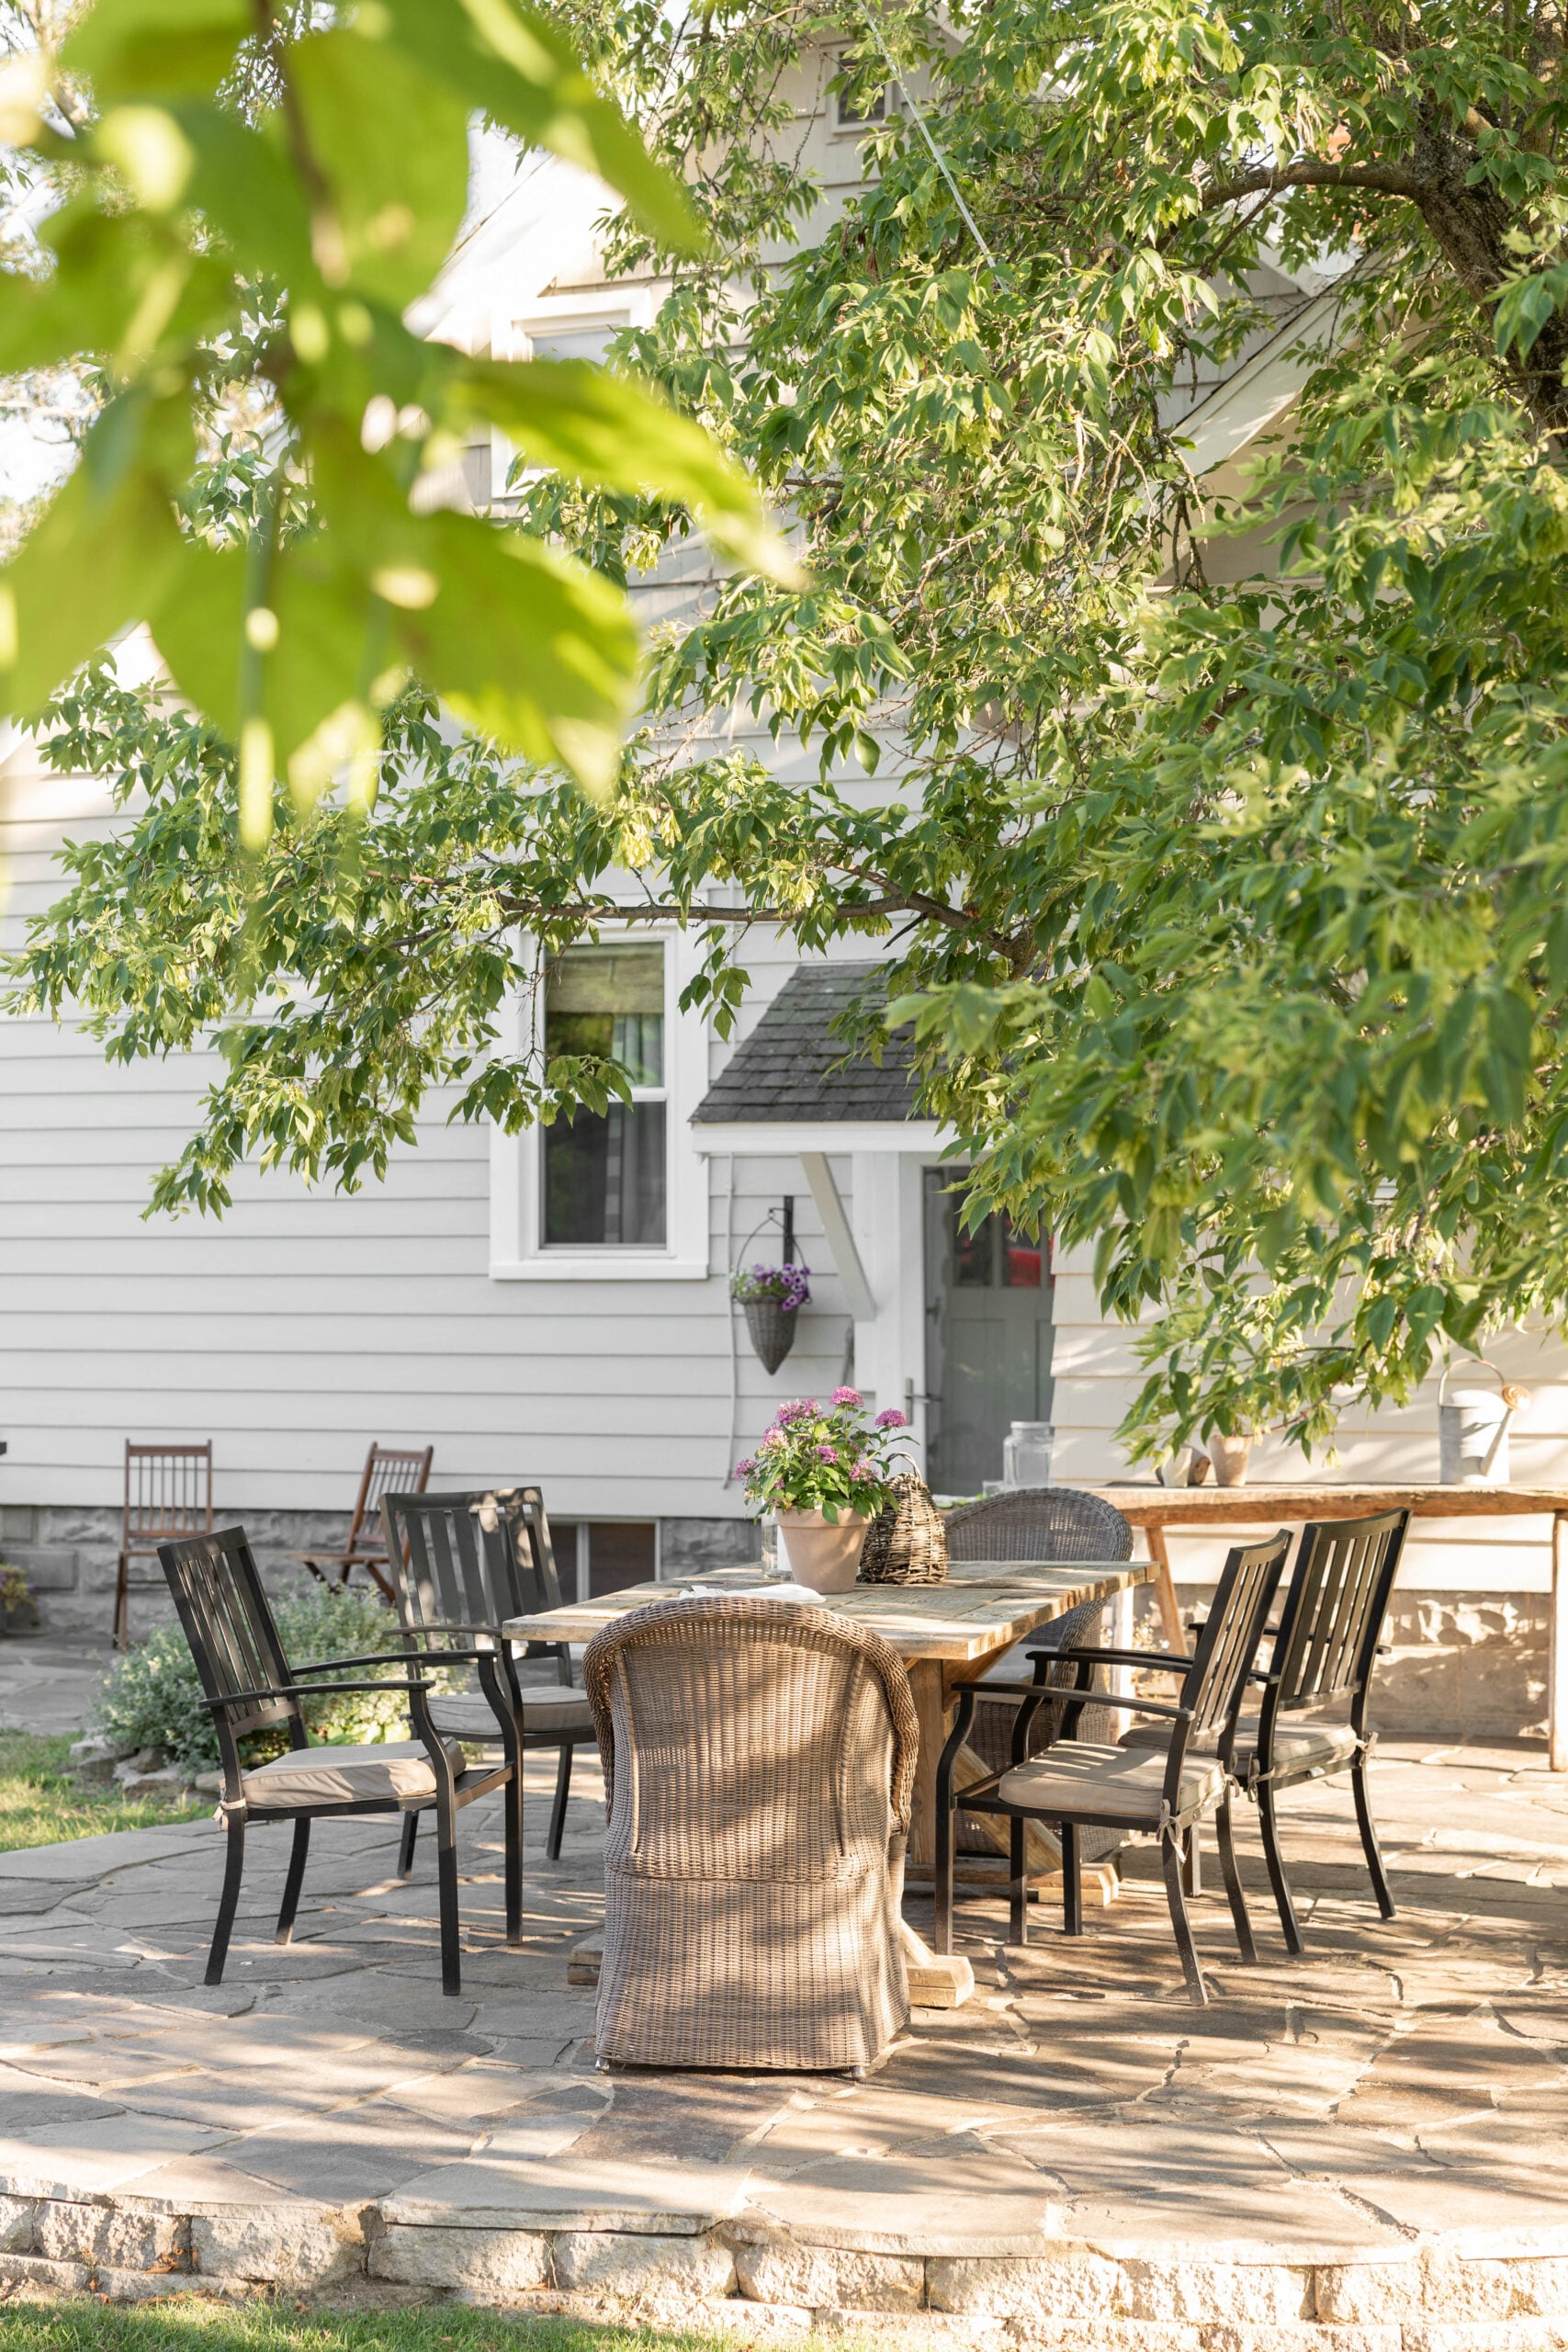
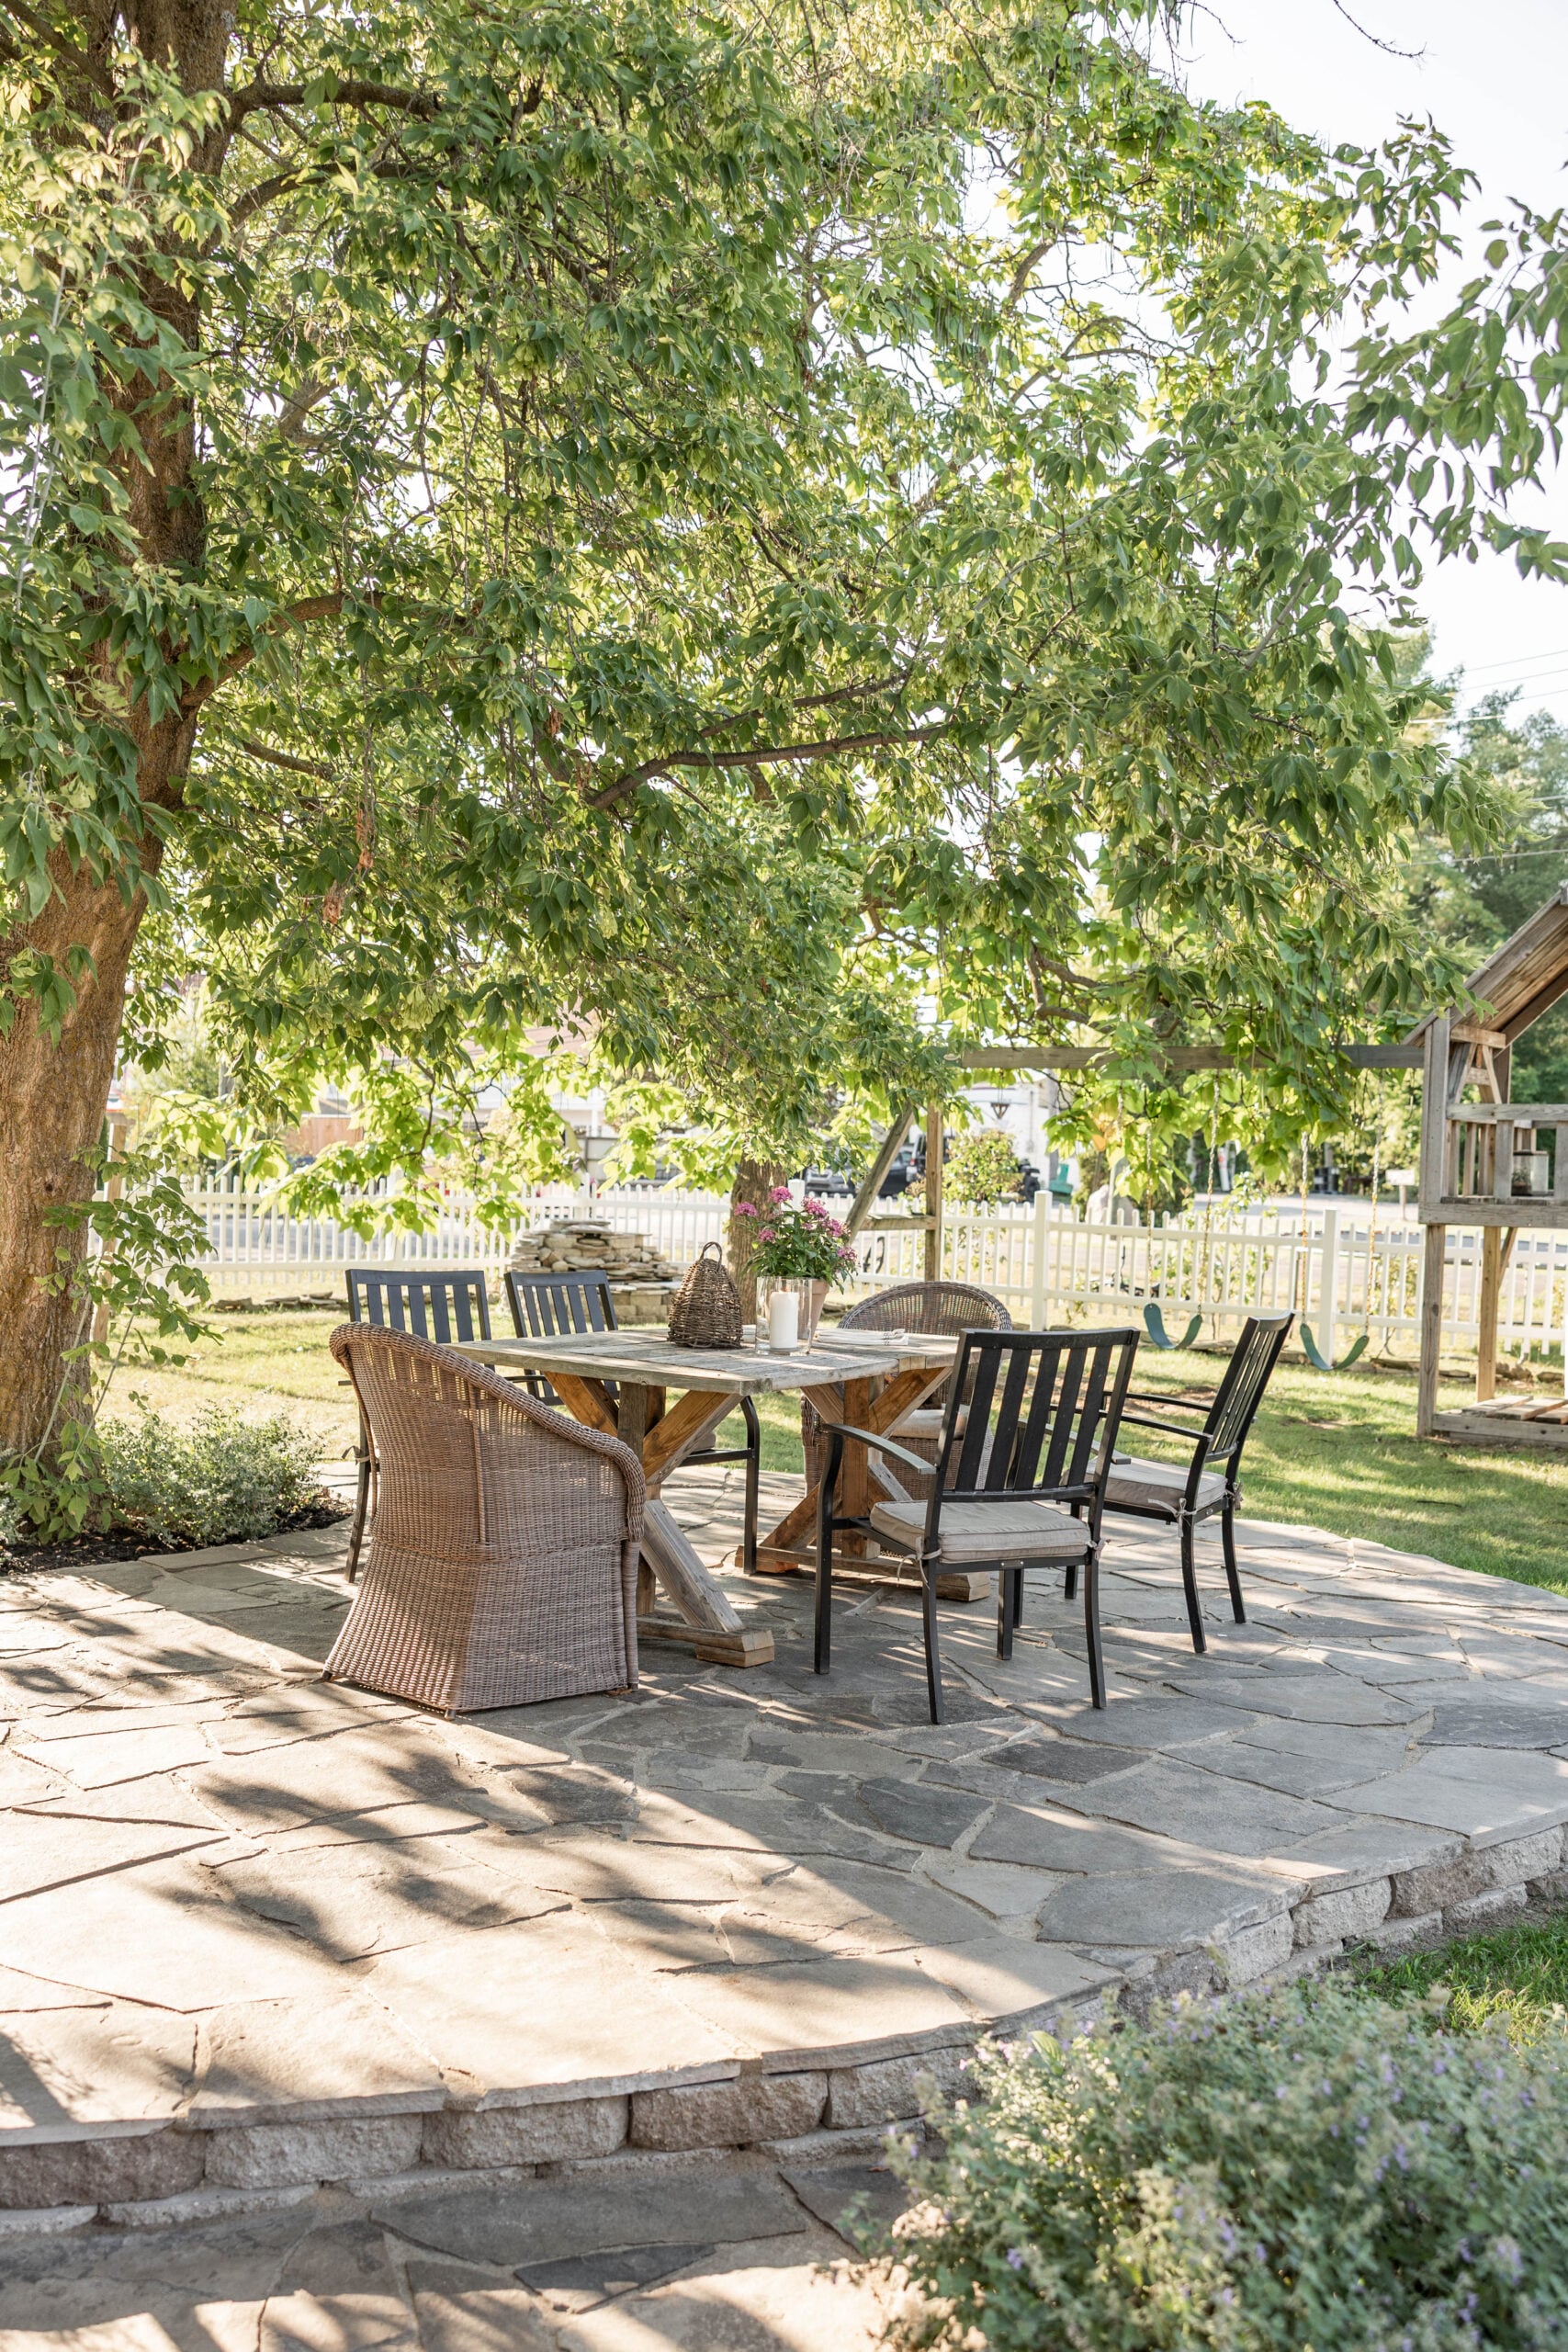
And then there’s the appearance. We love the natural variation in the Canadian Buff Field Stone. The mix of grays and tans works beautifully with the garden, the mature tree, and the vintage pieces we’ve incorporated into the space.
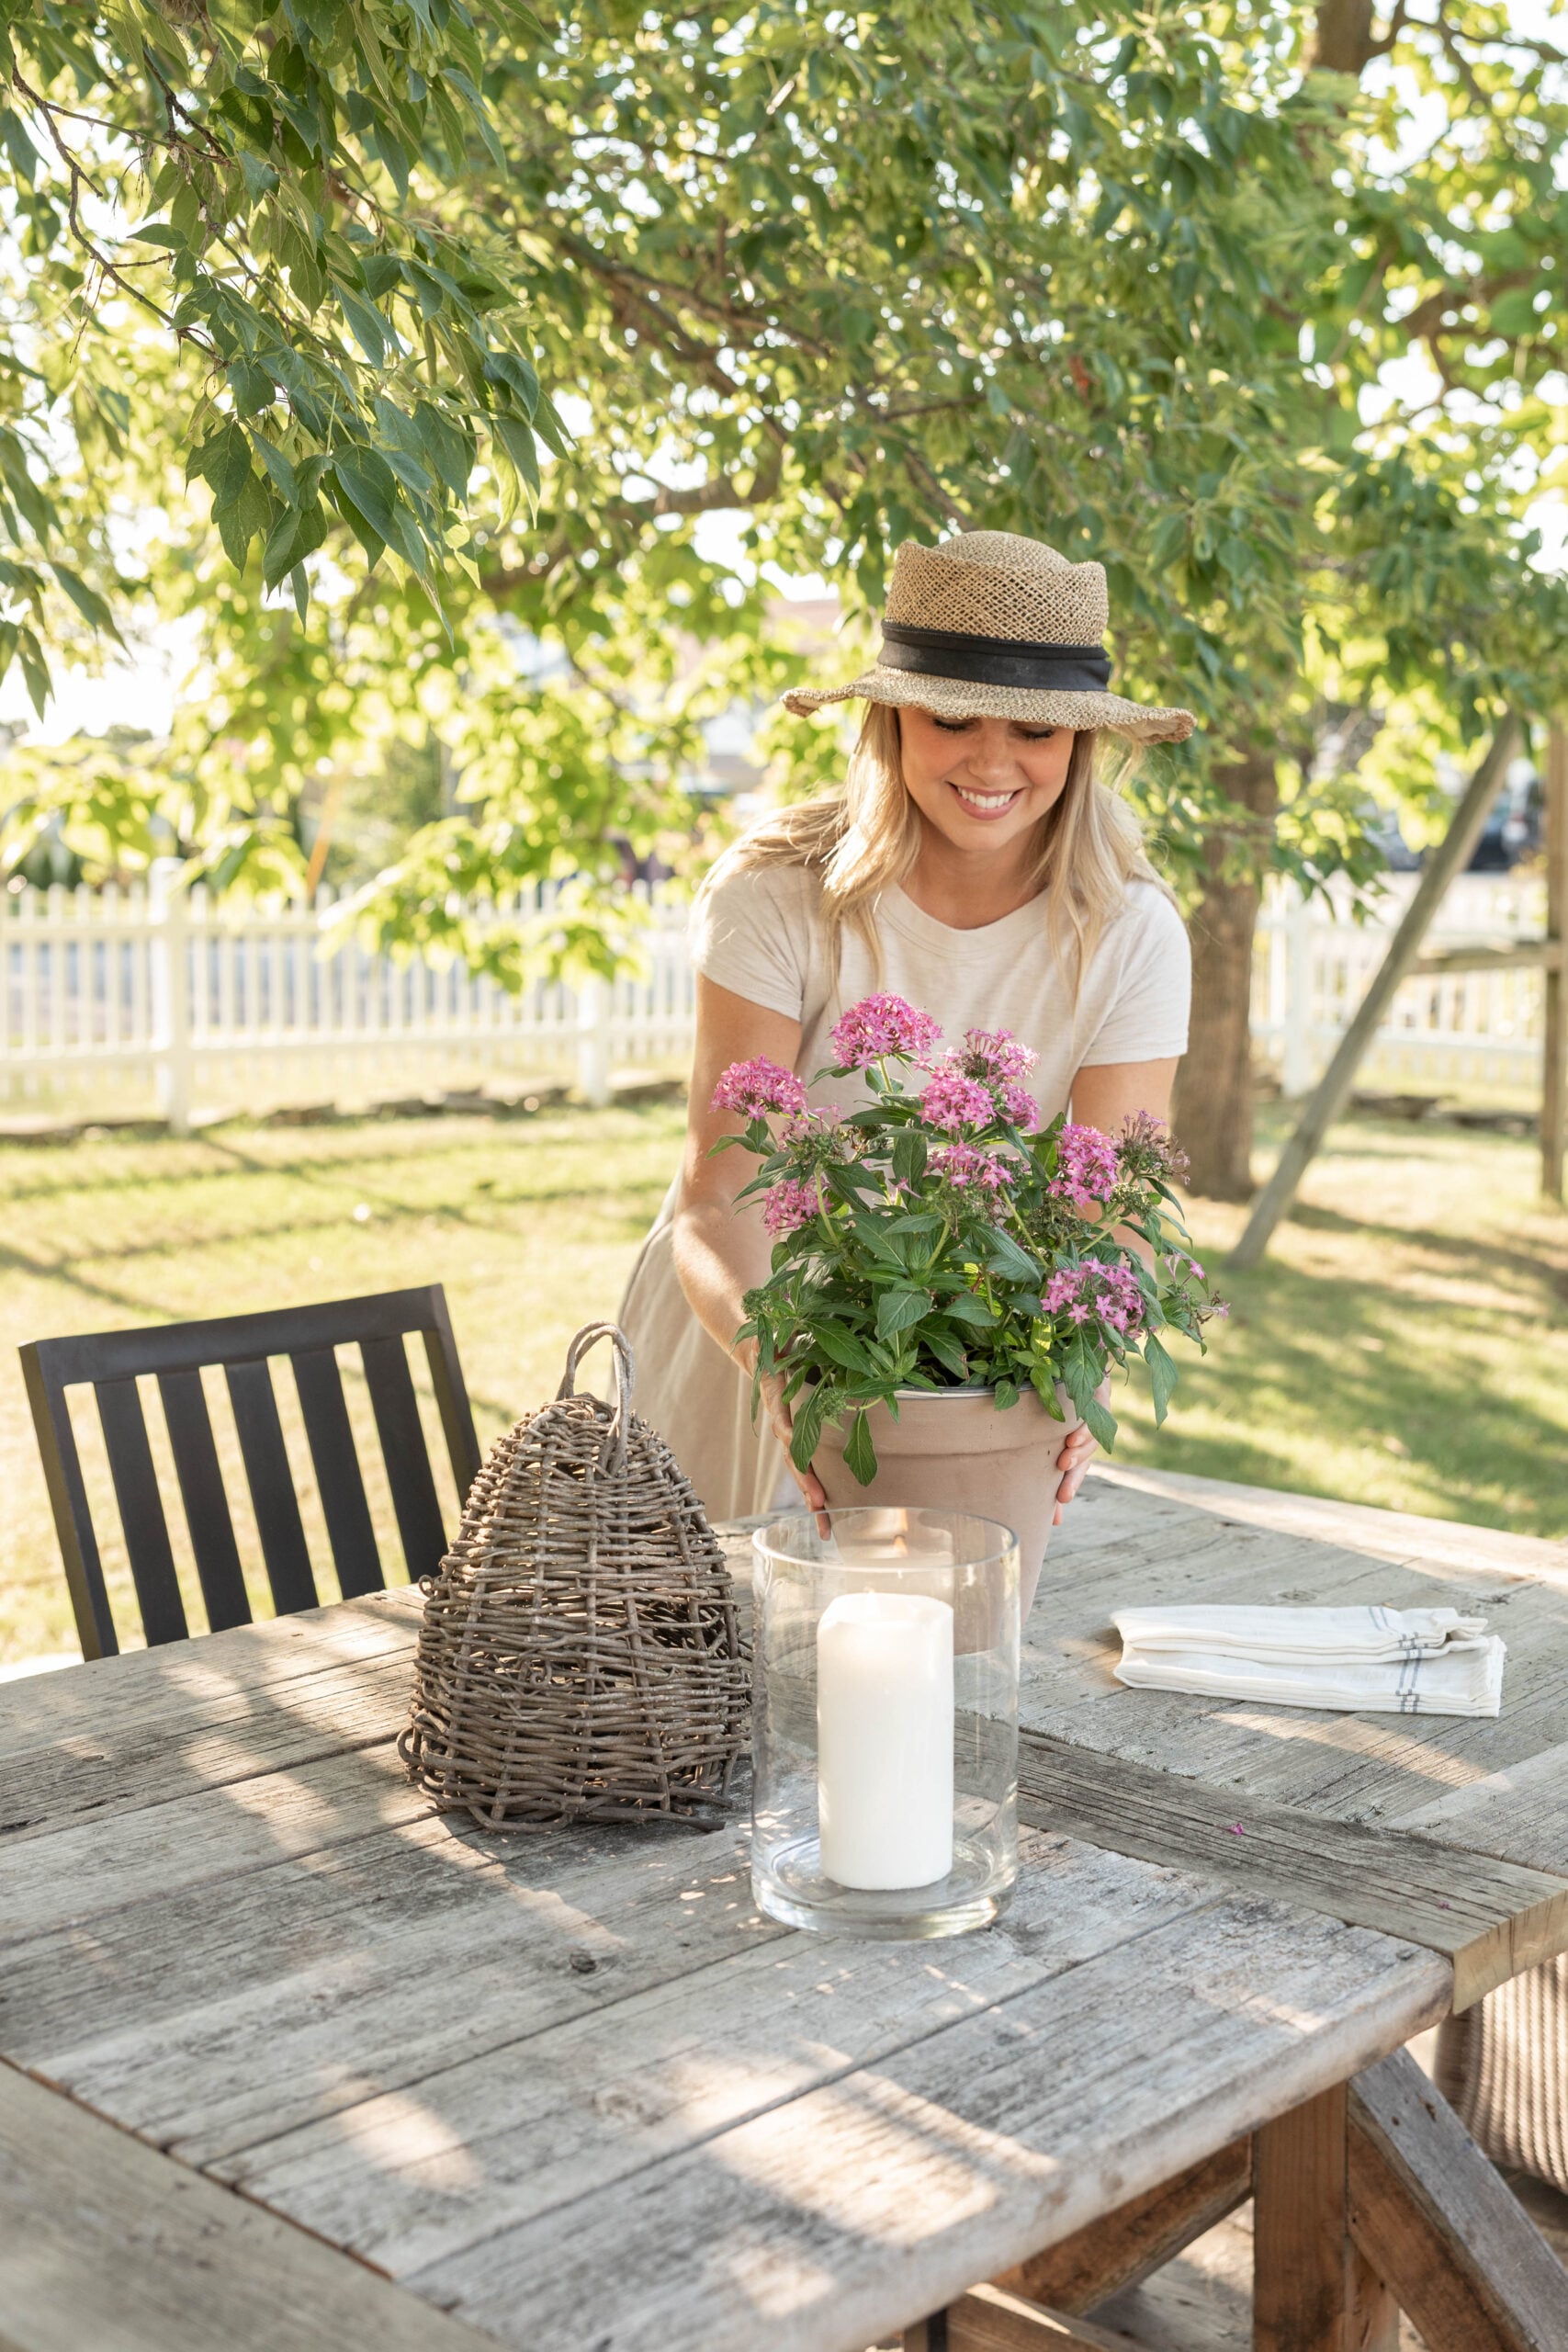
The finished patio has the old-world, cottage-style appearance we were hoping for.
Was a DIY Flagstone Patio Worth It?
For us, absolutely. This project was much more work than we initially anticipated.
We removed hundreds of square feet of pea gravel, dug out the patio, worked around large tree roots, built a retaining wall, hauled and compacted layers of gravel, moved heavy pieces of natural stone, cut flagstone to fit, and filled all of the joints. It was a labor of love.
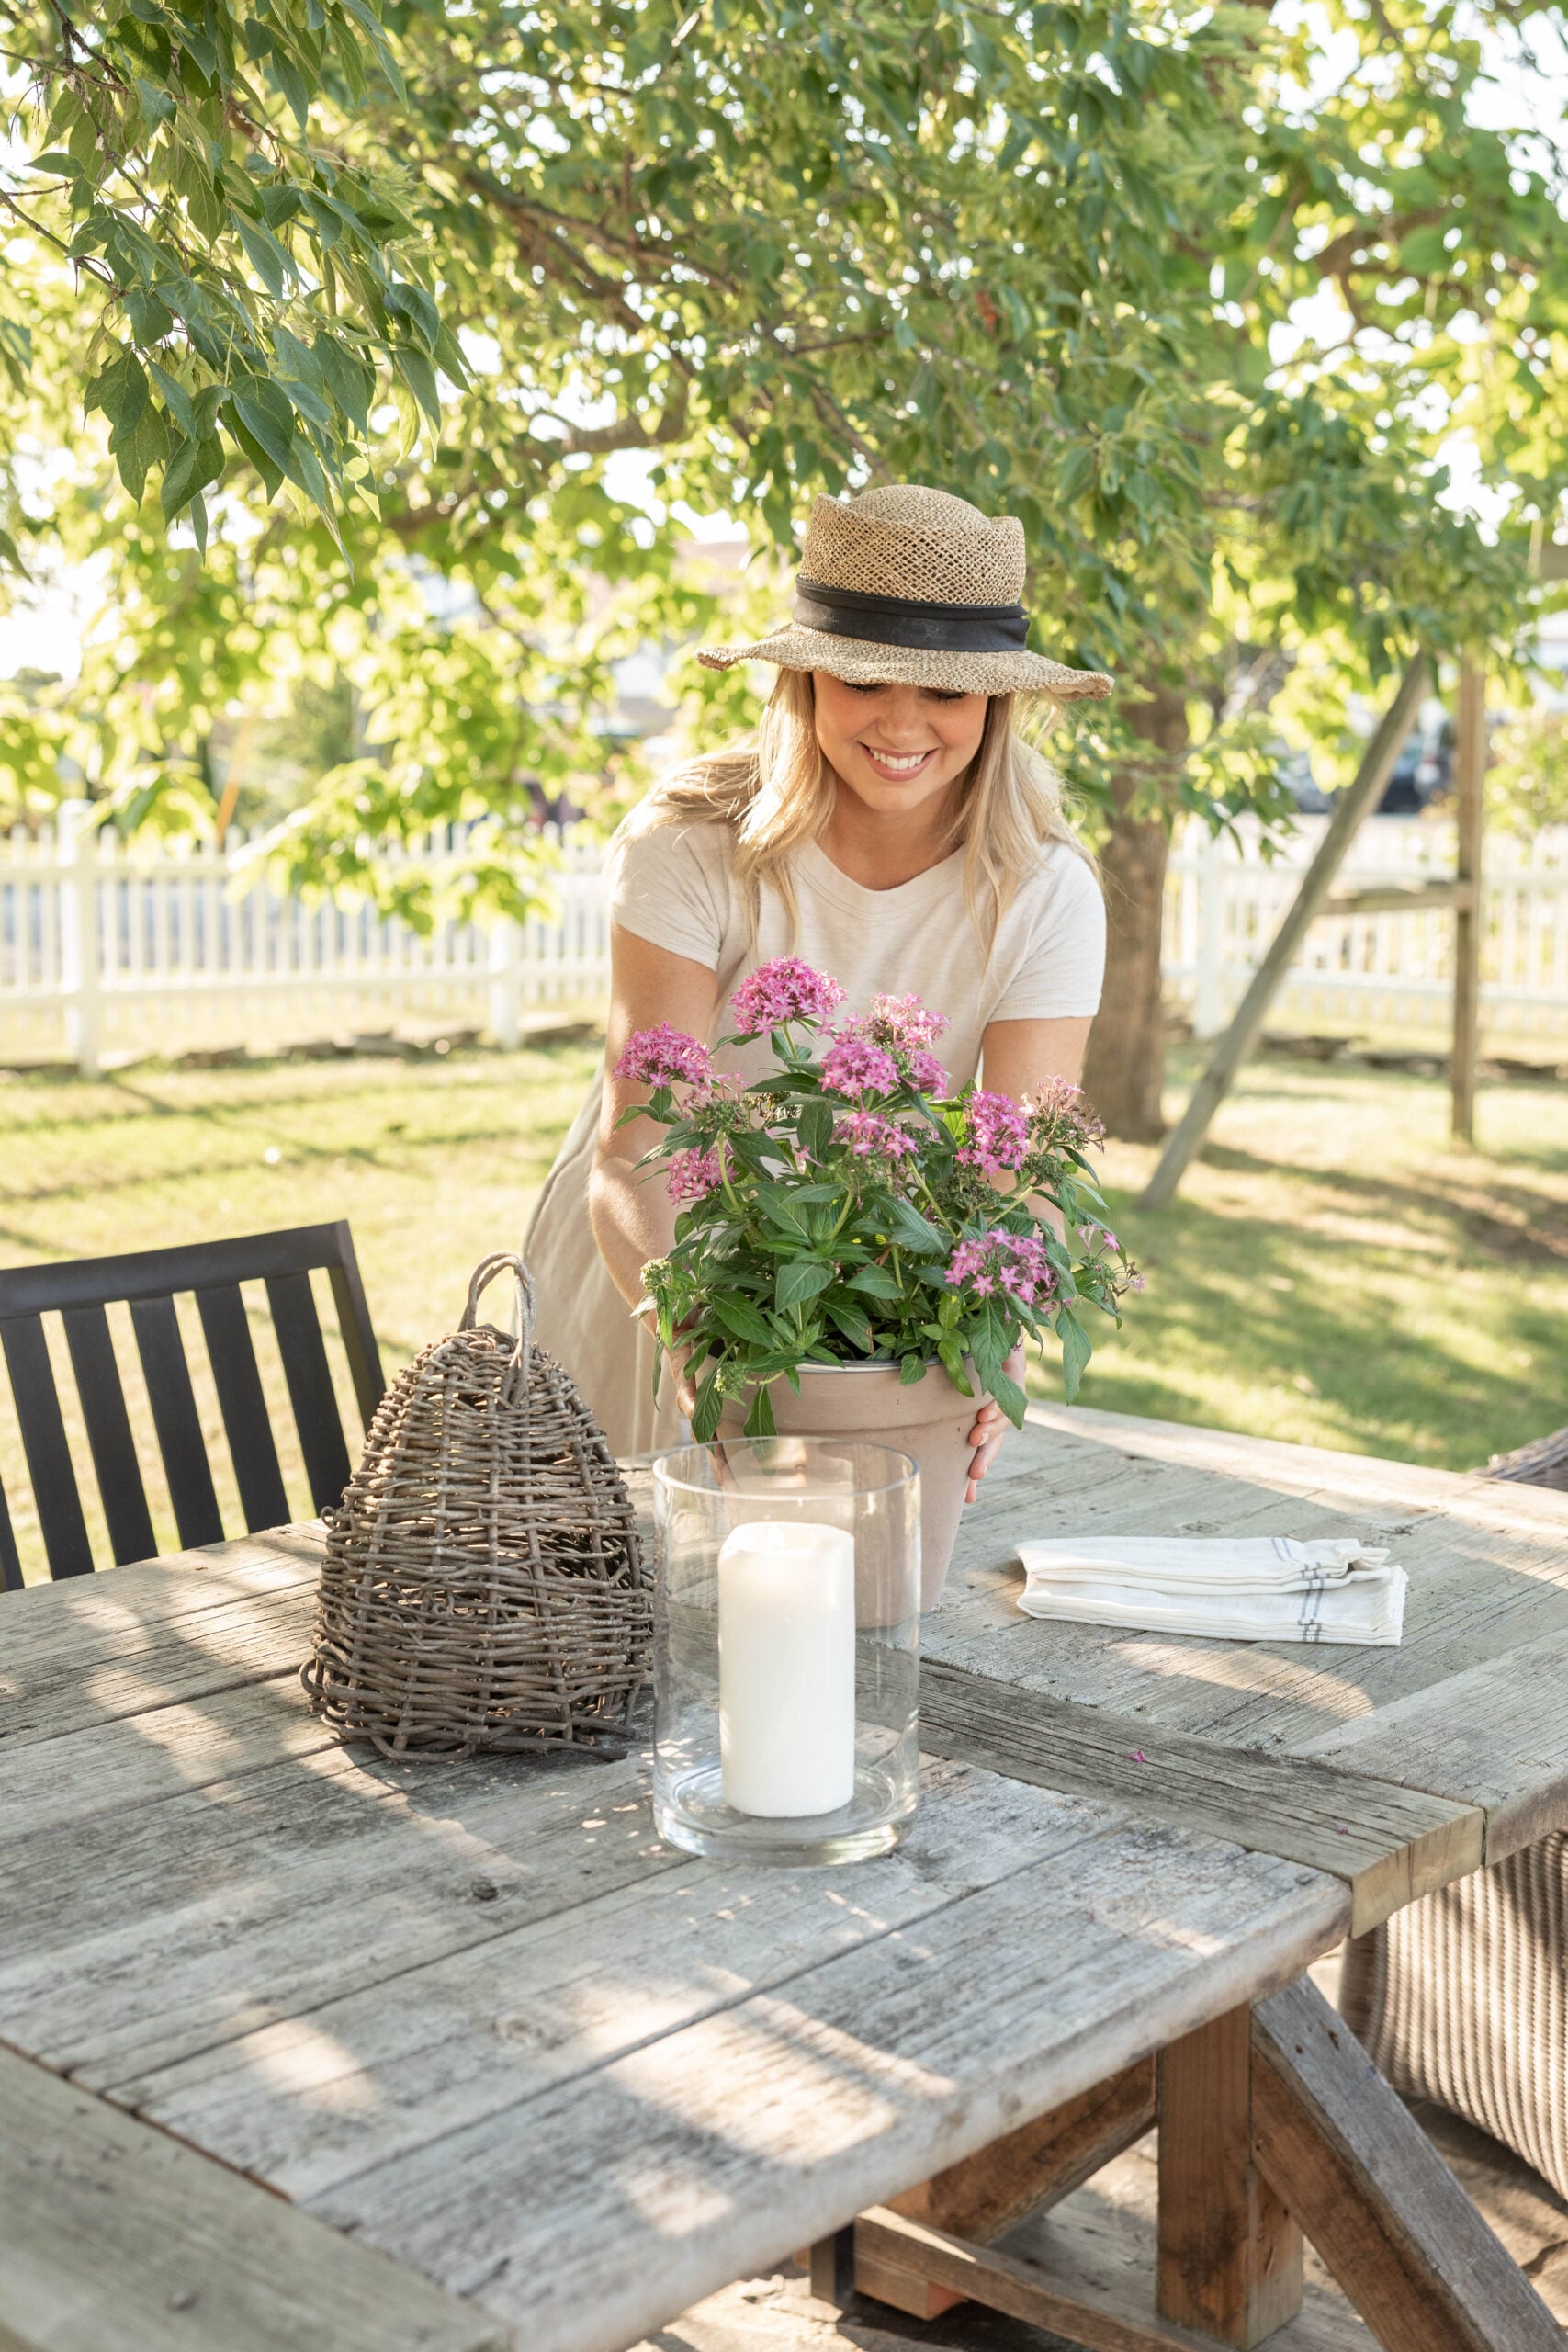
But the finished patio has completely changed the way we use our outdoor space. The roughly 500-square-foot patio gives our family plenty of room for grilling, eating outside, relaxing, and spending time together.
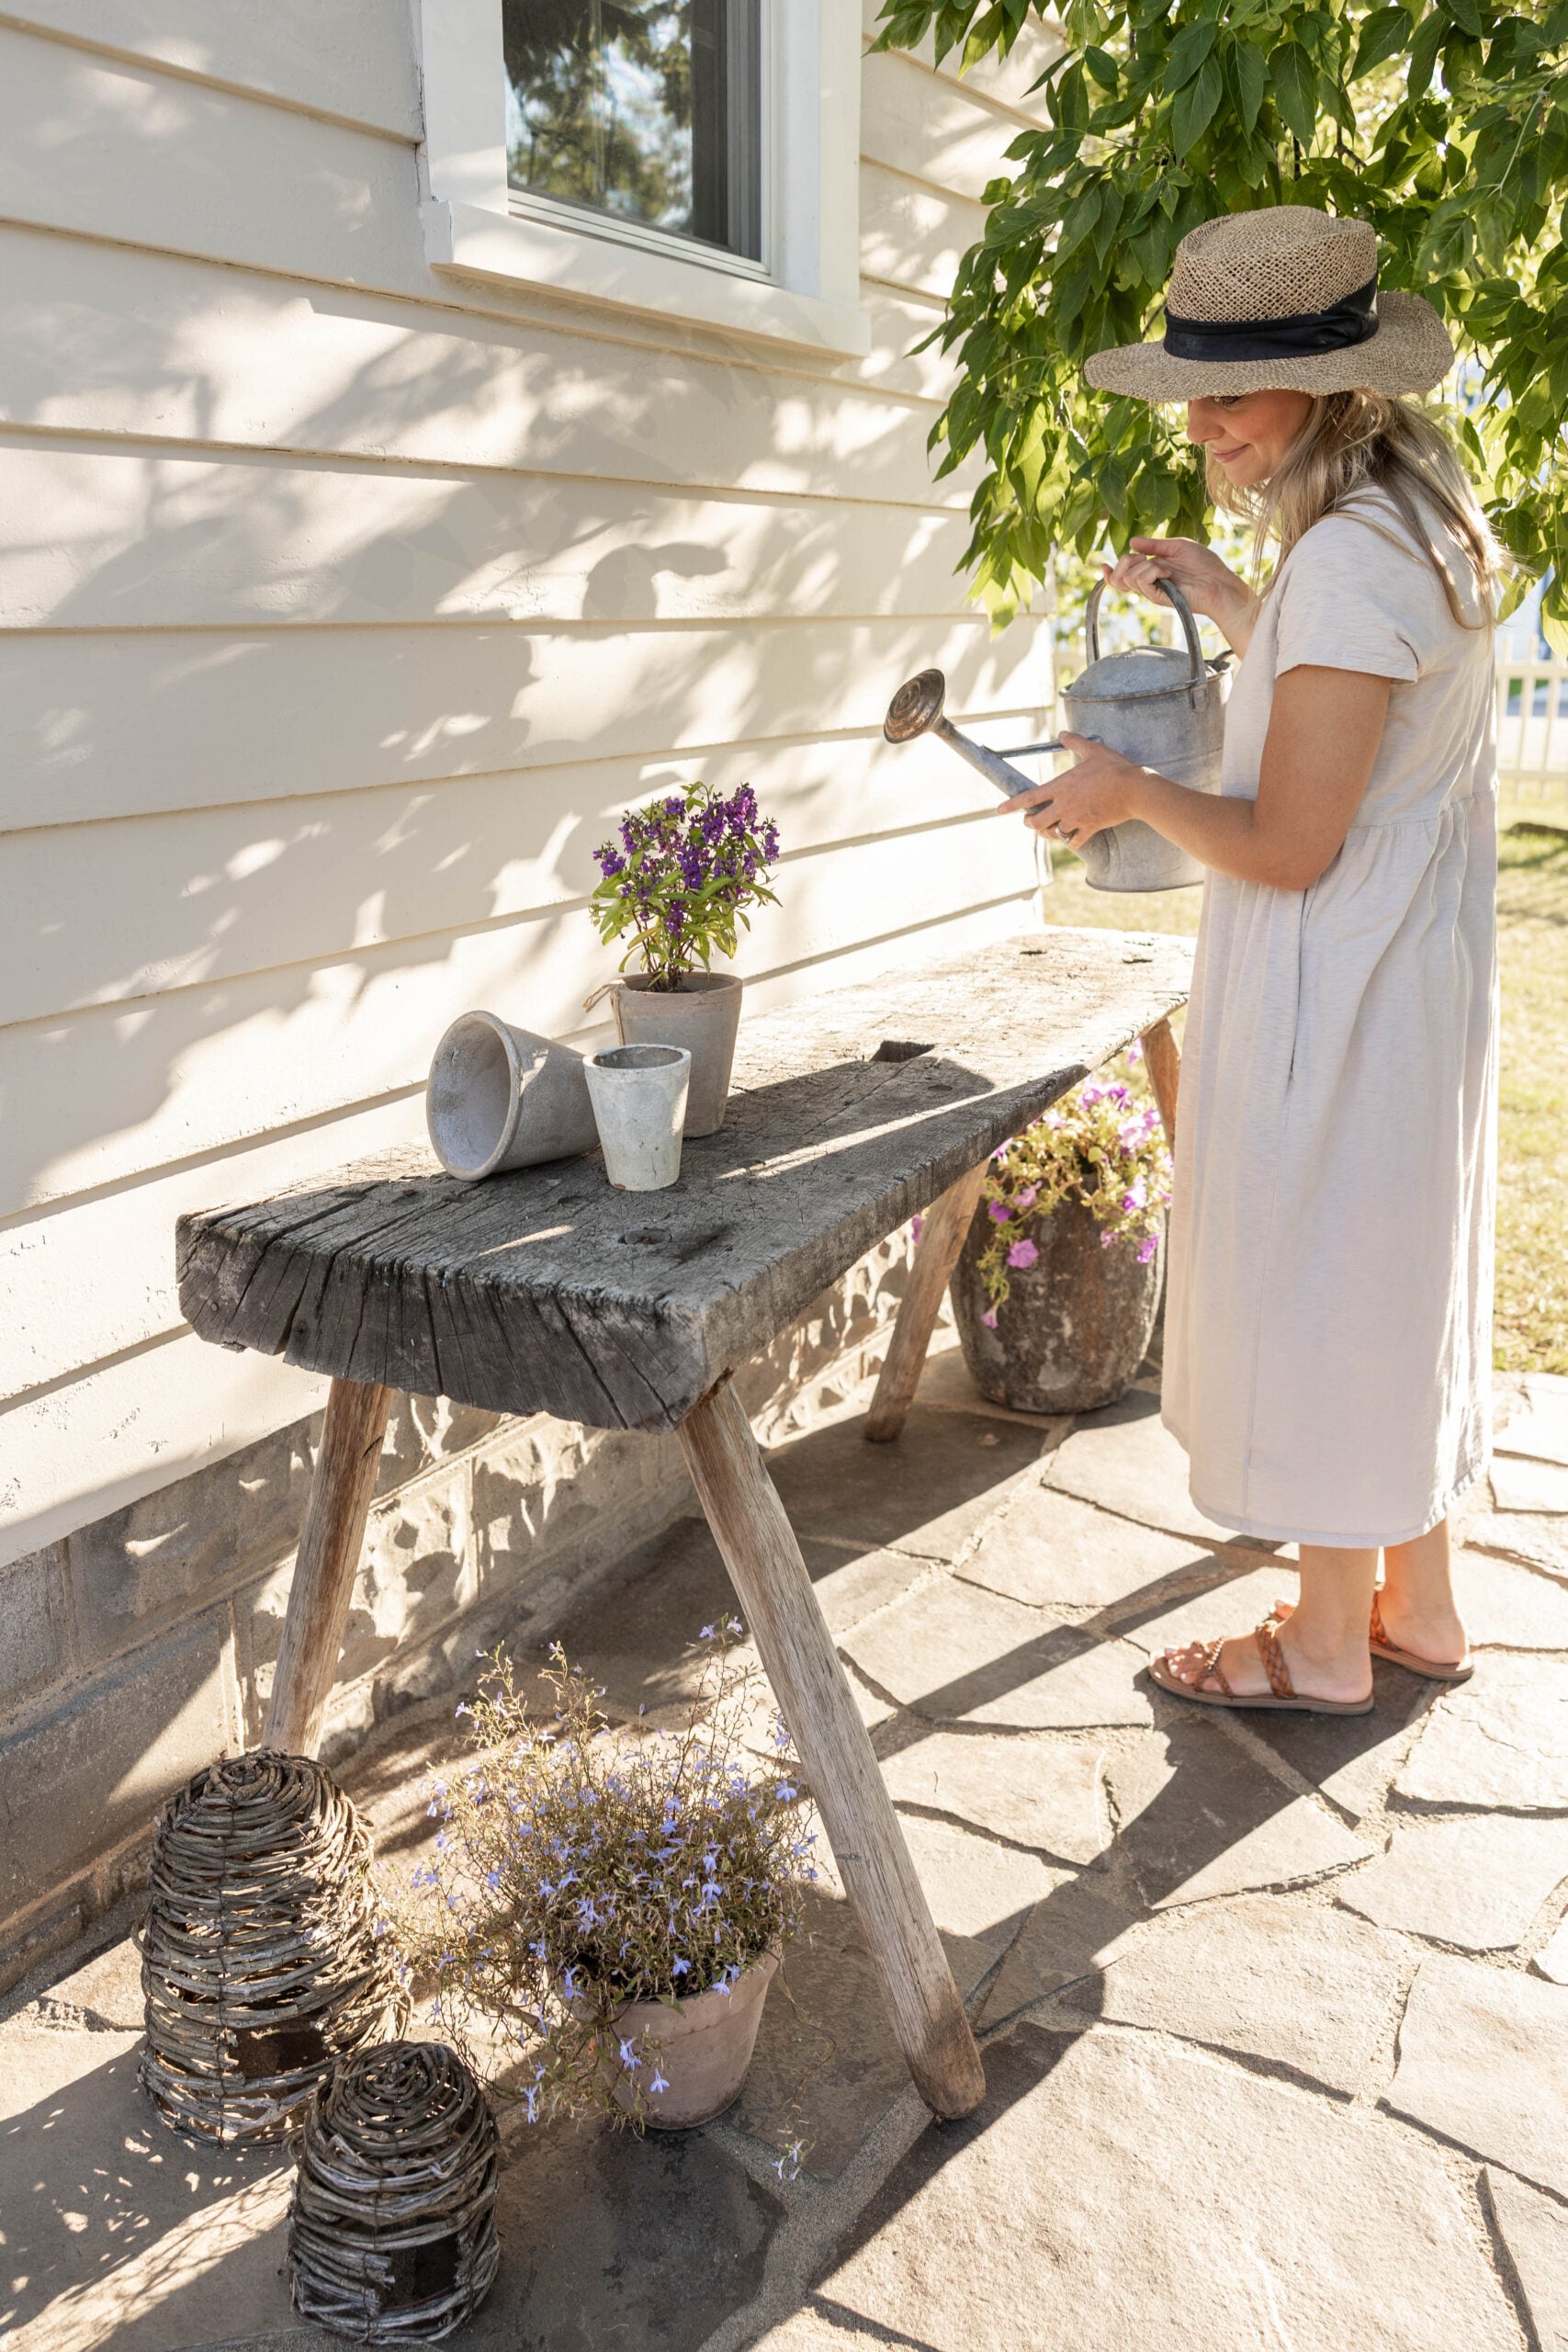
And because we were able to repurpose so many pieces we already had, the finished space feels personal rather than like we simply went out and purchased an entirely new patio.
Our Finished DIY Flagstone Patio
What began as a desire for a lower-maintenance alternative to pea gravel turned into a much bigger DIY landscaping project than we imagined. But we’re so glad we decided to do it.
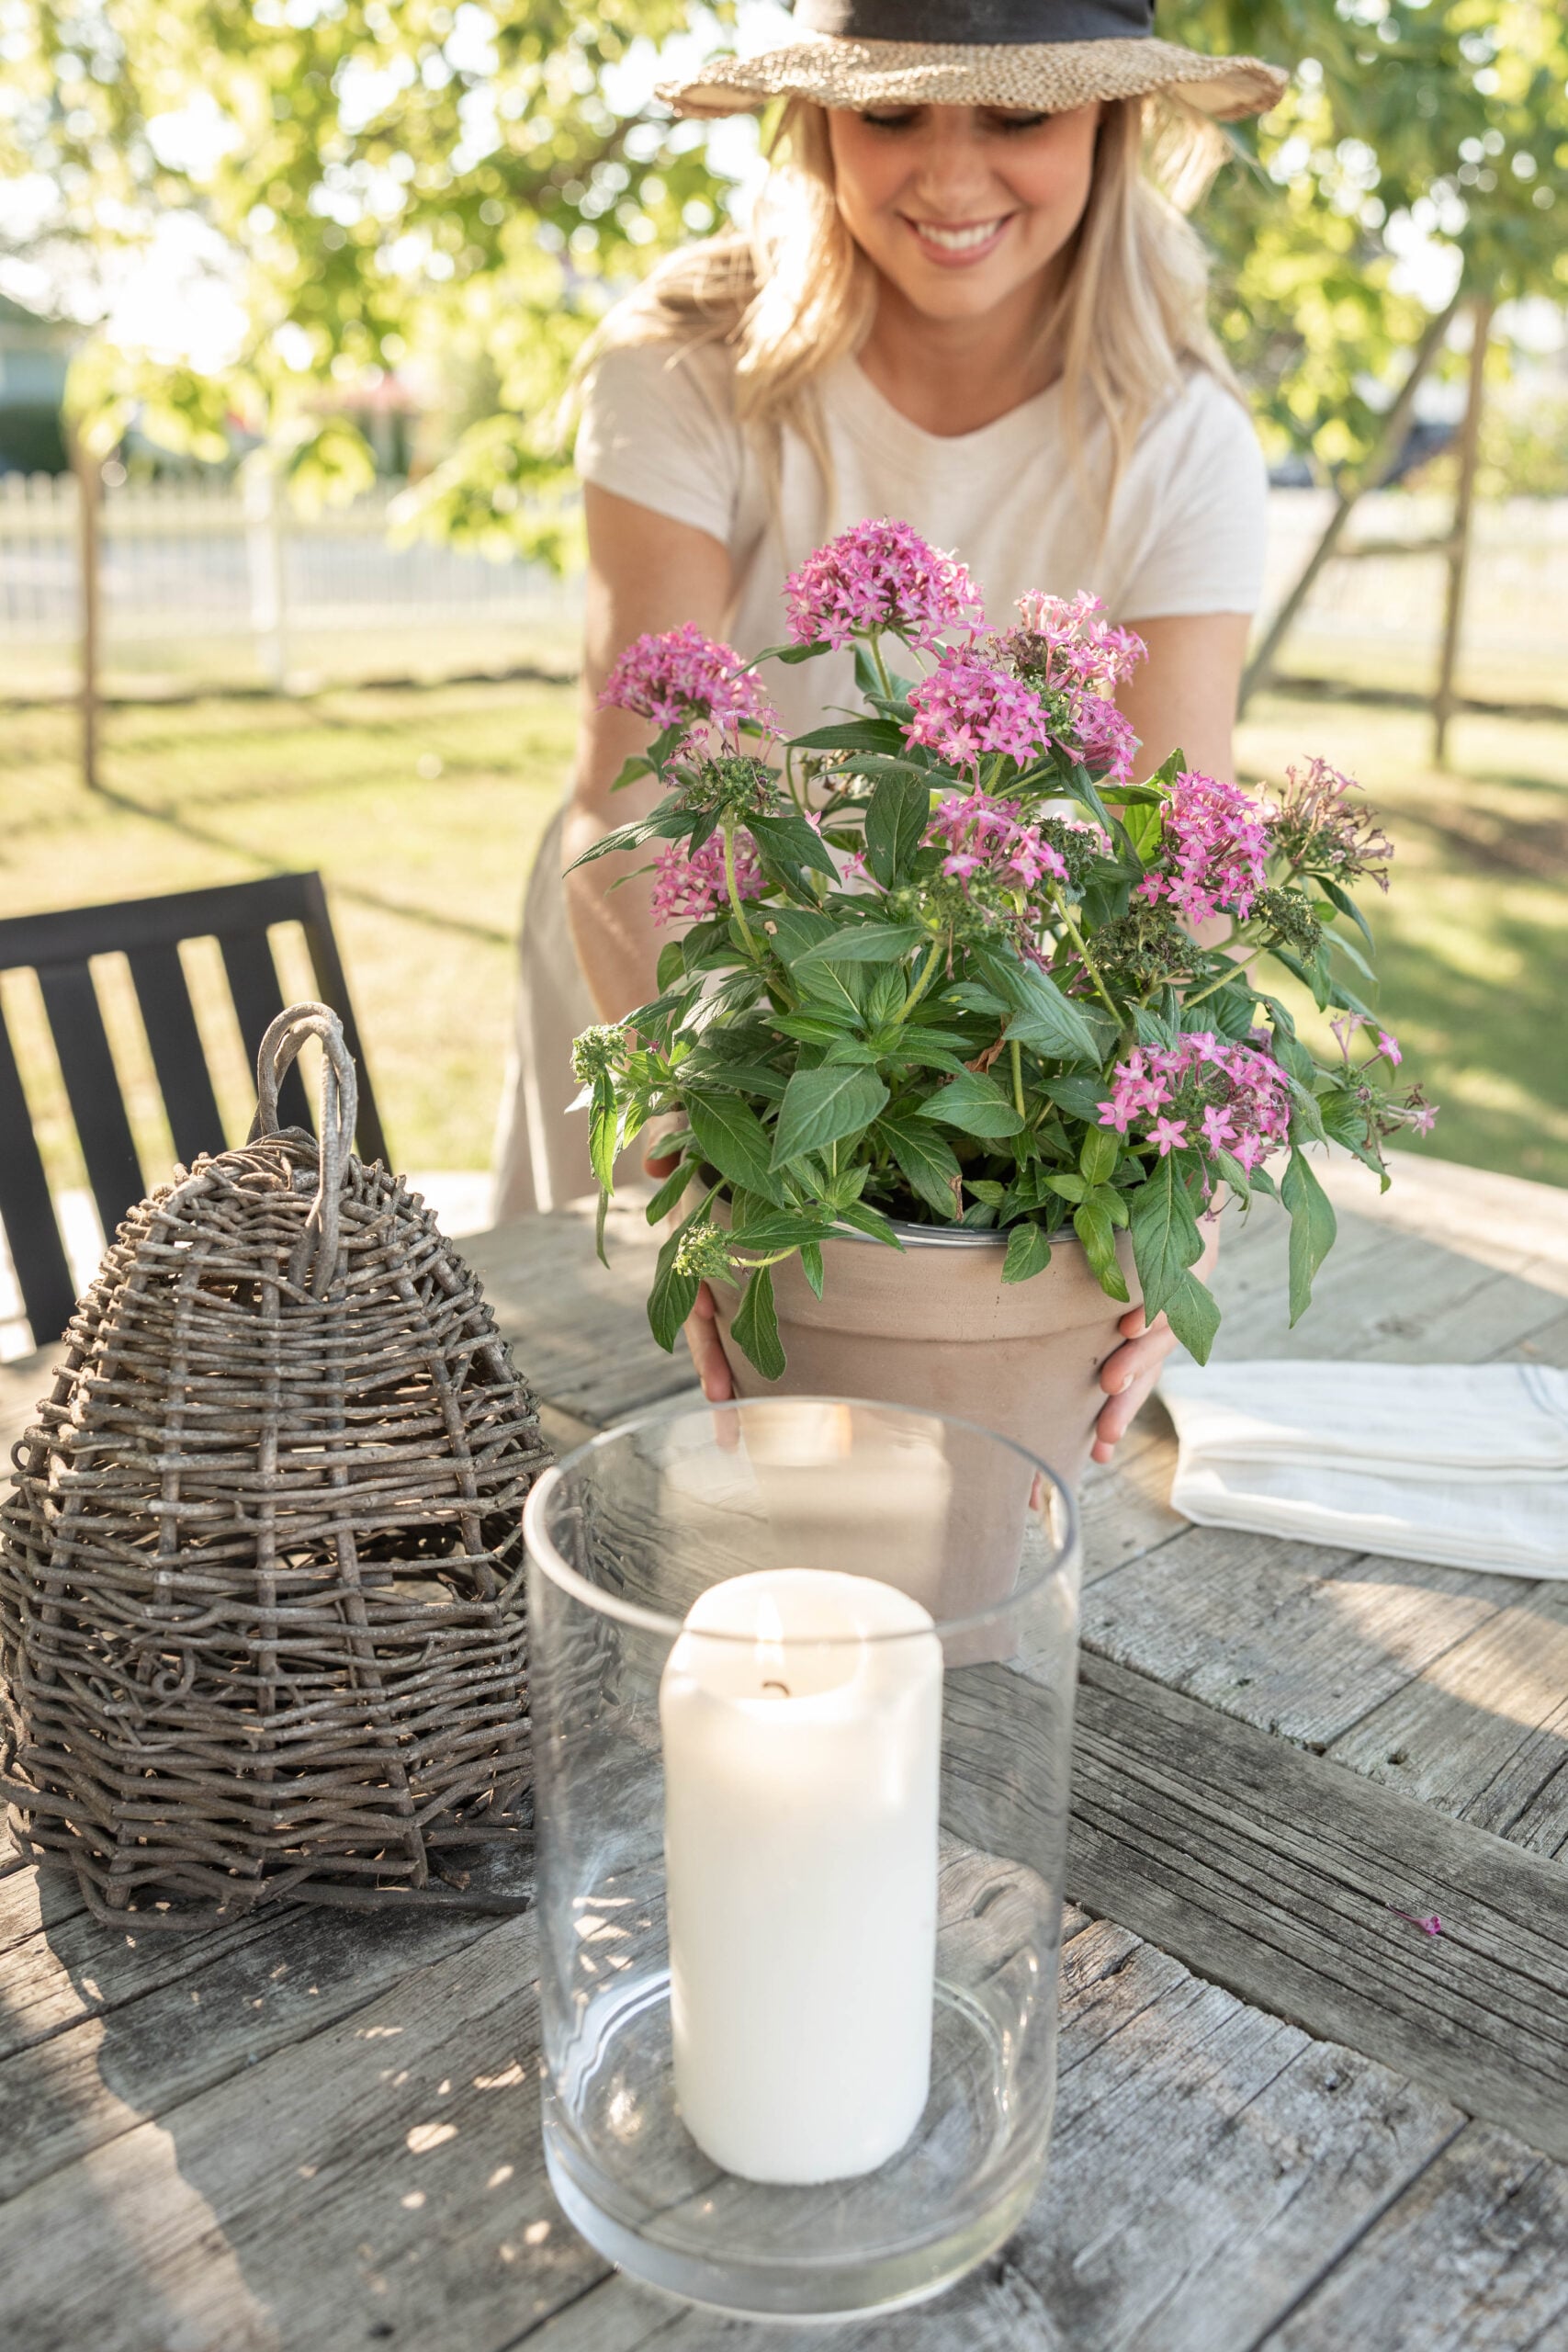
The natural flagstone, reclaimed wood, vintage pieces, gardens, and mature tree all work together to create the cottage-style outdoor space we had envisioned. We’re sure the patio will continue to evolve.

We’ll probably change some of the chairs, add plants, rearrange things, and continue to figure out exactly how we want to use the space. That’s part of the fun. For now, though, we’re enjoying our new flagstone patio exactly as it is. After years of living with pea gravel, we’re very happy we made the switch to natural flagstone.
How do you like our new DIY flagstone patio? Let me know in the comments below, and be sure to sign up for my free mini homemaking course for more DIY inspiration!

PIN IT FOR LATER


As if the patio wasn’t beautiful enough, Mike then creates that amazing table. It brought a tear to my eye to see your dreams come true after so much hard work. Your entire yard is gorgeous. Bravo to you!!!
I love flagstone and I’m hoping to replace our used brick sidewalk (which I love but has been uprooted from a former tree in the yard) You all work so hard to maintain your beautiful home! Thank you for sharing with us!