DIY Faux French Window Panes: Add Timeless Charm To Your Home

You won’t believe how simple these DIY faux French window panes are! My only regret is not doing this project sooner!
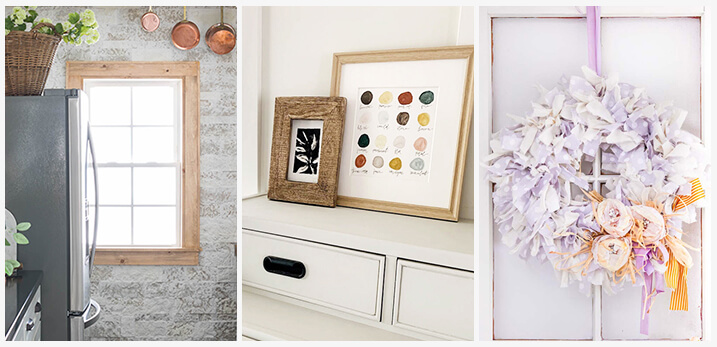
As promised, today I’m sharing the step by step process behind our DIY faux French window panes in our kitchen! Last week I shared some detailed instructions about our AirStone Accent Wall and how we finally refinished the window frame trim on the stone. I just love the way this project turned out, it’s honestly one of the easiest DIY’s we’ve tackled!

If you are visiting today from Jackie’s blog over at Finding Lovely, welcome! At the end of my post, be sure to visit Sarah at Lemon and Bloom to see what fun DIY project she is sharing as well! 🙂
This post contains affiliate links. For my full disclosure, click here.
Before we begin, let’s look at the window on our stone accent wall before:

As you can see, the stone is flush with the trim that was added when our kitchen was renovated by the previous owner. In order to make the stone wall feel more authentic, I really wanted the window trim and baseboard to sit on top of the stone instead.
For the outside of the window, we essentially followed the same steps that I shared in our cased opening tutorial, except we added a ledge using a 1×4 as well as 1×3’s on the inset of the window design.
I stained the wood using 3 parts Weathered Oak, 1 part Pickled Oak and 1 part Early American, all by Minwax. I love looking at this window from our dining room, and I couldn’t wait to get started on adding DIY window panes to rest of the windows in our kitchen!

I wanted the faux window panes to match the actual window itself, so we decided to paint those white. Adding new panes was such an easy project for DIY homeowners! Whether you have small or large windows, this tutorial will help you get started, and the only power tools you’ll need is a chop saw. You’ll be able to find most supplies at your local hardware store or Home Depot, but I also have them linked from Amazon. Here’s what you’ll need for this project:
DIY Faux French Window Panes – Supplies
Screen trim – we purchased 2, 6 ft strips and it was more than enough for both of our kitchen windows. For reference, here are our window width and window height sized:
- Stone accent wall window – 21”W x 40” H
- Kitchen sink window – 22” W x 28” H


DIY Faux French Window Panes – Step 1
Find and mark the center of the top, bottom and sides your window pane with a pencil.


Next, measure the height of the pane for your first cut.
Step 2
Using your chop saw, cut the trim to match your first measurement and tape it in place (or have someone hold it for you).


Now that your vertical piece is cut and fitted, measure and cut your horizontal pieces. You may need to tape or have someone hold your pieces in place to see if they fit correctly. Mike’s fit perfectly – no tape needed!


Step 4
Paint or stain your trim pieces. We decided to paint ours using white spray paint. We gave each side of the trim 2 coats of paint, that way the trim looked white from the outside of the house as well. You can use primer for this step if you liked, but skipped it.

Step 5
Once your paint is dry, it’s time to attach your trim pieces. Give your window a good cleaning.
Apply dots of clear Kwik Seal to the back of your pieces and line them up to your center markings on the window. Kwik Seal is an adhesive calk and essentially replaces glue. It’s a great little item to have around the house for DIY projects! Use painter’s tape to keep the trim in place while the Kwik Seal dries.


Note – You can slightly see the clear Kwik Seal from outside. Since the windows in our kitchen are high and no one can really see them from ground level, this didn’t bother me. But if you are wanting something less noticeable from the outside, you could use something like clear mounting tape to apply the trim.
Step 6
Allow the Kwik Seal to dry overnight. The next morning remove the tape and fill in any gaps using Lightweight Spackling. You can touch up the paint once the spackling is dry.

That’s it! How easy is that? Now we have beautiful windows with so much more character!

Thanks so much for stopping by today, friends! Be sure you head over to Sarah’s blog over at Lemon and Bloom to read about her fun dot art DIY!


PIN IT FOR LATER


Andrea what an amazing change! I’ve never thought to do this but this is brilliant
Thank you so much Jackie!! 🙂
So good! I love everything about this! Looks amazing with the stone wall and beams!!
Aww thank you Amanda!! 🙂
Love it just the tutorial I was looking for, do you have a tutorial for kitchen beams love them too
Hi Angi!! I’m so happy it helped!! Yes I do have a tutorial for the beams, you can find it here – https://www.pineandprospecthome.com/easiest-faux-beams-ever/
Hope that helps! Let me know if you have questions! 🙂
This looks great! Wondering how it looks from the outside…?
Hi Jennifer! Yes, I really need to share what it looks like. My windows are very high up (not eye level) so it’s hard to tell, but they do have a clear bead of glue if you look really close. Something that doesn’t bother me really but maybe one day we can add panes to the outside, too!
Hi,
It is really amazing, do you have tutorial how to add trim to window as we seen in the video. Around the window.
Thank you
Hello, the window trim was already there, we simply added this accent, sorry I couldn’t help more!
Looks great! But how does it look on the outside? Can you see the glue?
If you look very close it’s noticeable, but not really with the level of the windows. 🙂
That’s really clever Andrea! I actually used this product: http://www.newpanes.com it was super easy toi do and no special tools needed which was cool because I am not super good at DIY stuff ha ha!